If you make a purchase using links in this article, I could receive a commission. Please see my Privacy Policy for information.
Looking to replace your factory RV entry door lock with a more reliable and easier to use solution?
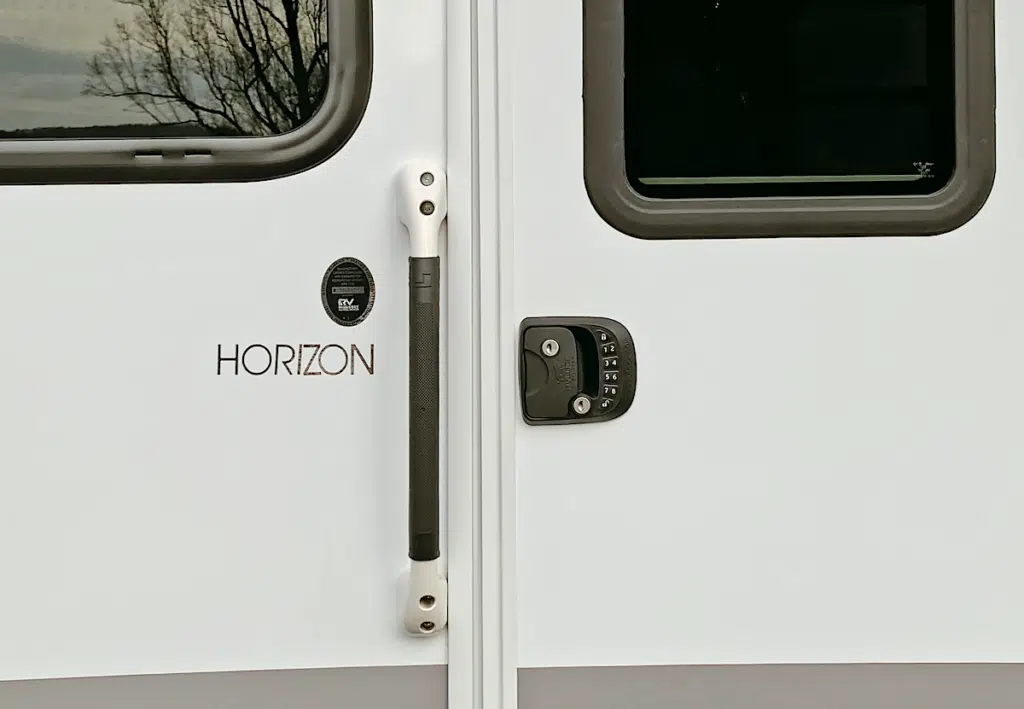
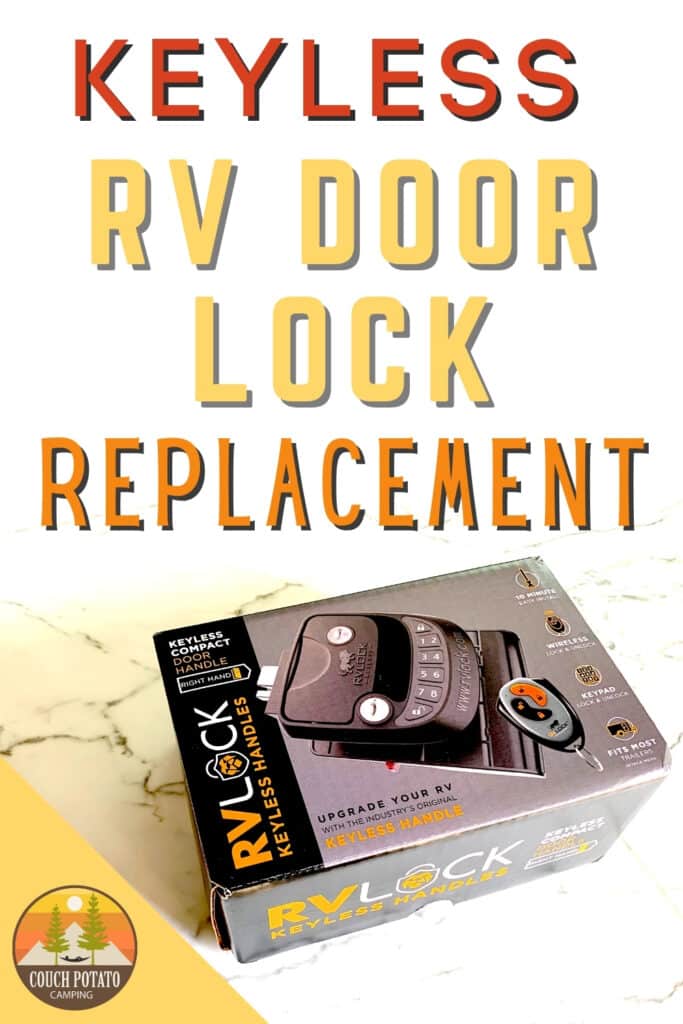
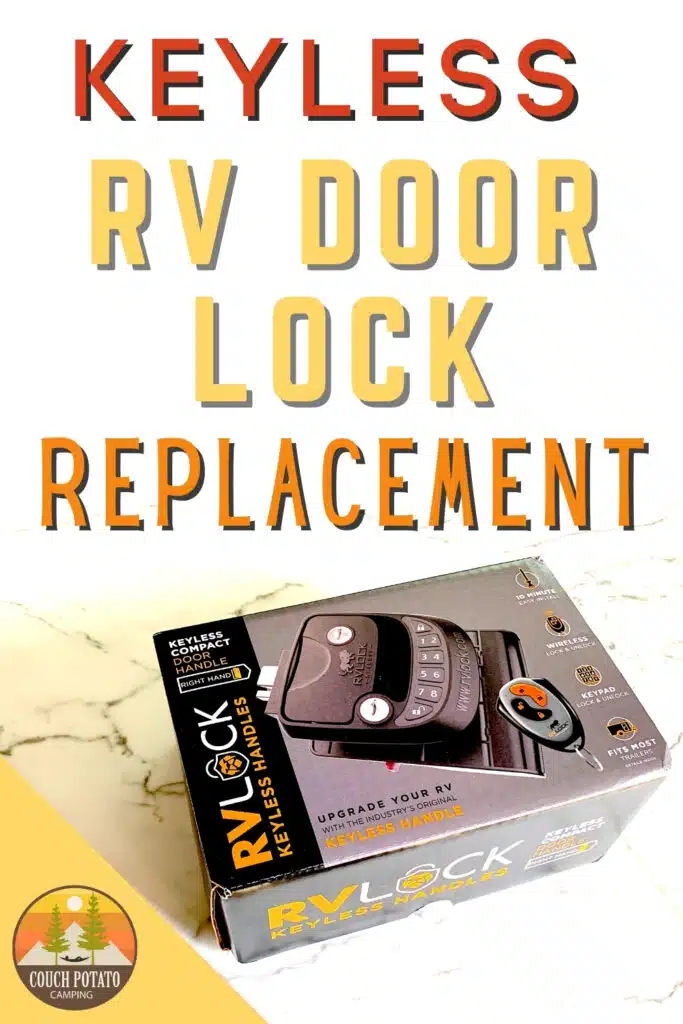
Recently, I installed an RVLock Keyless Handle to replace our factory RV door lock on our 2021 IntechRV Sol Horizon. We are not new to this OEM door lock replacement option, as we installed a similar RVLock model on our previous RV after our factory entry door lock set failed.
We absolutely enjoyed the ease of having a keyless RV door lock system on our previous RV. It was no question when we purchased our new RV, our first major upgrade was the keyless door lock option.
There are many benefits to having a keyless RV entry door lock. Here a few reasons we installed this RV door lock system on our new RV:
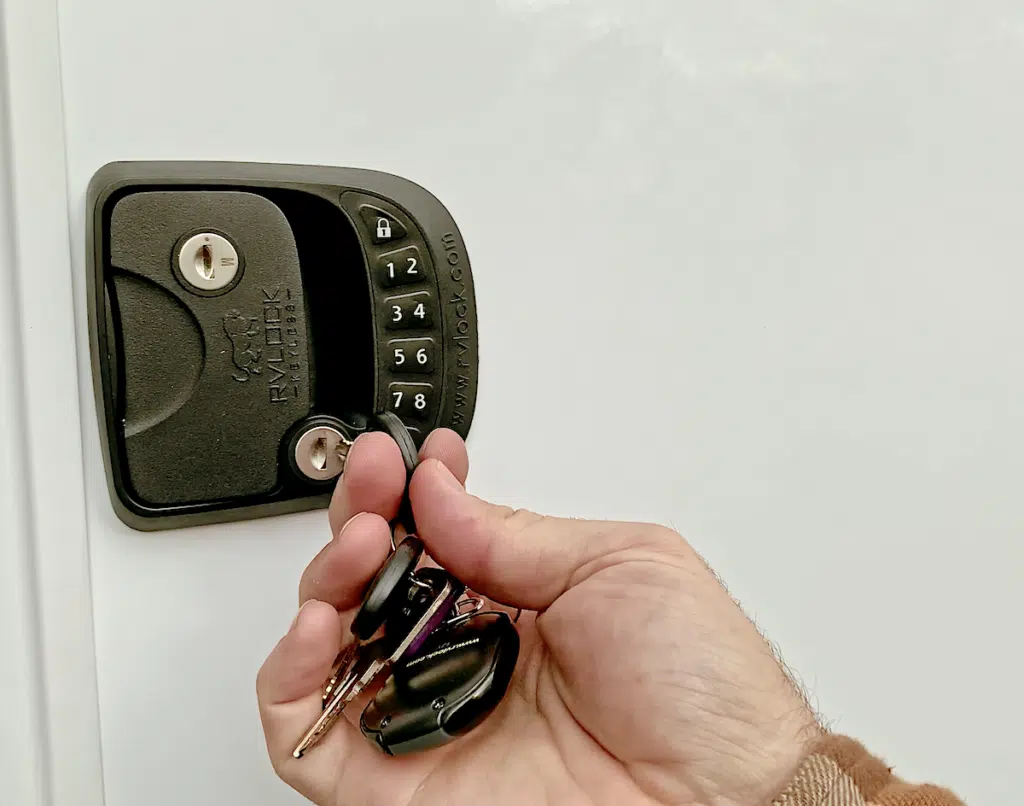
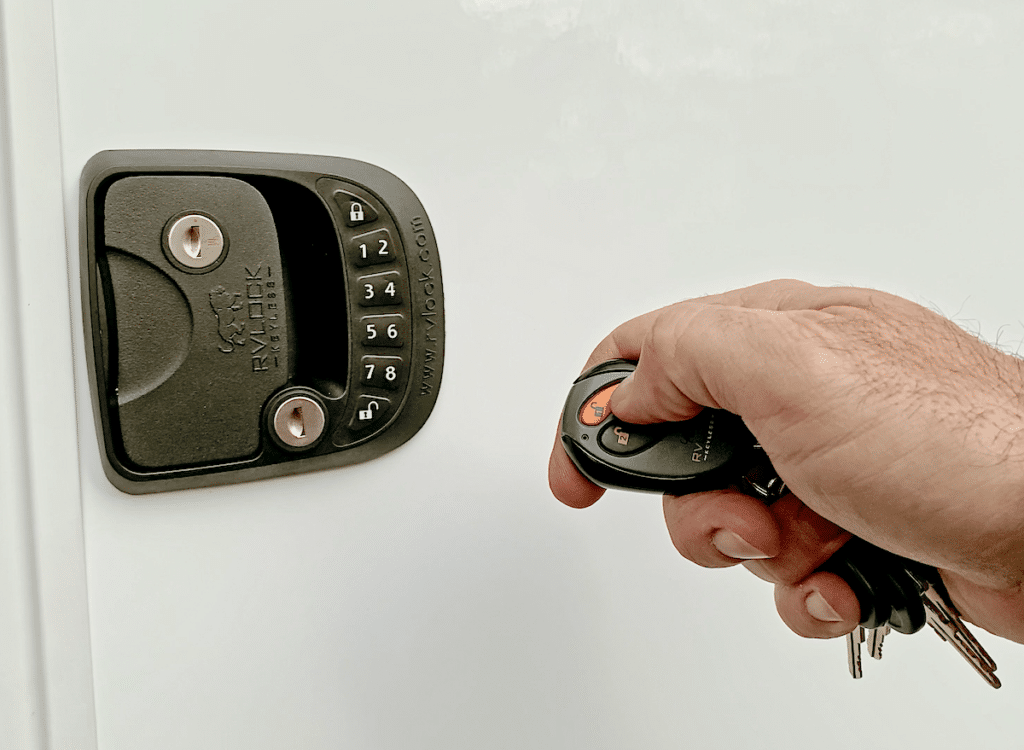
- Three distinct ways of unlocking your RV entry door: a key; a remote fob; and via a code on the lock’s keypad
- Great when leaving your rig to hike or engage in water sports: leave your keys behind – no fear of losing them
- Quickly lock your RV entry door with one push of a button: on the keypad or on your fob
- If you lose your keys you can still gain entry into your RV and order replacement keys when you return home

Here are the steps to remove your factory provided RV entry door lock and install an RVLock Keyless Handle.
How to Replace an RV Lock
Supplies
- RVLock Keyless Handle
- Philips Head Screwdriver
- Square Head Screwdriver (optional depending on your specific RV Door Lock Set)
- Flathead Screwdriver
- Paper towel and mild cleaner
✳️ See our Pro Tip for the RVLock Keyless Handle at the end of this article!
Existing Door Lock Removal
Step 1
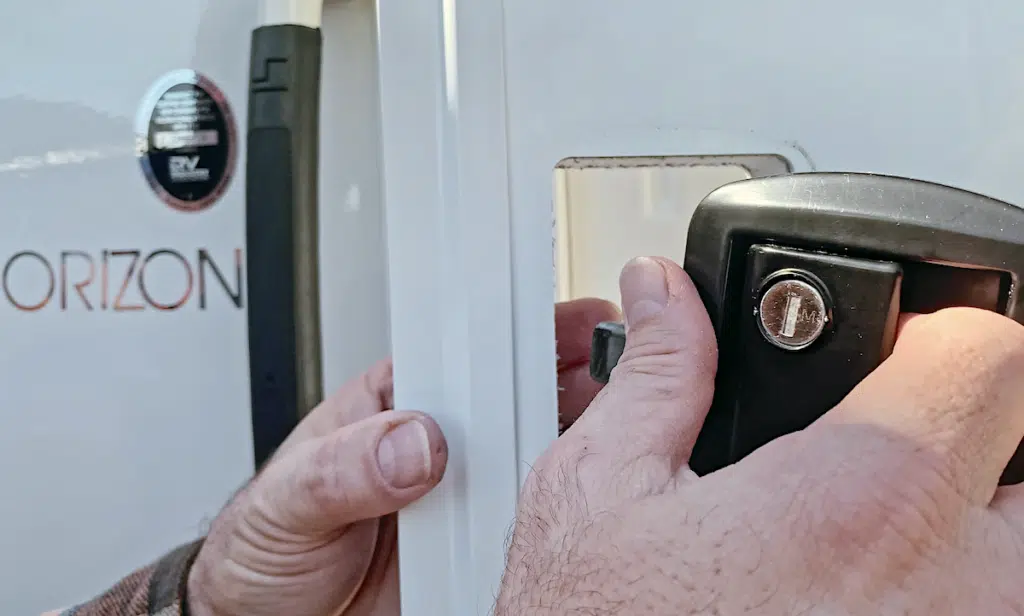
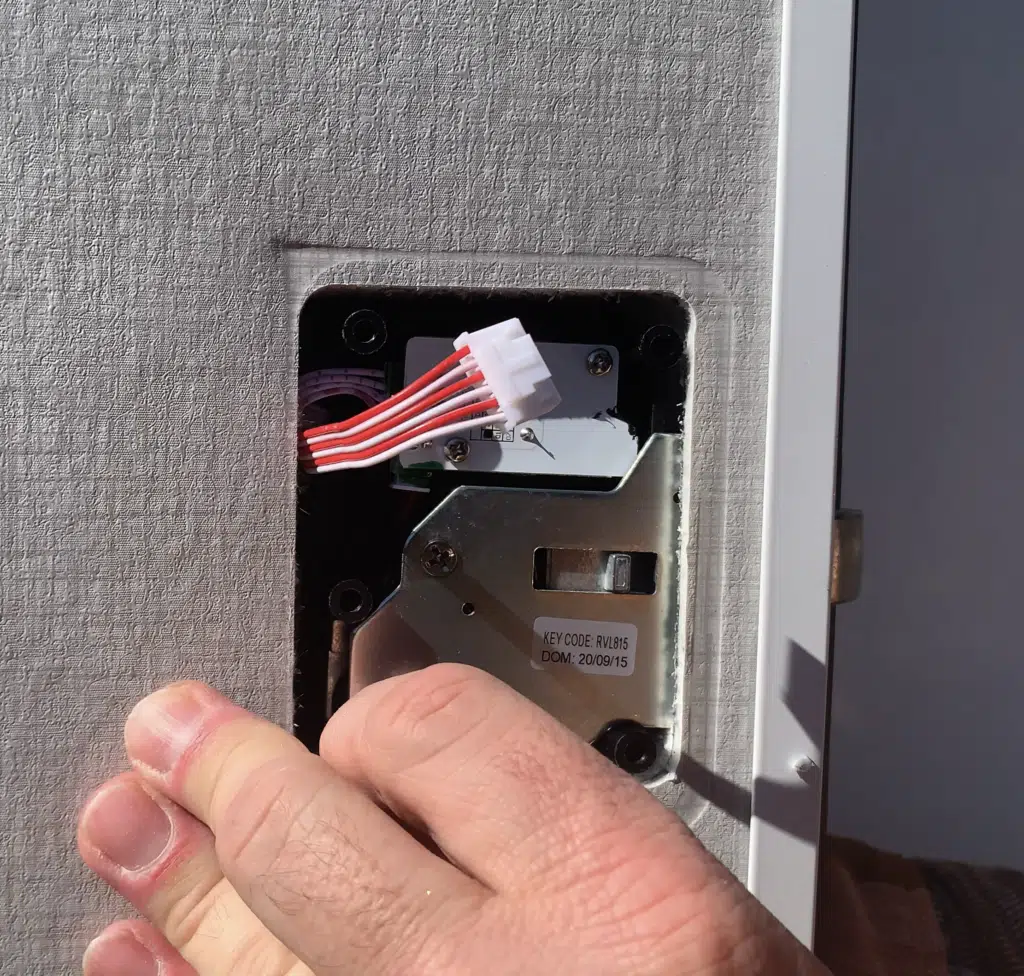
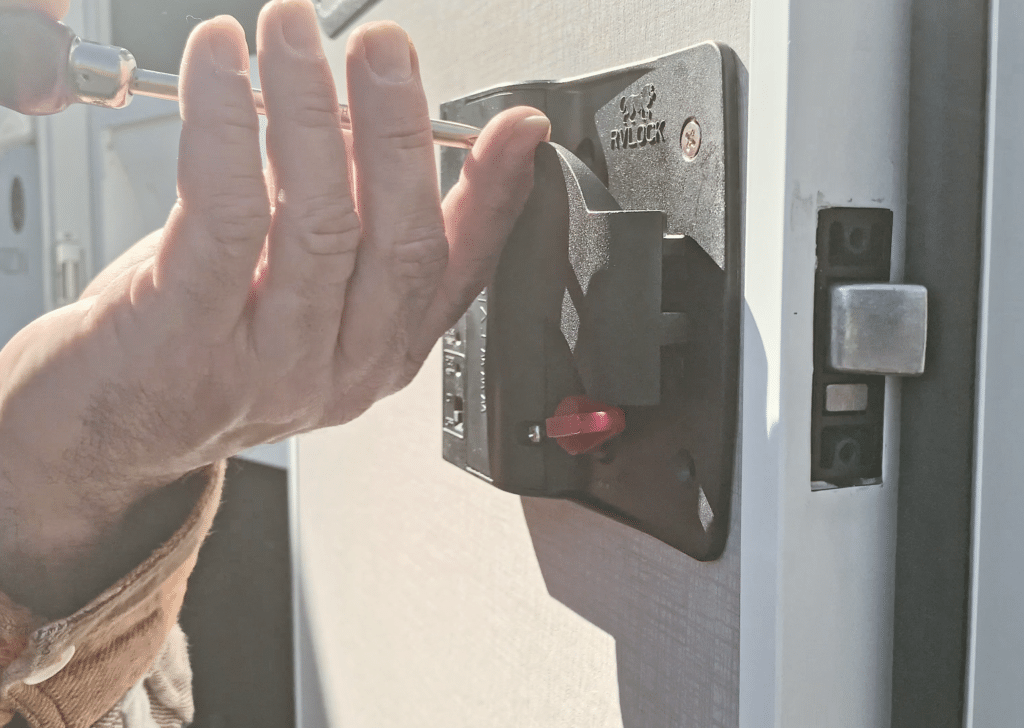
Validate your existing RV entry door lock screw head type. With your RV entry door open, and starting on the inside face of your door, remove the screws on the door lock set.

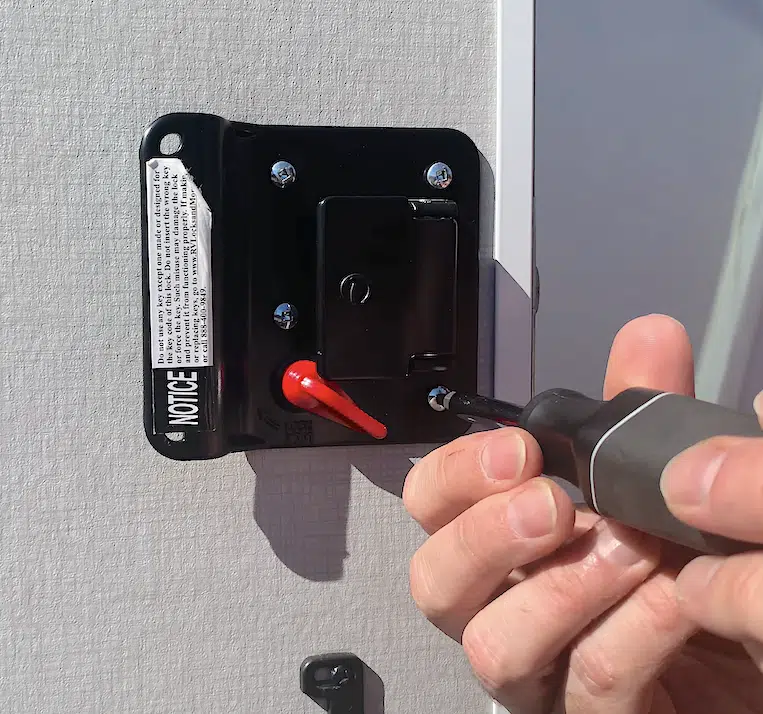
Step 2
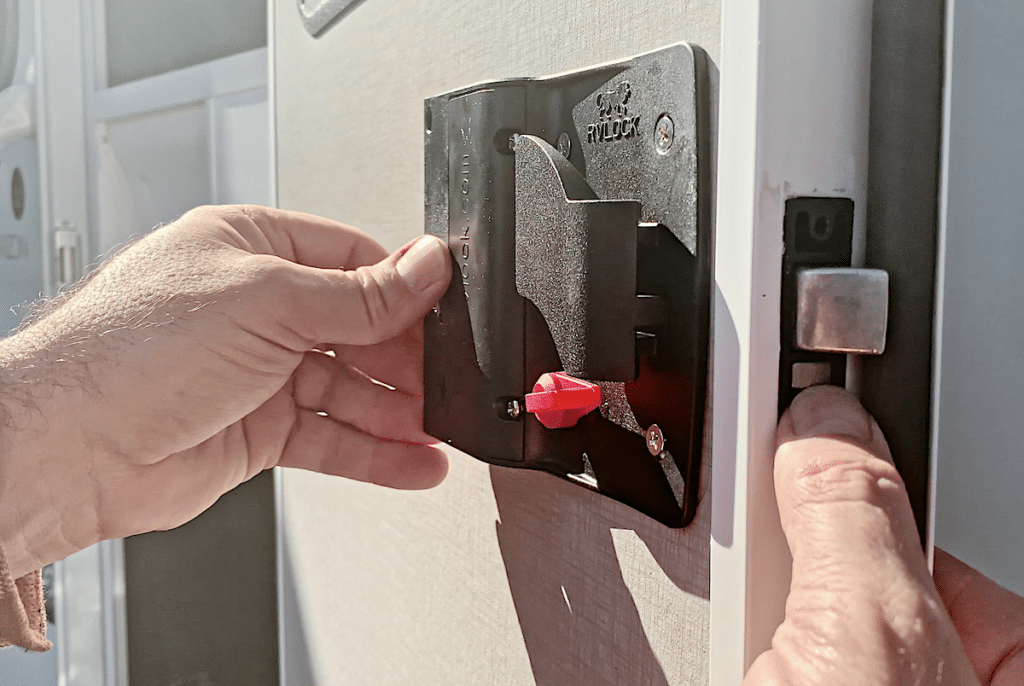
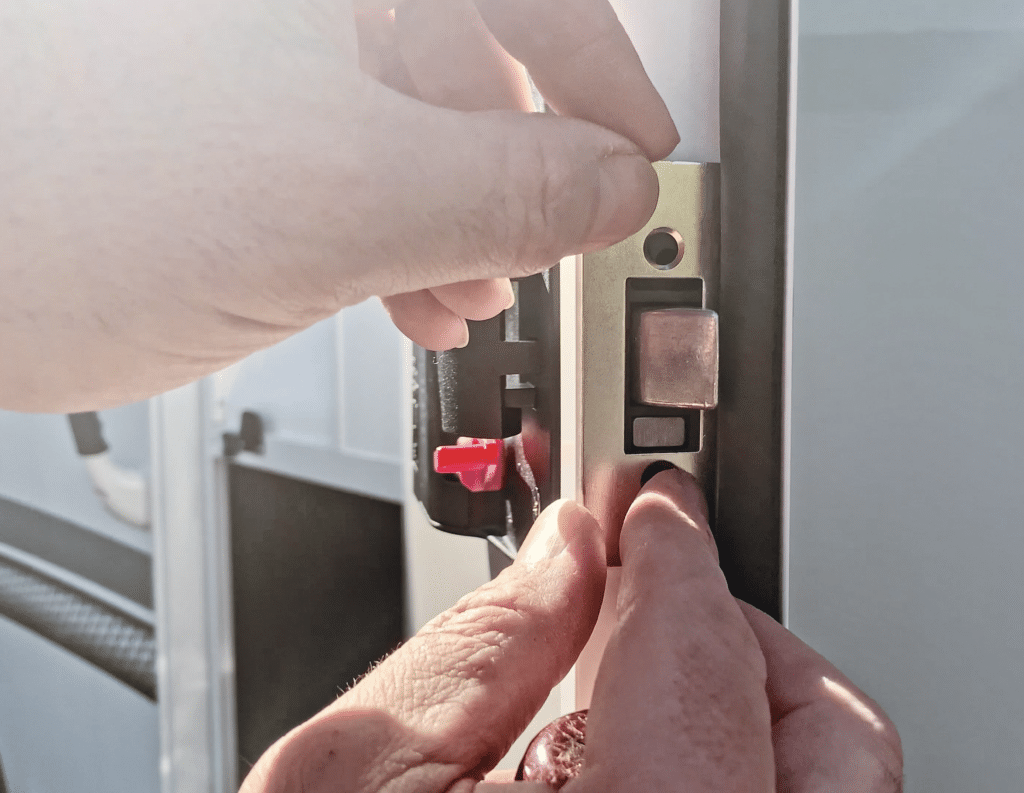
Upon removing the back, interior plate of the existing door lock set, remove the existing deadbolt and lock cover/plate on the door jamb of your RV entry door. You may need to use a flathead screwdriver to gently pry off the existing cover plate (in our case there was a bead of silicone behind the cover plate).

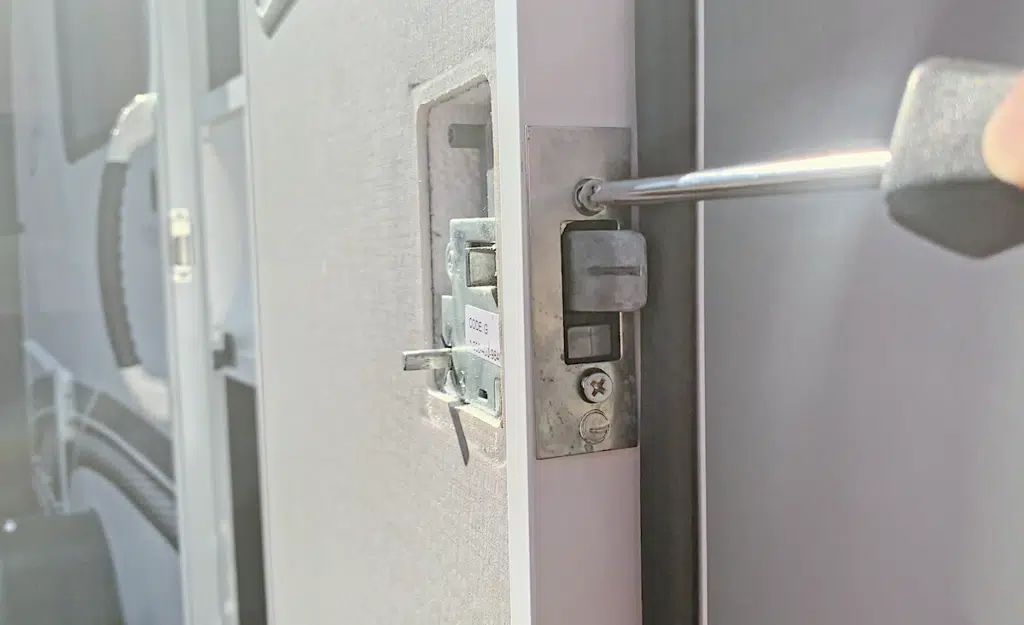


Step 3
Once all the RV lock set attachment screws are removed, begin tugging on the existing RV lock set front plate in an outward, angled motion. Be careful not to damage or inadvertently bend or enlarged your existing RV entry door lock opening.
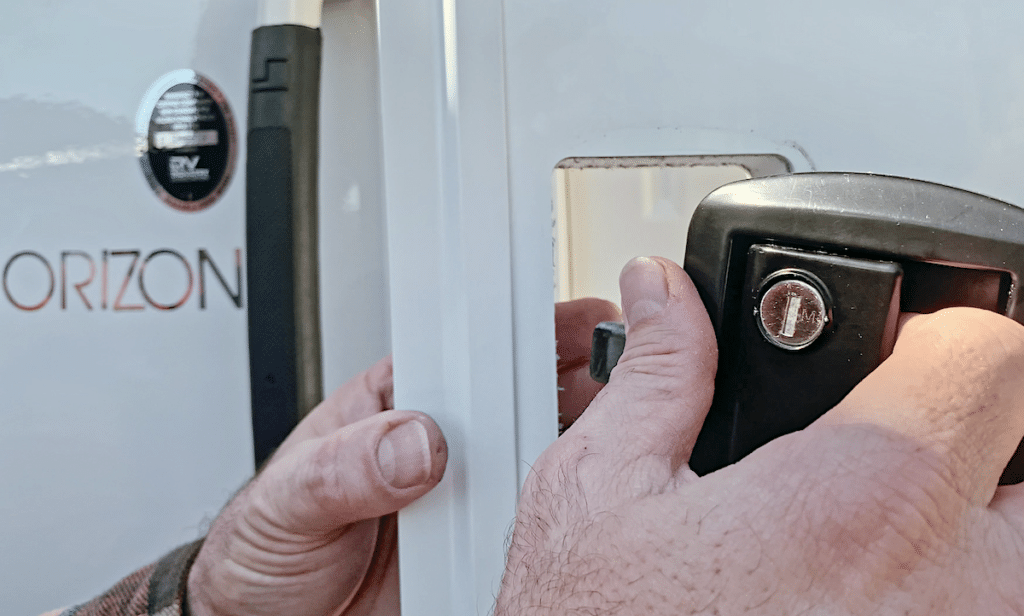
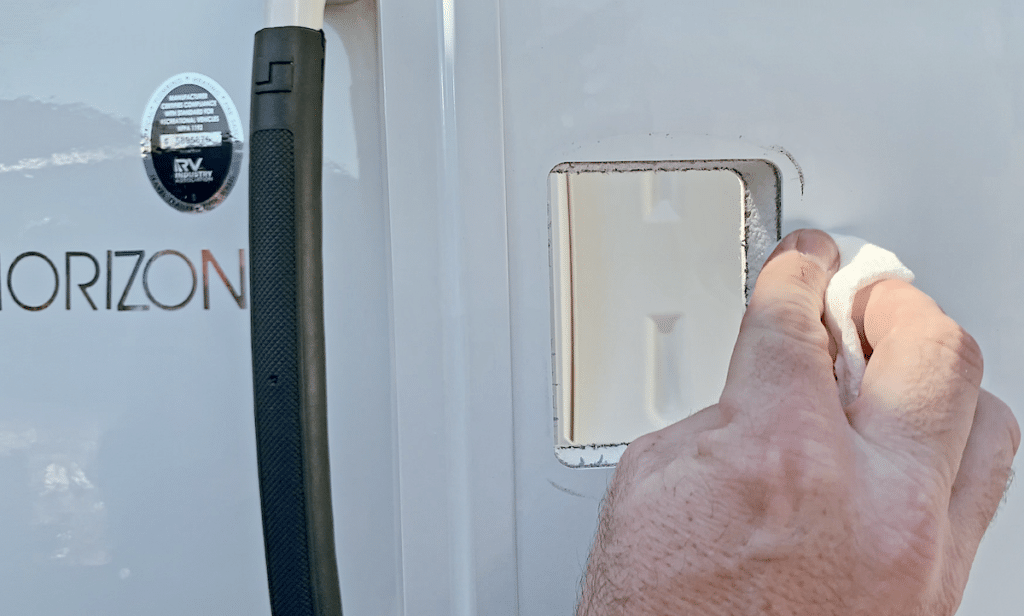
Step 4
Upon removal of the entire existing RV lock set, with a mild household cleaner (or Goo Gone if necessary) remove any residual silicone residue on the exterior of the RV entry door.

✅ Check out our other Camping and RV Gear recommendations!
New Door Lock Installation
Step 1
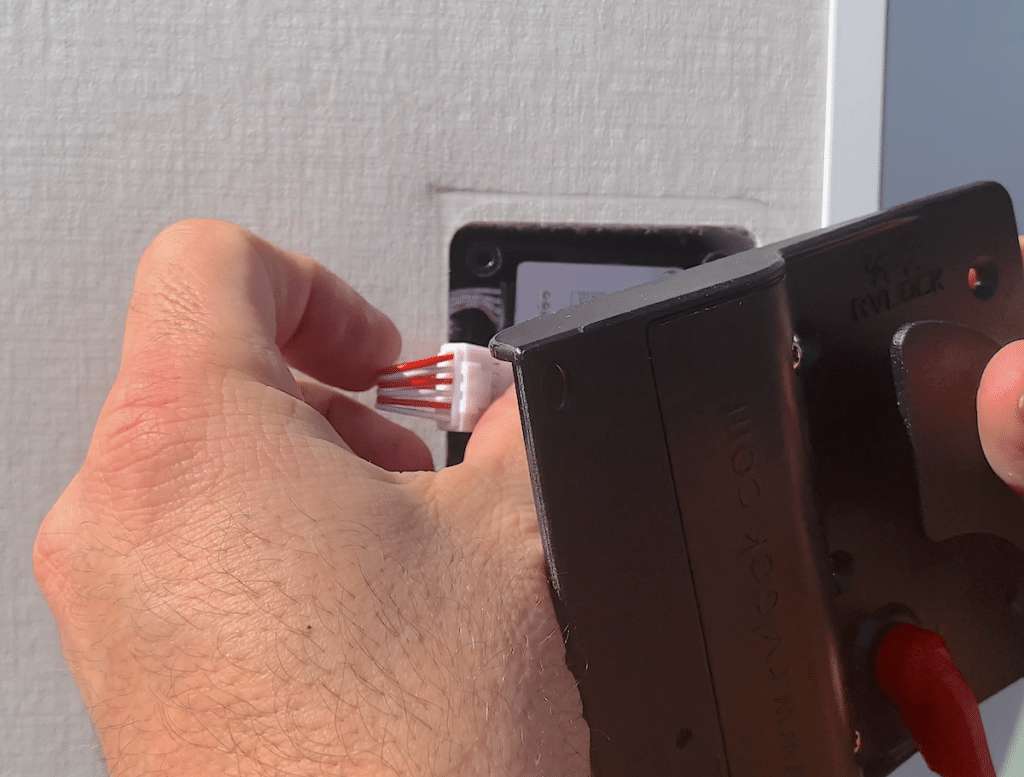
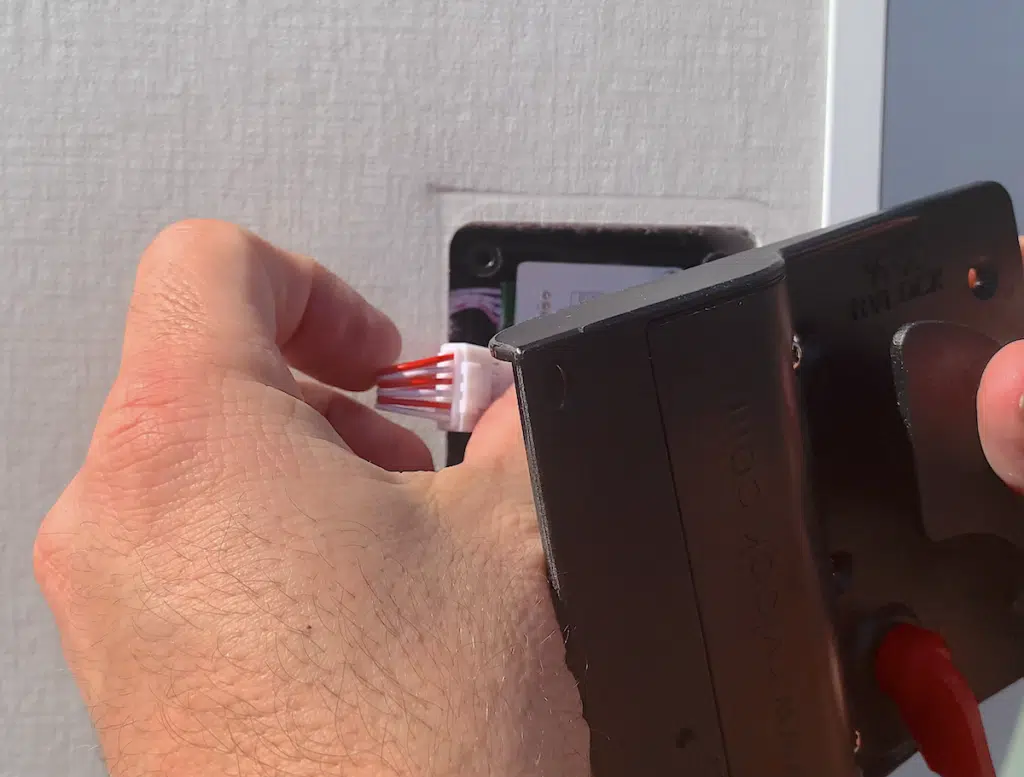
With your RV entry door open, install the front/exterior face plate of your new door lock set. With an angled/inward motion fit your new door lock front plate into the existing RV door lock opening. Be certain to tuck in the new door lock set wires as your loosely fitting in the front plate.

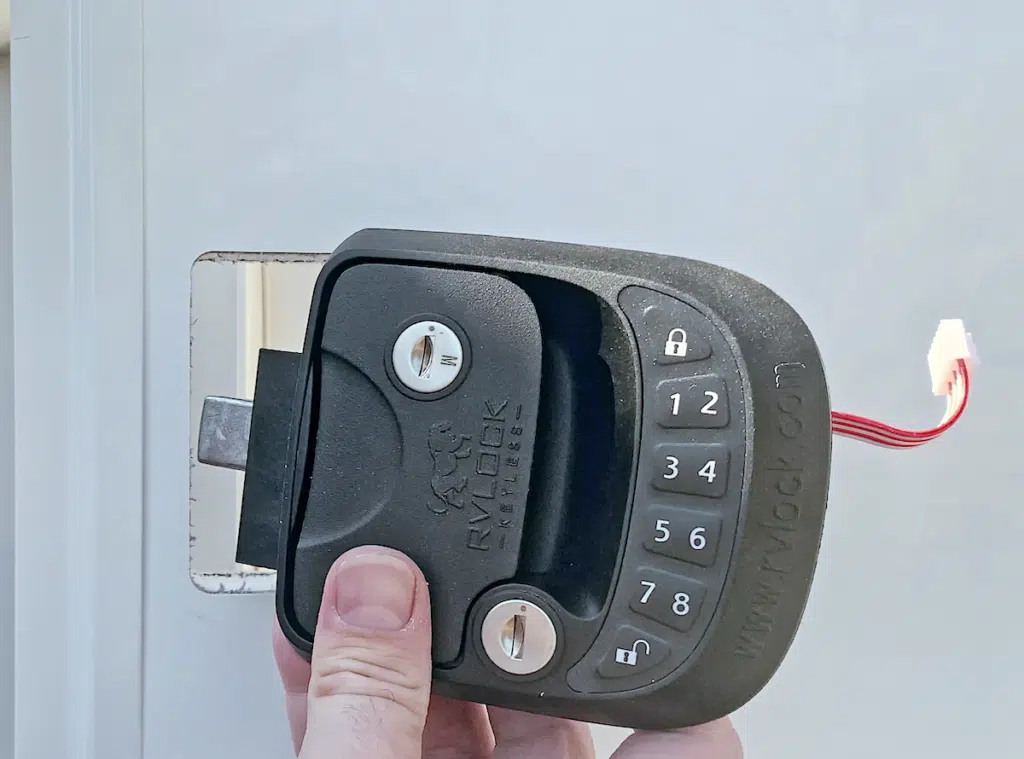
Step 2
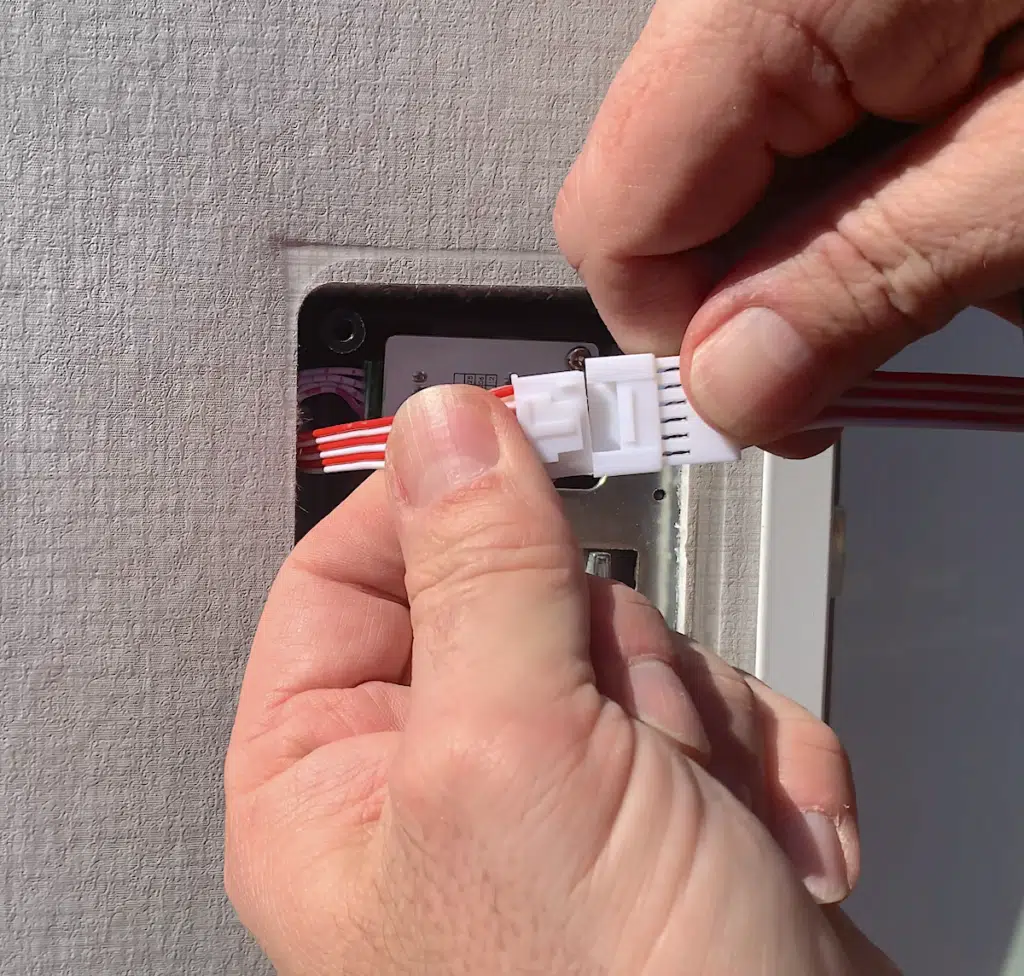
On the interior face of your RV door, validate you pulled the new door lock wiring harness through the lock opening so it is not pinched or wedged between the new door lock exterior face plate and the RV door lock opening. With the new interior door lock face plate in your hand, connect the new interior door lock face plate wiring harness to the new exterior door lock face plate. If your batteries are already installed and the lockset is turned on you may hear a confirm beep. Once your wiring harness is fully connected, gently tuck in the wiring harness into the door lock set opening – being careful not to pinch or damage the wires or wiring harness connection.

Step 3
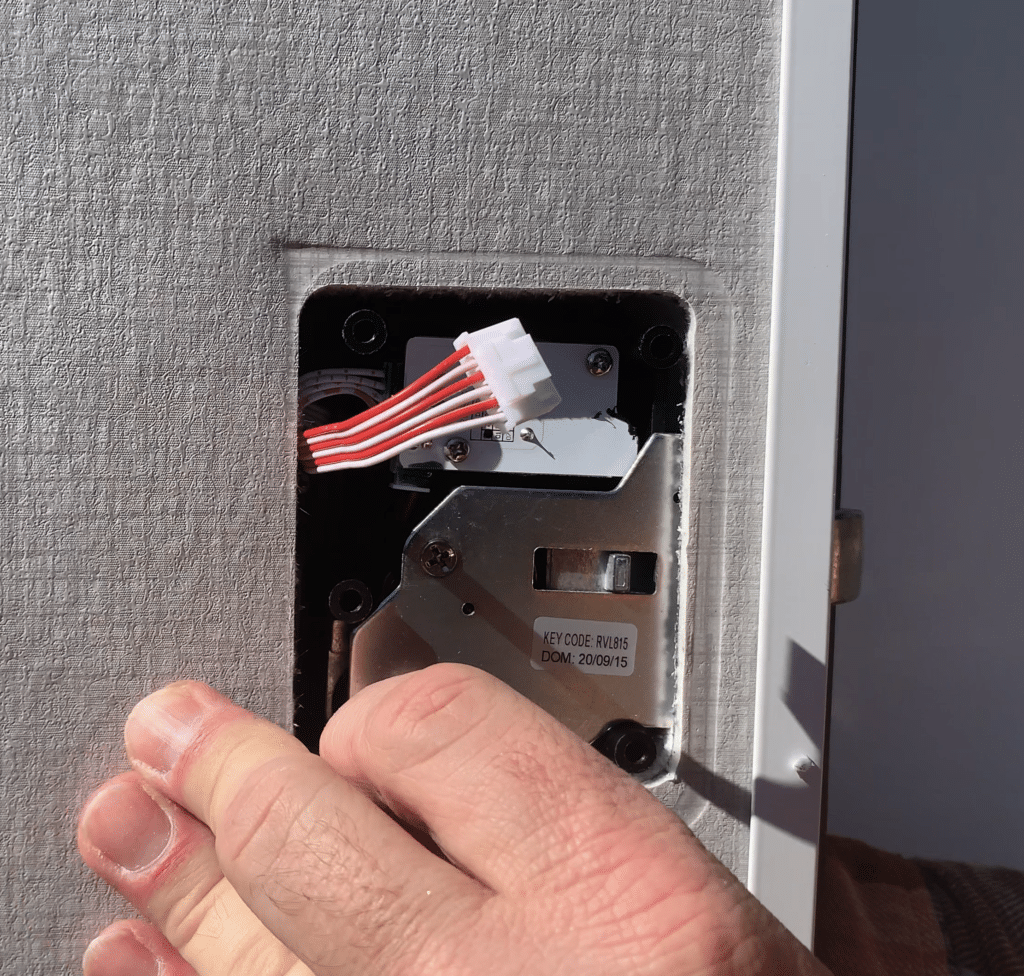
Begin to align the exterior and interior plates of your new RV lock set. Align the deadbolt handle (shown in red) and the door release latch – attached to the interior door lock plate to the exterior door lock set plate. It may take some finessing to properly align these two door lockset components as there is only one way each will properly align with their respective companion on each face/plate of the door lock set. Once aligned, begin to install the new four door lock screws – only snug down the screws, but do not completely tighten them.

Step 4
Begin to align the new RV door lock set in the existing RV door opening. With the new screws snugged down but not completely tightened, you will be able to hold the final position of your new door lock set that best suits your RV door setup.

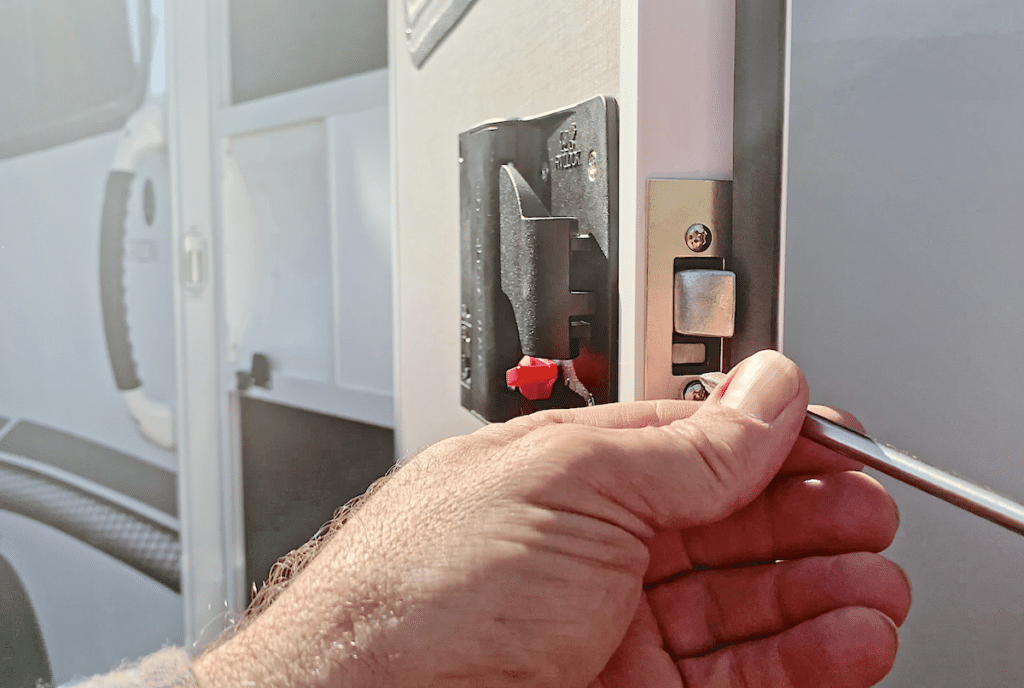
Step 5
Next, apply the new RV lock latch plate to your new RV door lock set. We recommend only snugging down the screws to allow for a final finessing and placement of your entire, new RV door lock set. Once you have made your final adjustments on the new door lock set placement within your RV door, tighten all the door lock set and cover plate screws.


Step 6
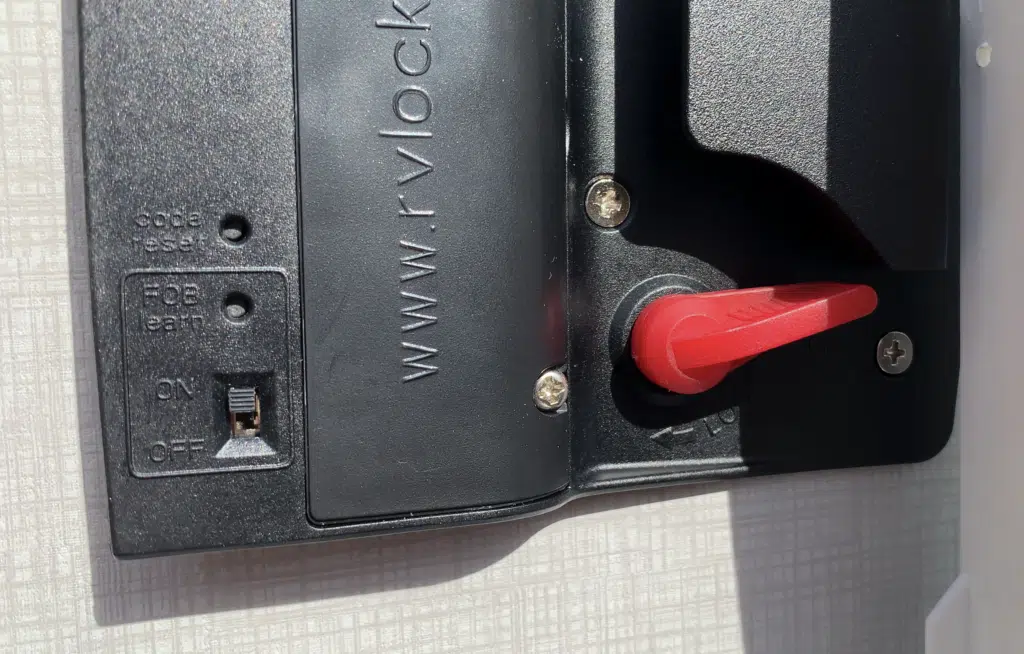
If you haven’t already, install your factory provided – or four new AA batteries – into your new RV door lock set and turn on your door lock set using the switch shown below.

Step 7
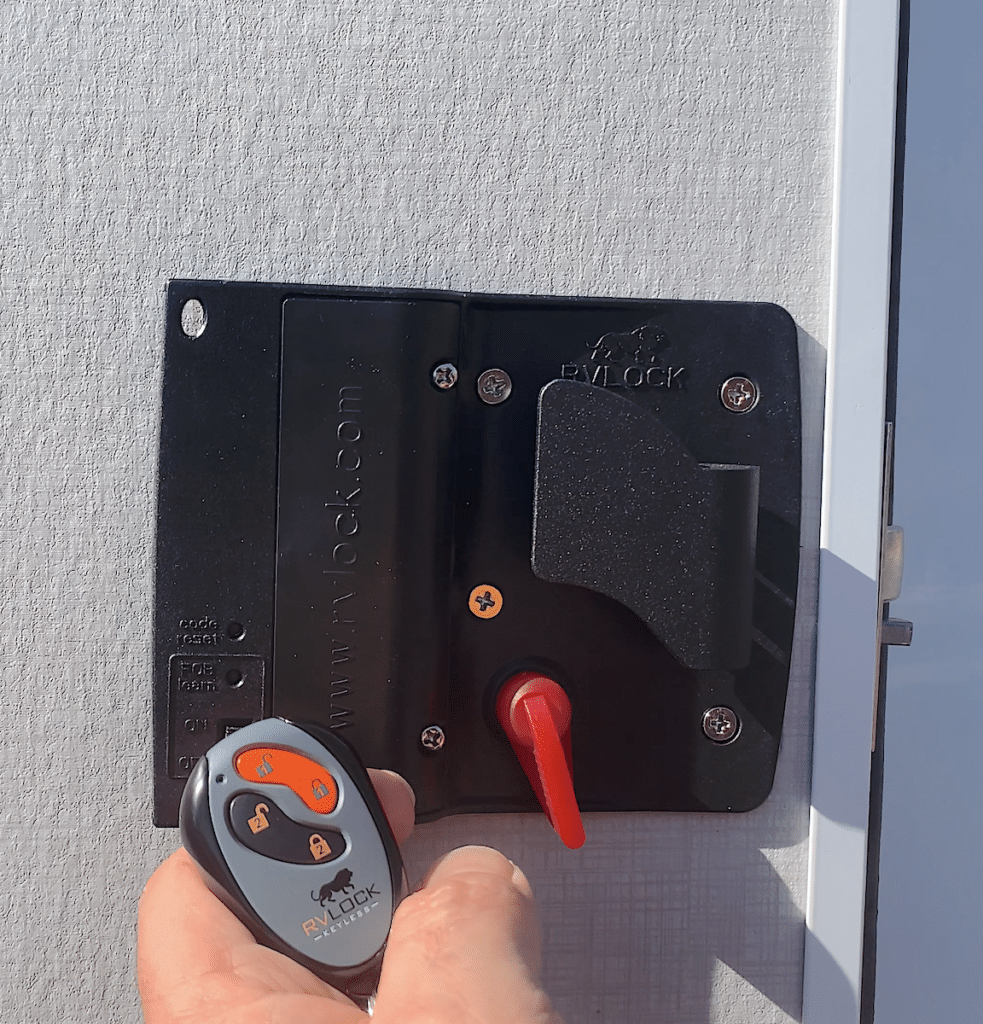
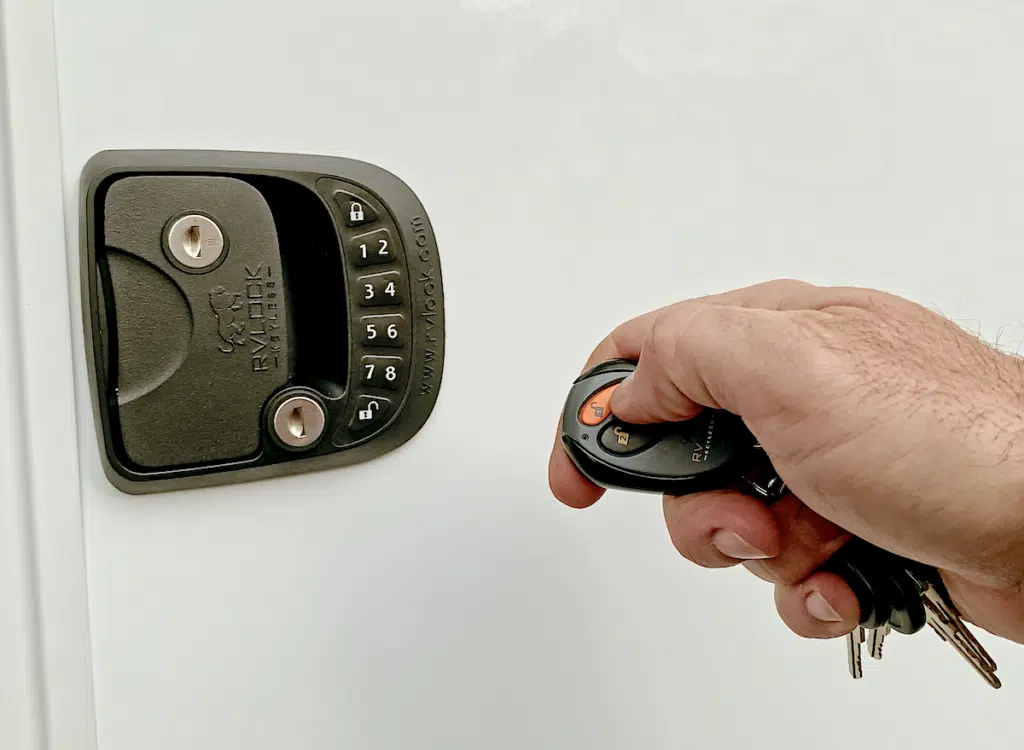
Next, you want to program and sync your new RV door lock set with your factory provided door lock fob. First, with a ballpoint pen or finish nail depress the middle button on the interior face of your new door lock set – the button labeled ‘FOB Learn’. While depressing that button, hold down the ‘Lock’ button on your new door lock FOB. You will hear the door lock automatically once the two components are programmed and synced.

Step 8
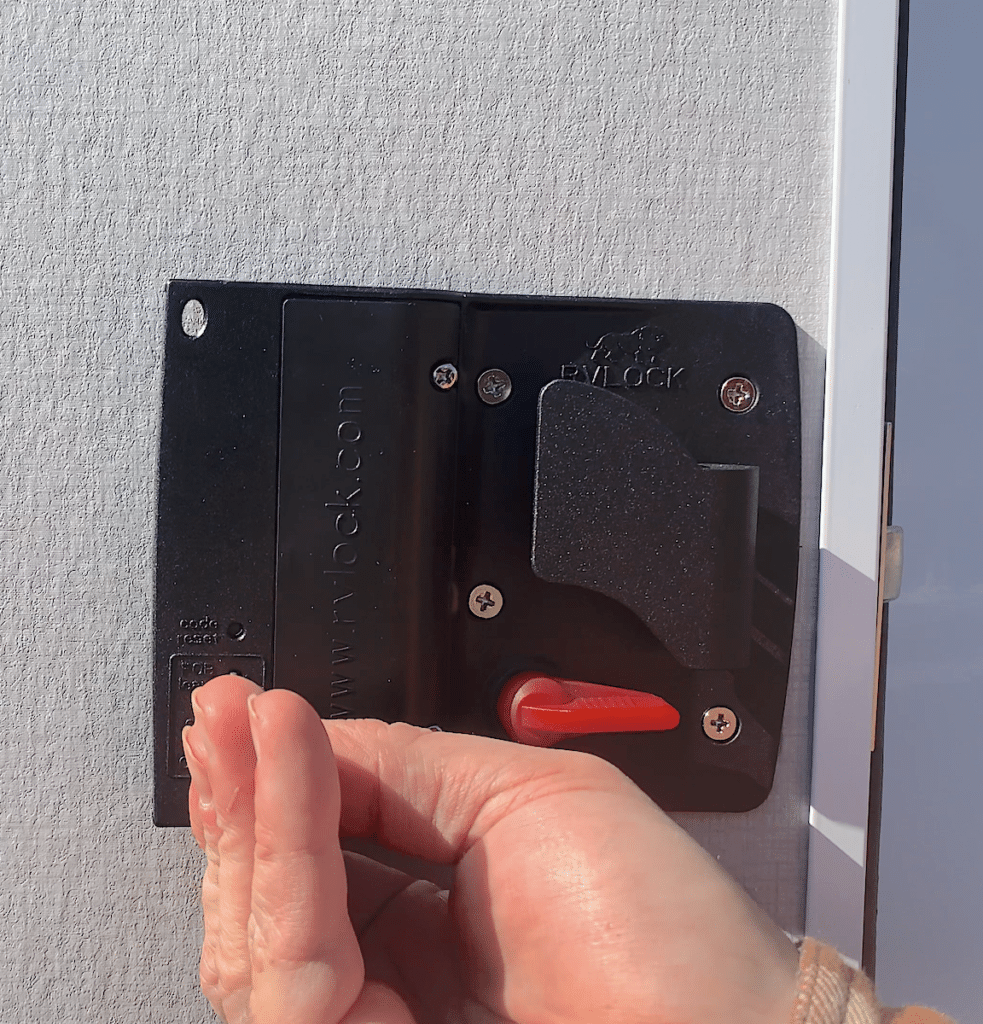
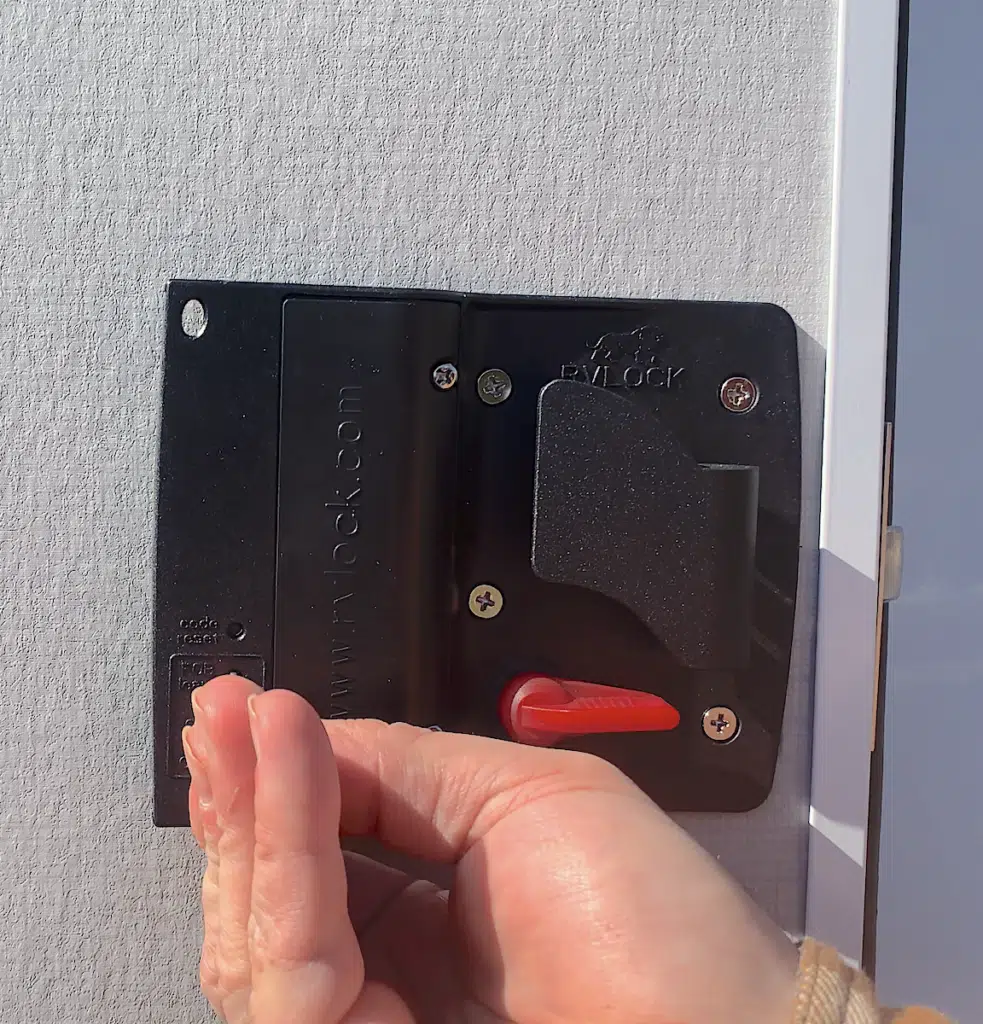
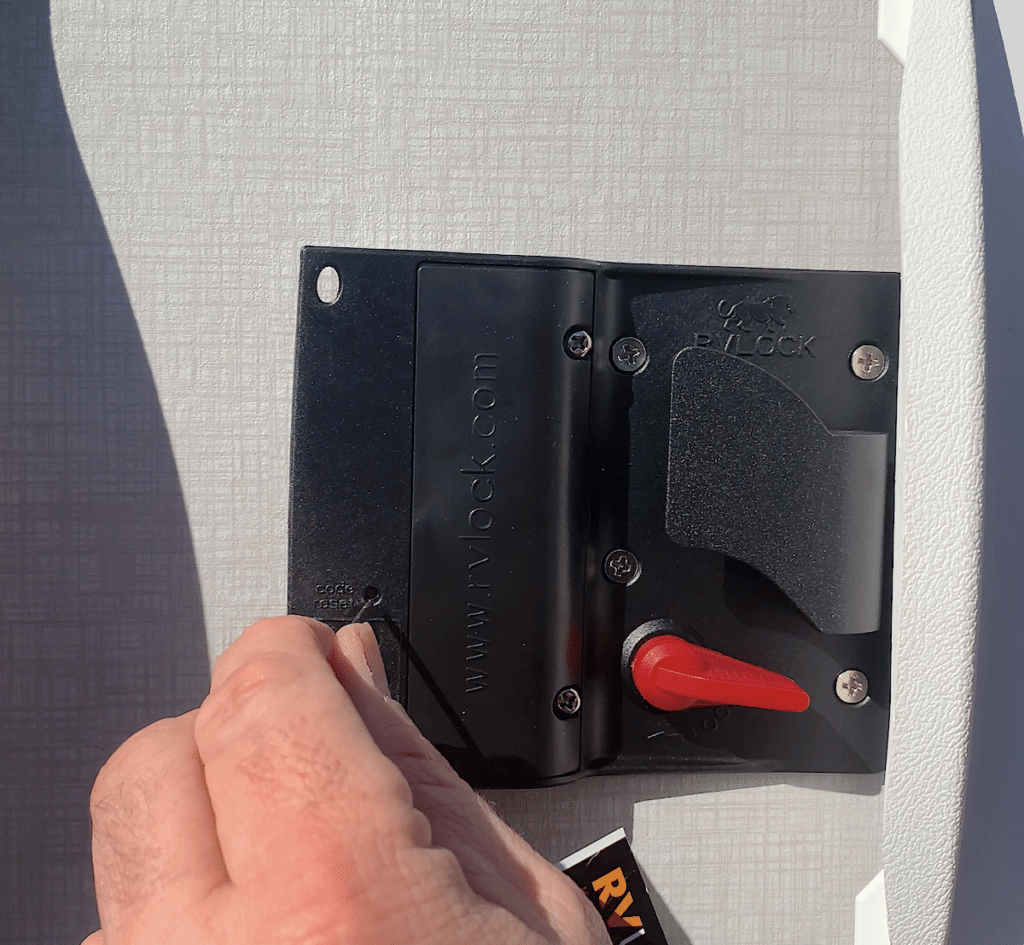
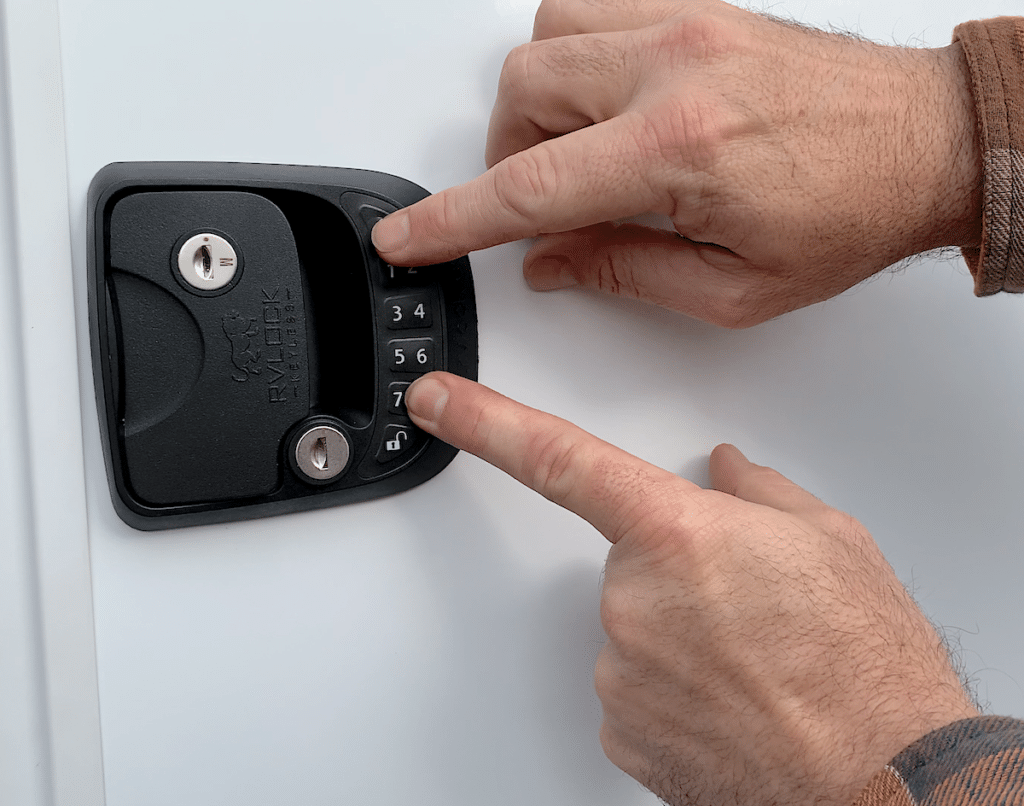
Your new RVLock Keyless door lock set comes with a factory provided ‘1-2-3-4’ entry code. We highly suggest reprogramming your new door lock with a new four to six digit code that is unique to you. To reprogram your entry code, first depress the top button on the interior face of your new door lock set – the button labeled ‘Code Reset’. Next – this is very important – within a ten second window of time perform the following steps:
- Hold down the number 8 then depress the Lock button on your keypad to enter into the reprogramming mode
- Enter the factory provided code ‘1-2-3-4’ then hit the lock button on the keypad
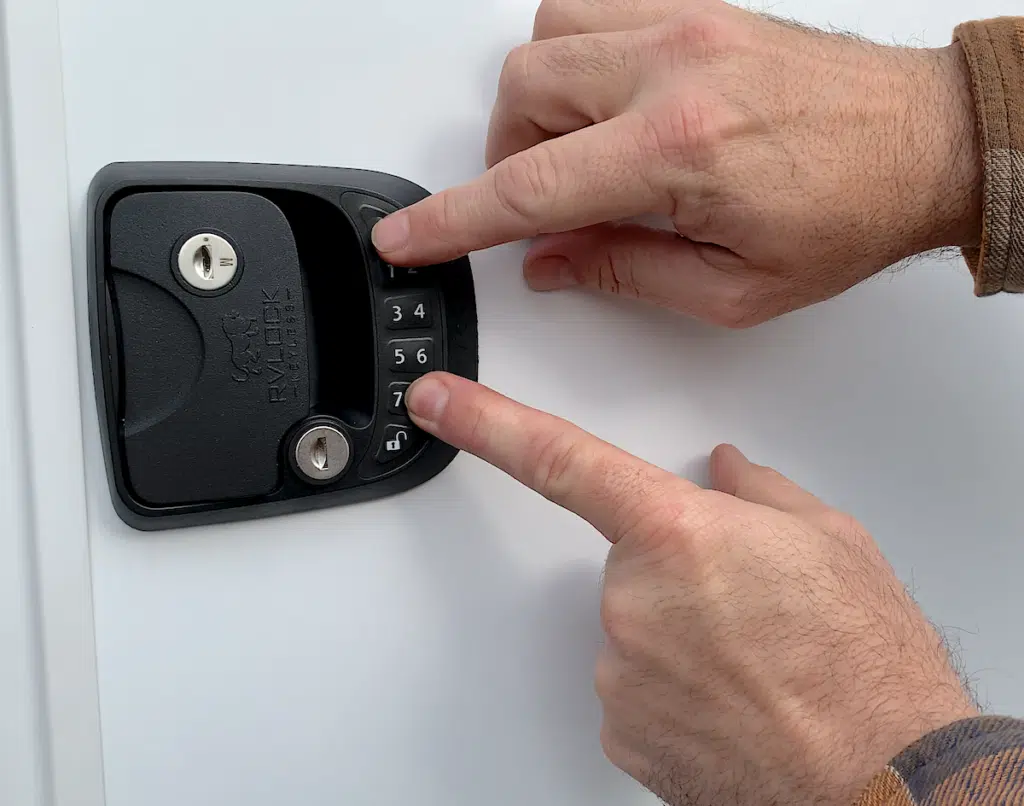
- Quickly enter your new four to six digit code then hit the lock button on the keypad
- One final time quickly enter your new four to six digit code then hit the lock button on the keypad
- You will hear a long confirming beep if you successfully reprogrammed your keypad’s entry code
- Write down and keep your new entry code in a safe place

Step 9
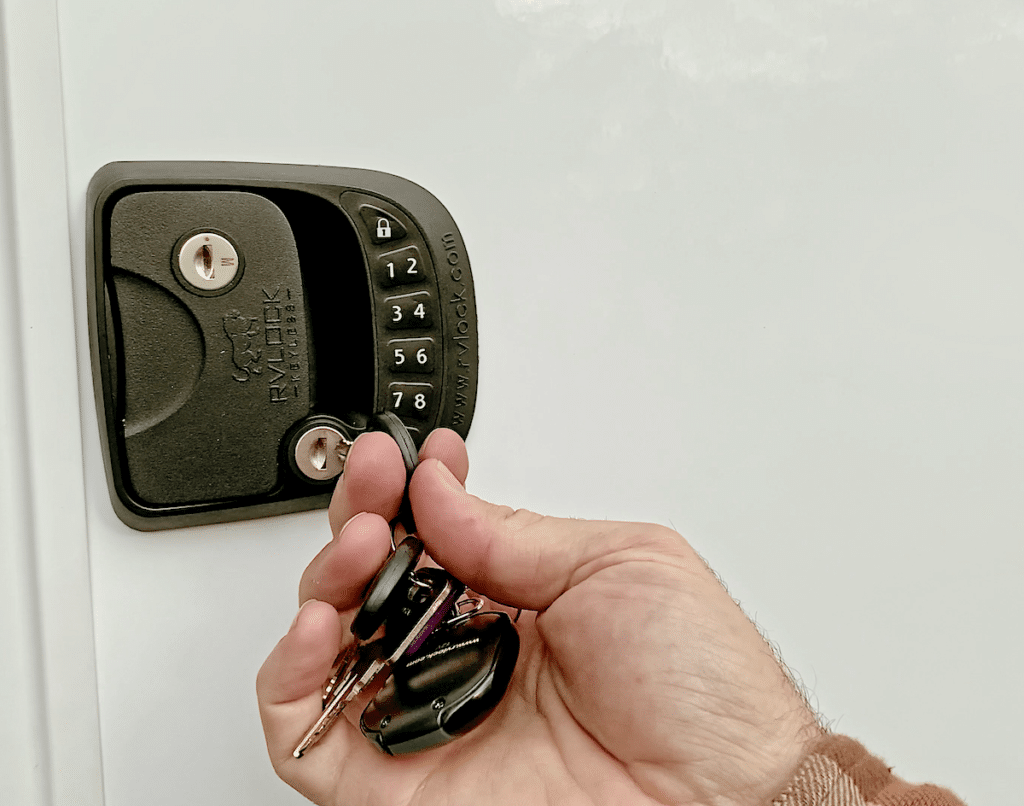
Prior to shutting and locking your RV entry door upon completing the installation test all three means of locking and unlocking your new RV door lock. Use the hard key; test your new keypad code; and test your new keyless entry fob.
✳️ Pro Tip: To turn off (and back on) the RVLock beeps and sounds press and hold the number ‘1’ button on your lock exterior keypad. You will get a long confirming beep when you have successfully made this modification.
If you are thinking about an InTech Sol Horizon or already own one, you will want to see our list of Pros and Cons of the trailer, and you’ll appreciate our detailed list of the RV’s interior and exterior specs.
Dalton Bourne
Tuesday 9th of August 2022
Rekeying your RV locks is a straightforward process. However, there are a few essential things you need to become successful at this venture. A rekey kit can include a retainer ring tool, a plug follower tool, and color-coded lock pins. Some manufacturers also include T-pin springs, pin springs, key gage, retainer cap pins, removable caps, and T-pins. I strongly recommend studying these parts to know how to use them properly. It is ideal to order the precise rekey kit for your RV’s lock model. It should also come with detailed instructions on how to disassemble and rekey your RV lock.
Cyrus Juliet
Wednesday 15th of September 2021
Thanks for your guide, I'm planning to change the RV door lock. This post will help me a lot.
Couch Potato Camping
Monday 20th of September 2021
Thanks! I'm glad we could help!
Dalton Bourne
Thursday 12th of August 2021
Learning how to rekey RV locks gives you the chance to improve your vehicle’s security while ensuring convenience. First, you should know the brand that lets you identify the correct rekeying method, allowing you to order the precise RV rekey kit. Then, get your screwdriver and unscrew the RV lock’s securing hardware to remove it. You can get the retainer ring tool from the rekey kit. Use the tool to remove the lock cylinder from its attachment, remove the old pins and insert the new ones, and insert the new key into the rekeyed lock to determine if it works smoothly and faultlessly or not.
Dalton Bourne
Saturday 21st of August 2021
Learning how to rekey RV locks can help you address these concerns. I know it sounds complicated, but I can promise you it is a lot simpler than it is.