If you make a purchase using links in this article, I could receive a commission. Please see my Privacy Policy for information.
Looking for an easy to install solar powered, wireless backup camera for your vehicle or RV?
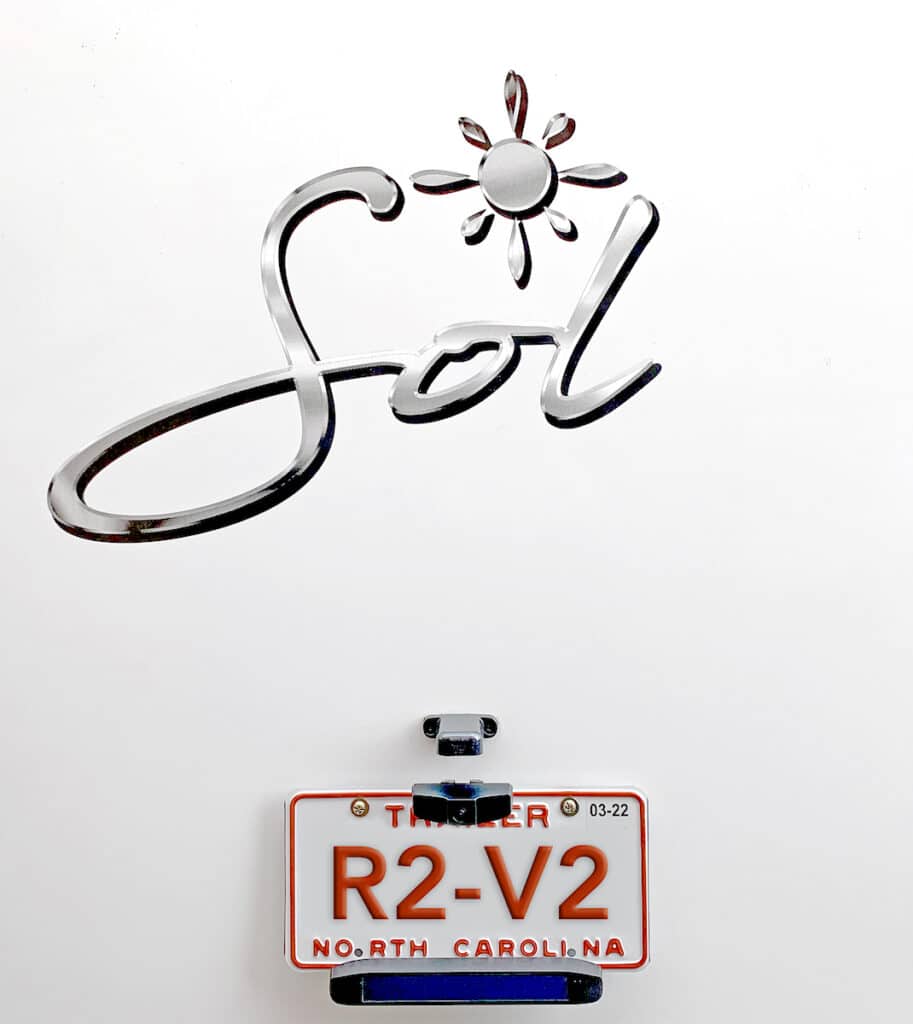
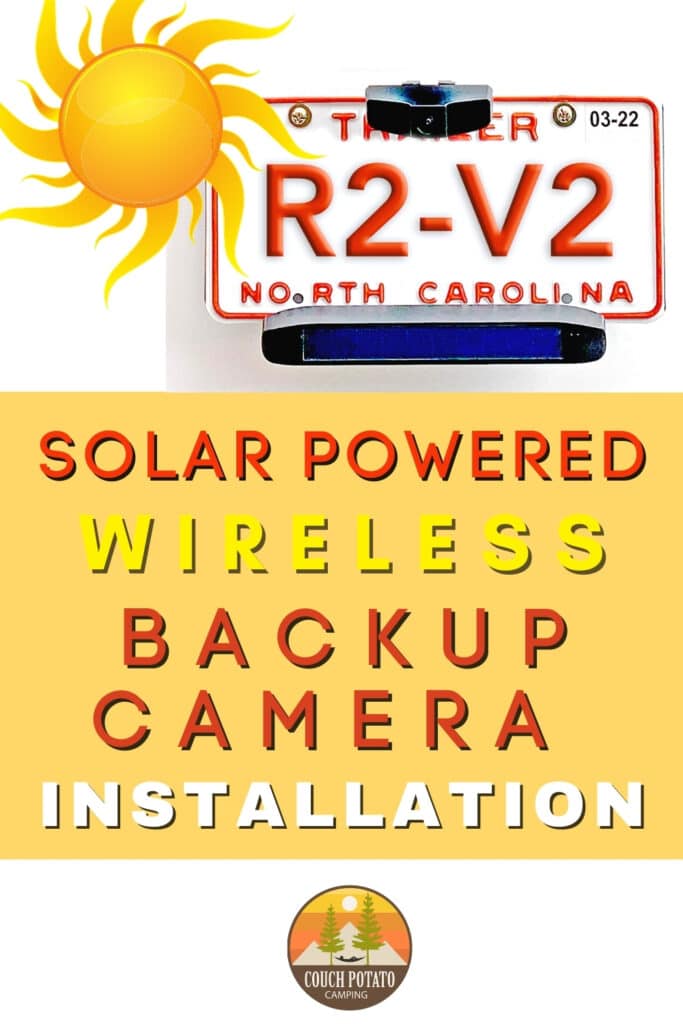
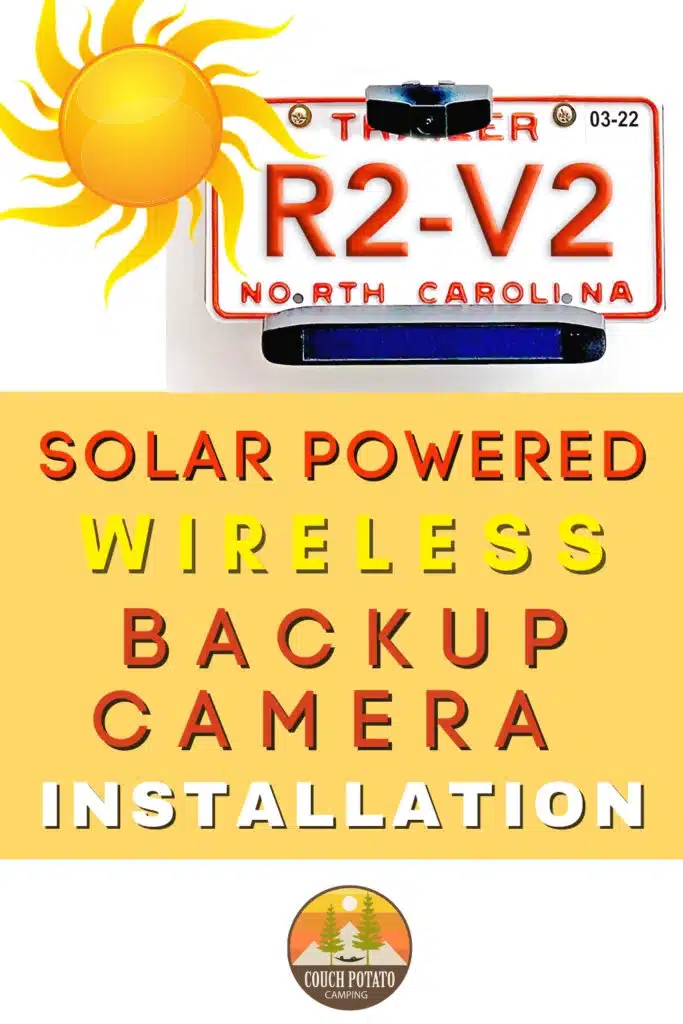
Recently, I installed the Auto-Vox Solar 1 Solar Wireless Backup Camera on our new 2021 IntechRV Sol Horizon (nicknamed R2-V2). Since our RV did not come pre-wired for a backup camera system – and since I did not want to drill any holes into our new RV – I decided to use a solar powered, wireless backup camera setup.
There are several features that drew me to this type of backup camera system:
- No additional wiring to your RV or vehicle and no new holes need to be drilled into your RV or vehicle.
- The camera batteries are charged, after the initial setup charge of 3 – 4 hours, with as little as 30 minutes of sun exposure a day. This yields approximately 2 – 3 days of use (on an average camera on-time of 2 – 3 times per day).
- On cloudy or inclement weather days, the camera batteries can also be charged with a factory provided USB cable which can be plugged into an external power source.
- The backup camera monitor is easy to pair with the camera and easy to setup.
- The backup camera angle can be adjusted to fit your specific vehicle or RV, yielding the best view angle.

Supplies
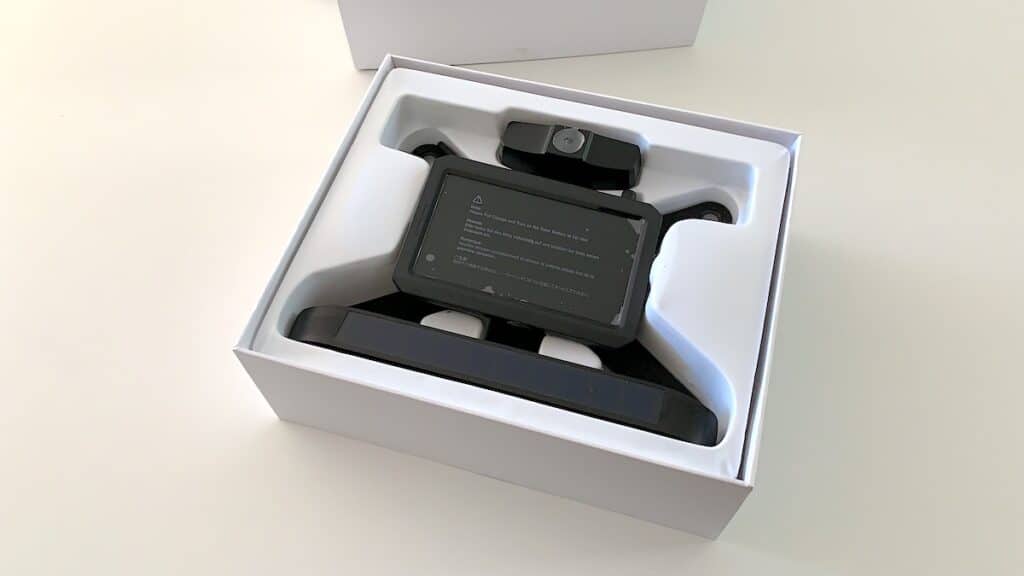
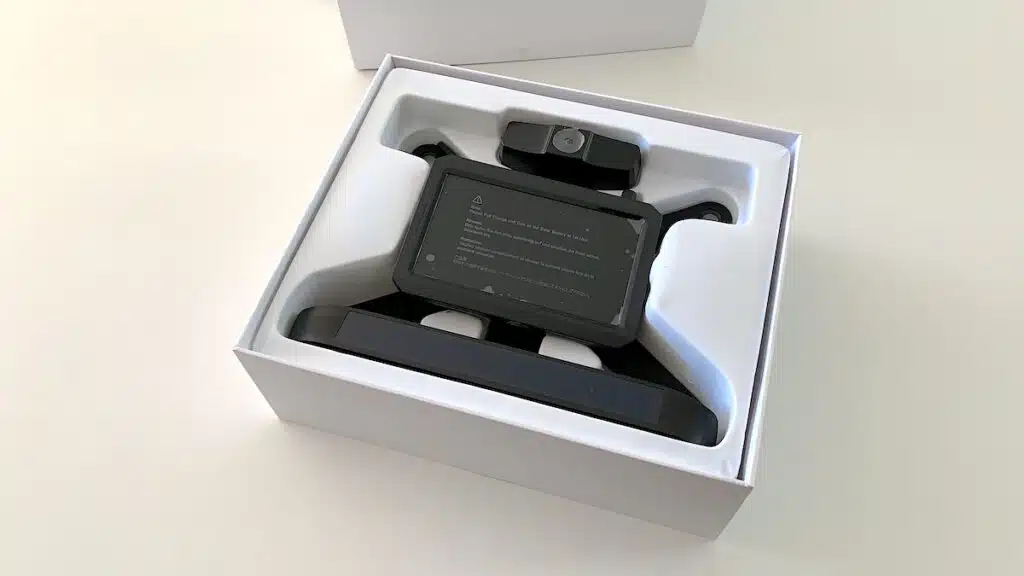
- Auto-Vox Solar 1 Wireless Backup Camera
- Screwdriver (Philips or Flathead depending on your license plate screws)
- (1) Furniture leg/foot pad (Optional)
Wireless Camera Bracket Installation
Step 1
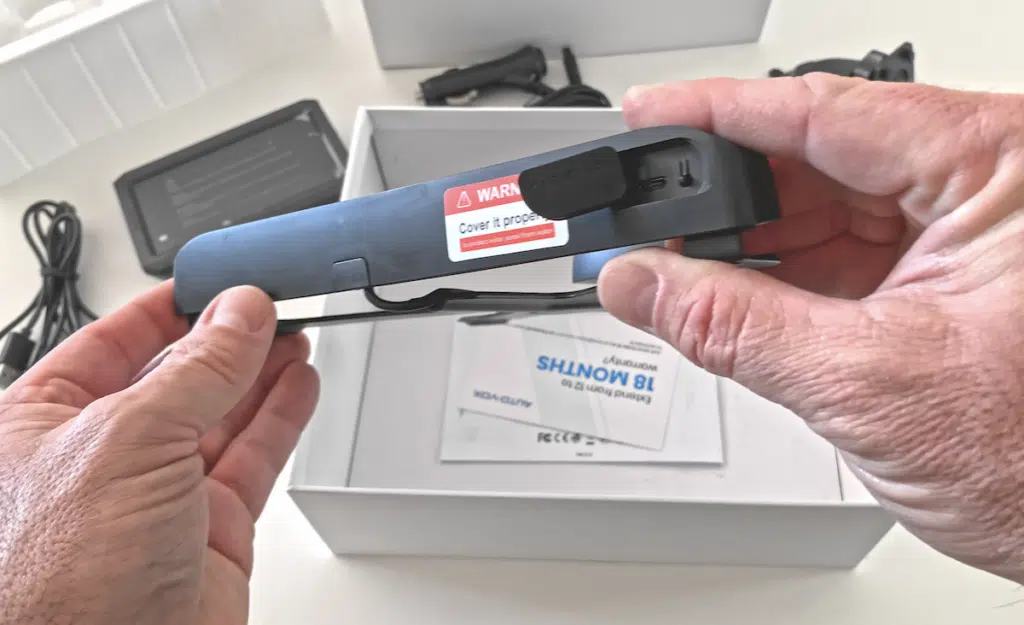
Remove the solar backup camera from the box. Using the provided blue triangular tool gently open the tab covering the USB charge port and camera reset button. Charge the camera batteries for 3 – 4 hours using the provided USB cable. The small light on the side of the backup camera will turn from red to green when the camera batteries are fully charged.

Step 2
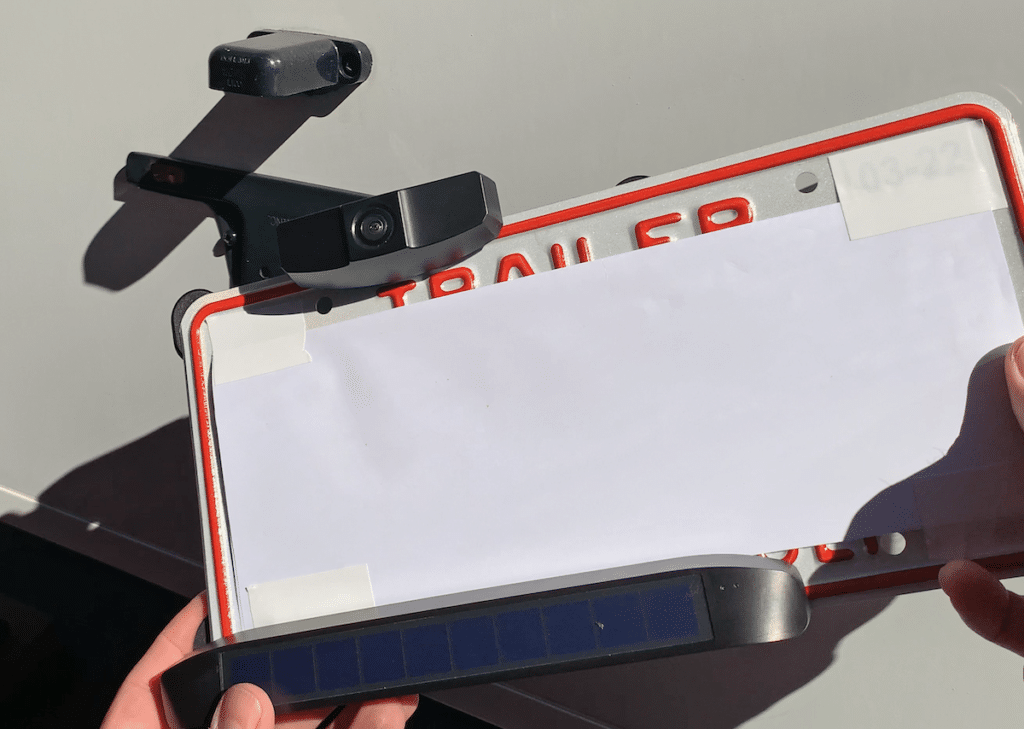
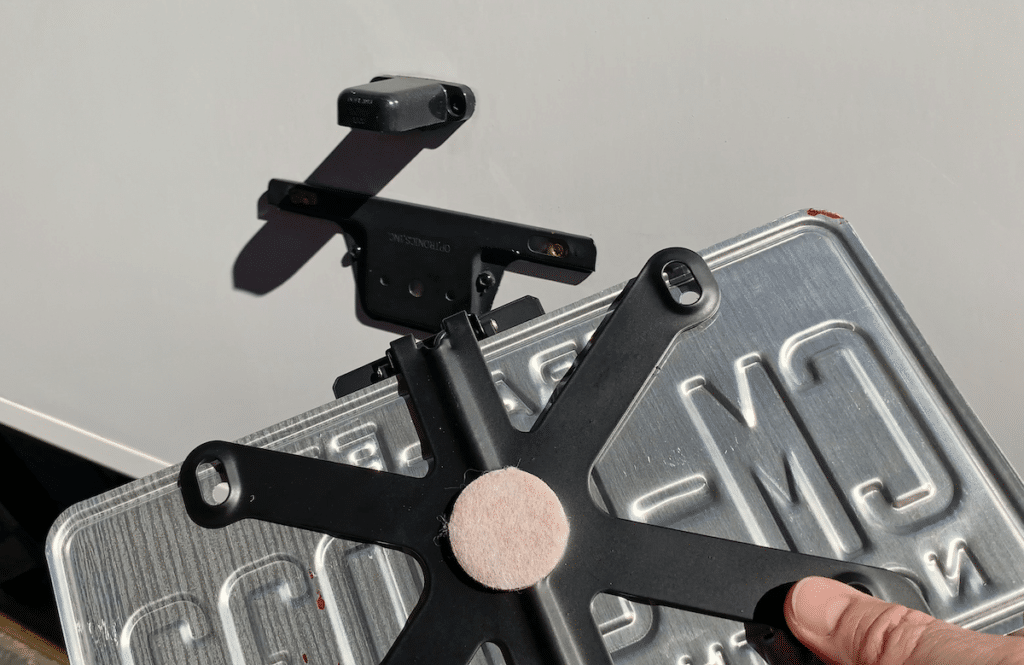
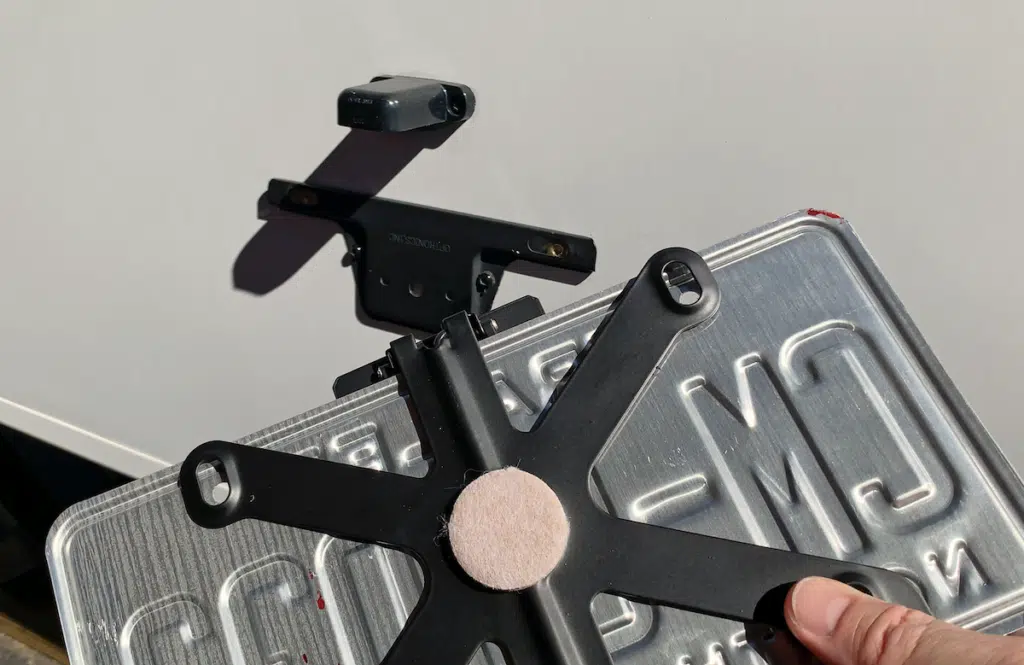
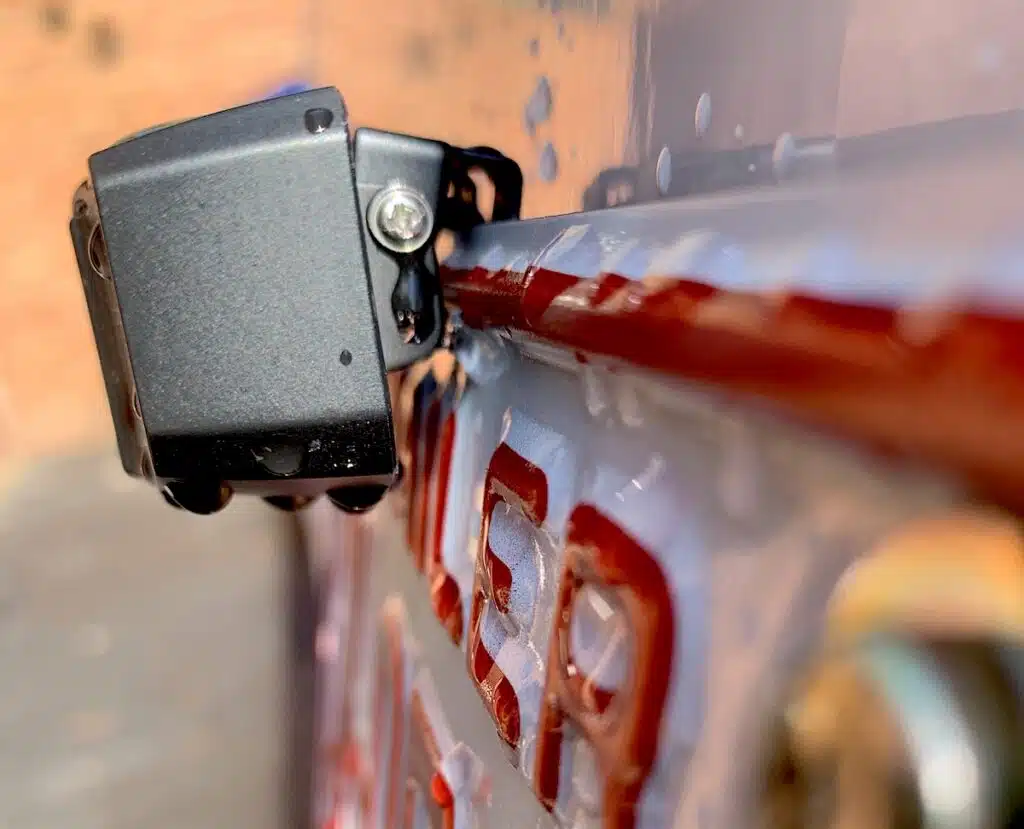
Slide your vehicle or RV license plate in-between the backup camera housing and the backup camera battery case. Align the top or bottom holes, depending on your vehicle’s license plate screw locations. (Option): Install a furniture leg/foot pad on the back side of your solar wireless backup camera bracket to prevent scratching of your vehicle or RV.

Step 3
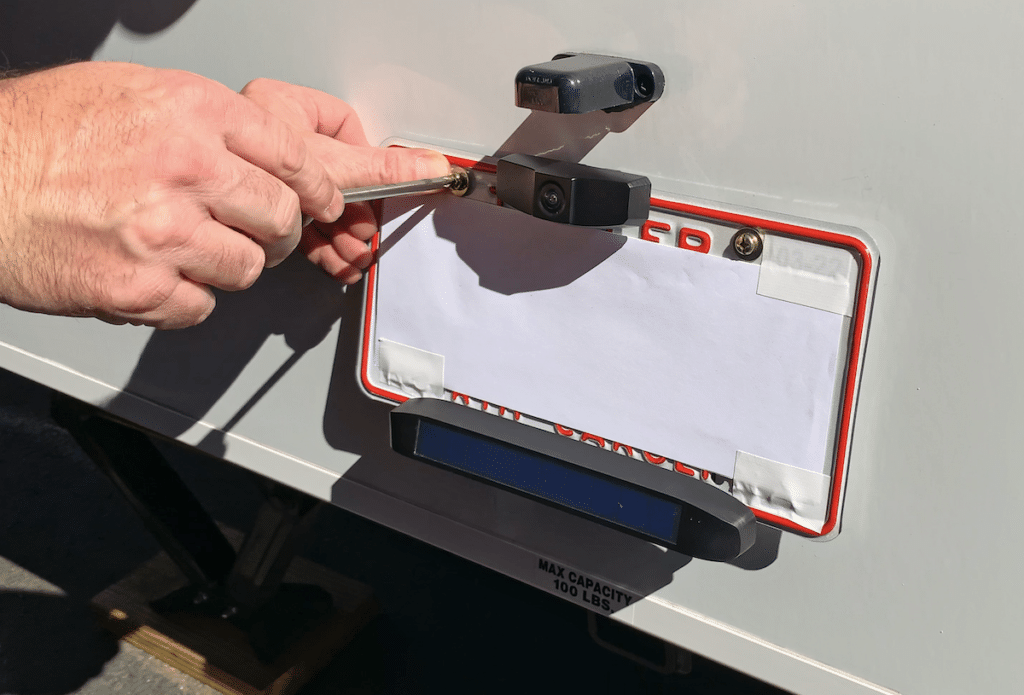
Using the appropriate screwdriver – and your existing license plate screws – screw in the plate and backup camera bracket. Note: the backup camera system does not include any license plate screws.

✅ Check out our other Camping and RV Gear recommendations!
Camera Monitor Installation
Step 1
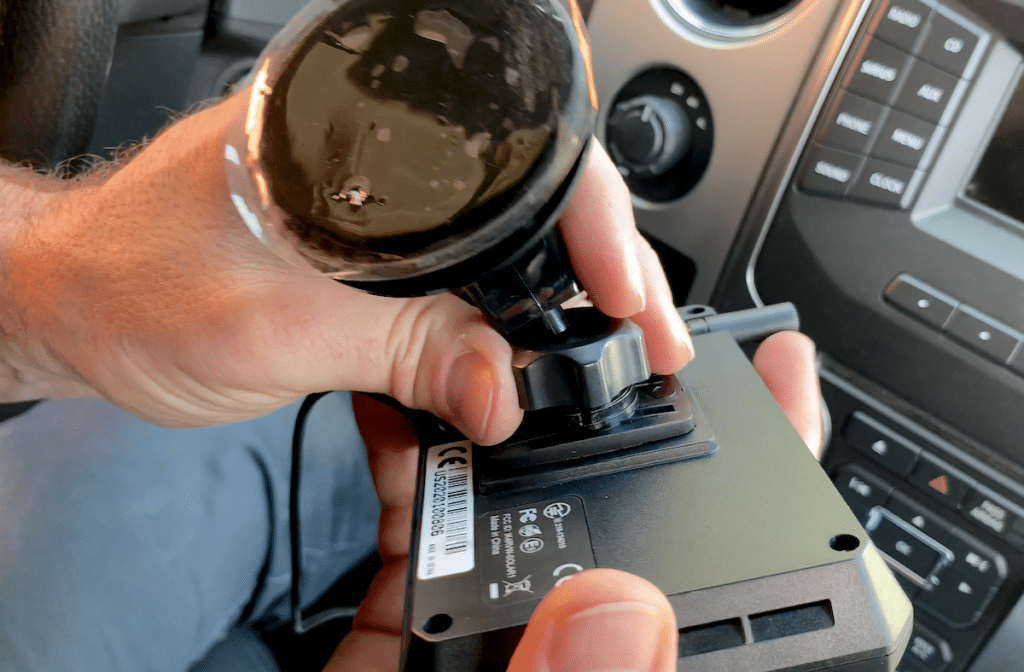
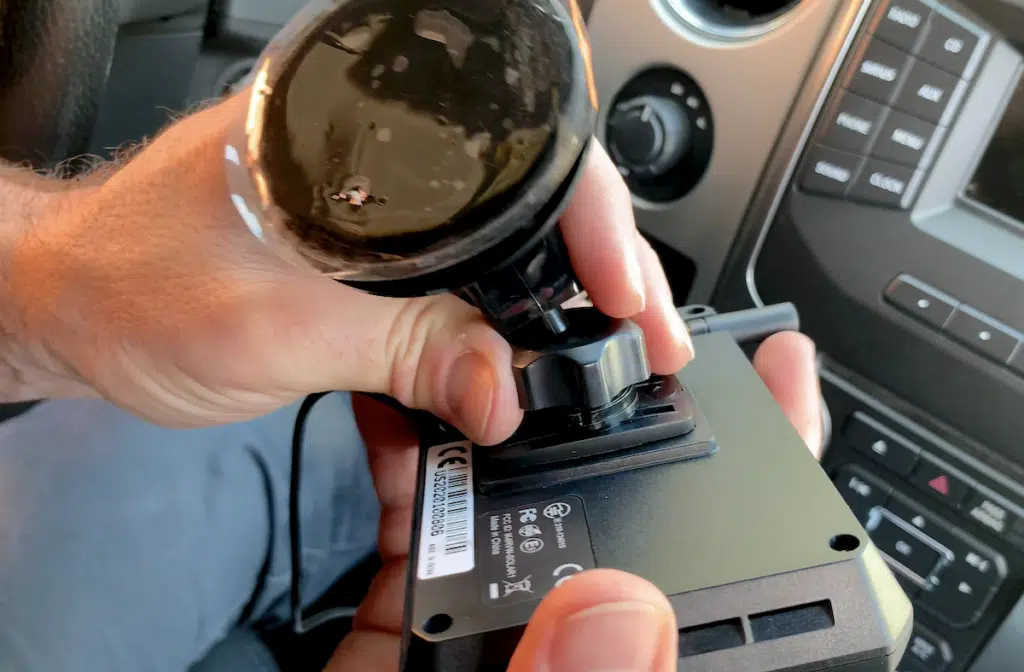
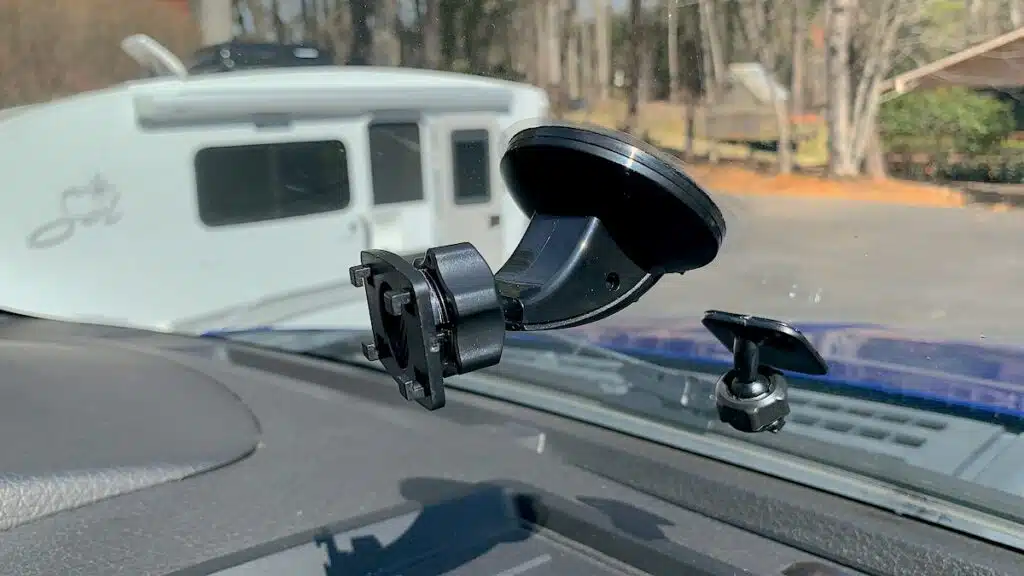
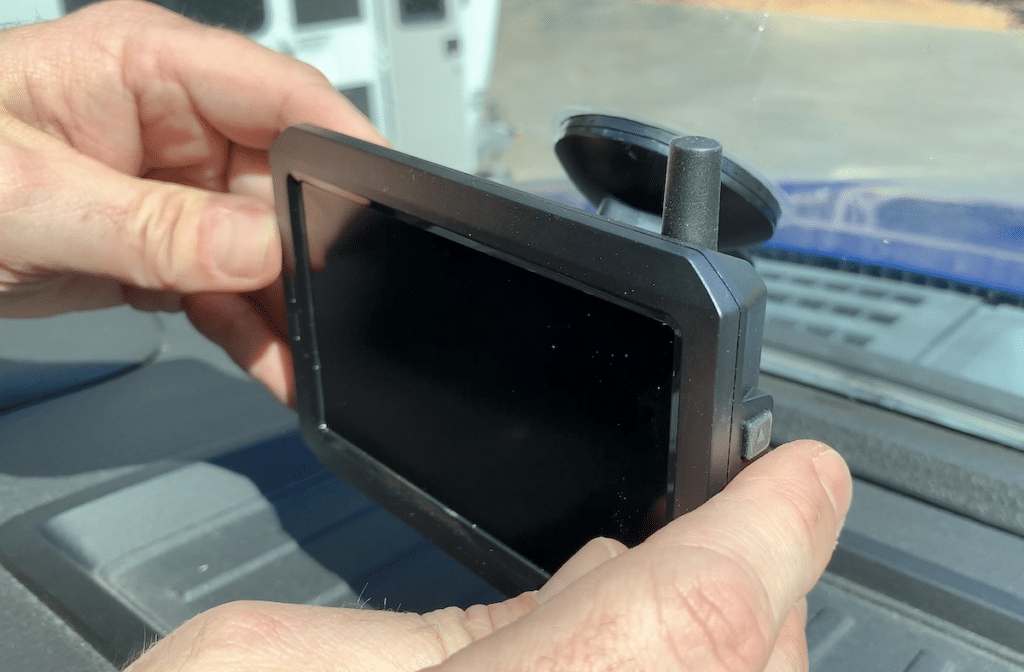
Remove the backup camera monitor from the box and install the provided monitor mounting bracket. Align the holes of the bracket on the slots/holes on the backside of the monitor. Then, mount the monitor bracket either onto the interior side of your windshield or dashboard (image shown with monitor removed for clarity-only). The monitor mounting bracket comes with a sticky/adhesive substance on the mounting pad for dashboard installations.

Step 2
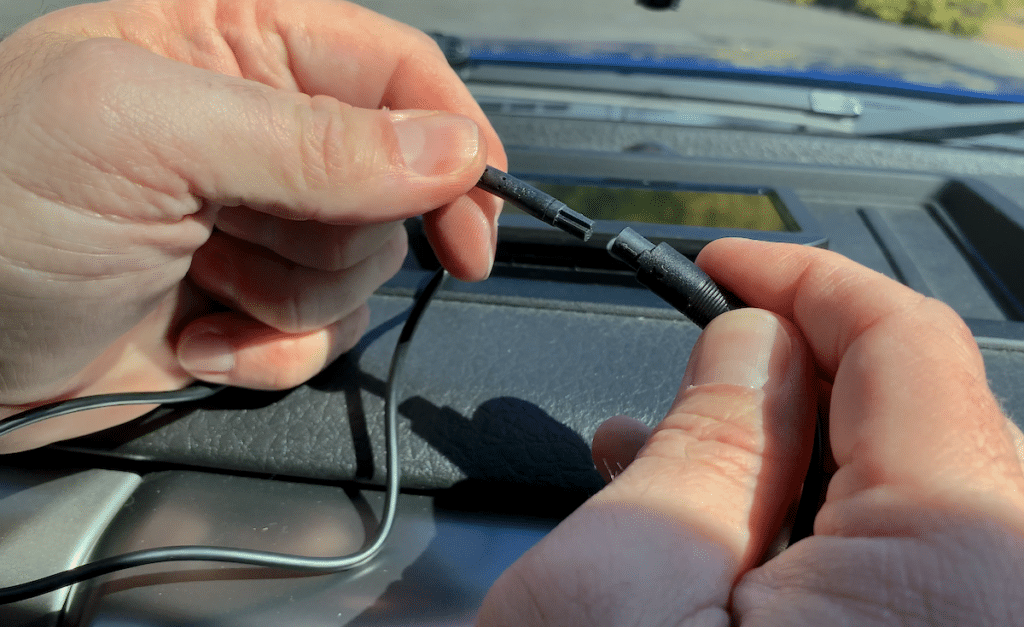
Next, connect the backup camera monitor’s power cord to the provided 12 volt power cord.

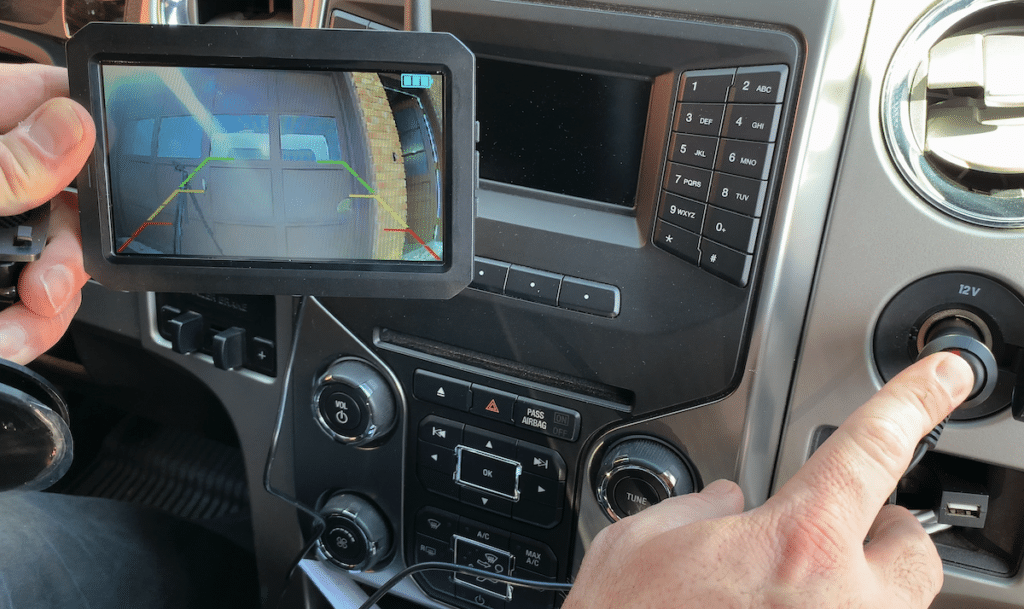
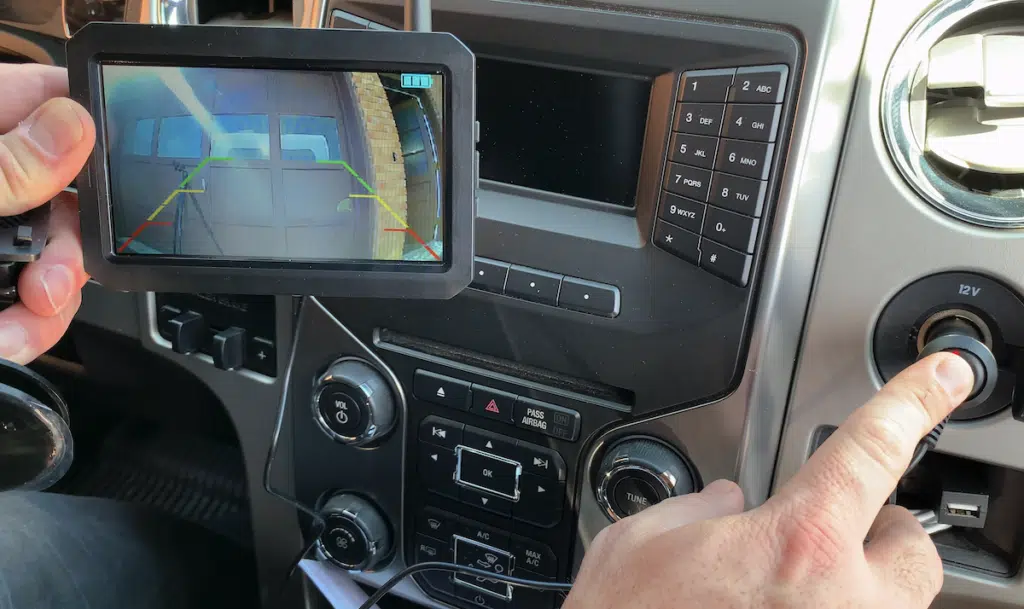
Step 3
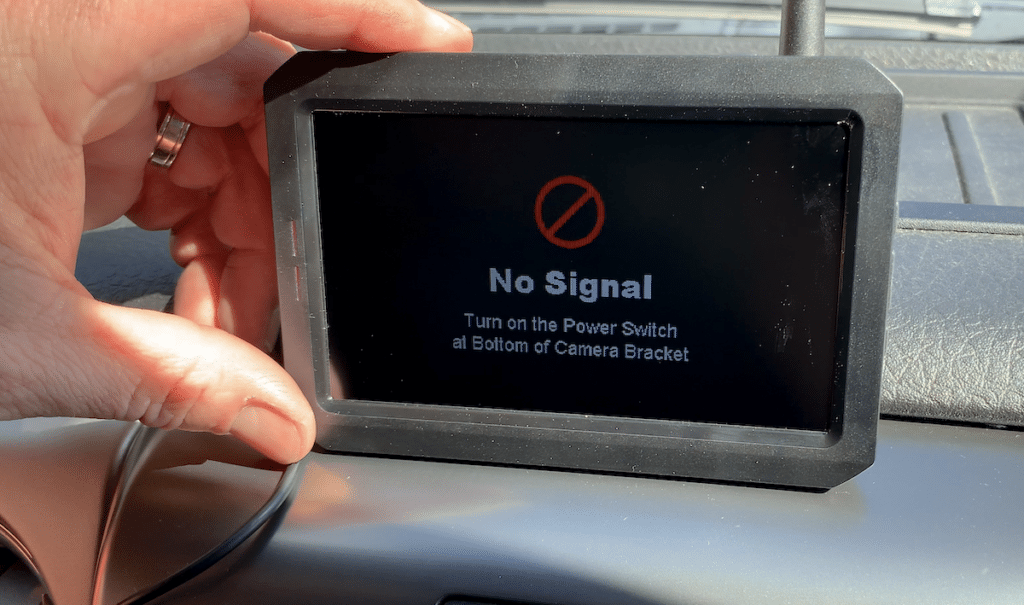
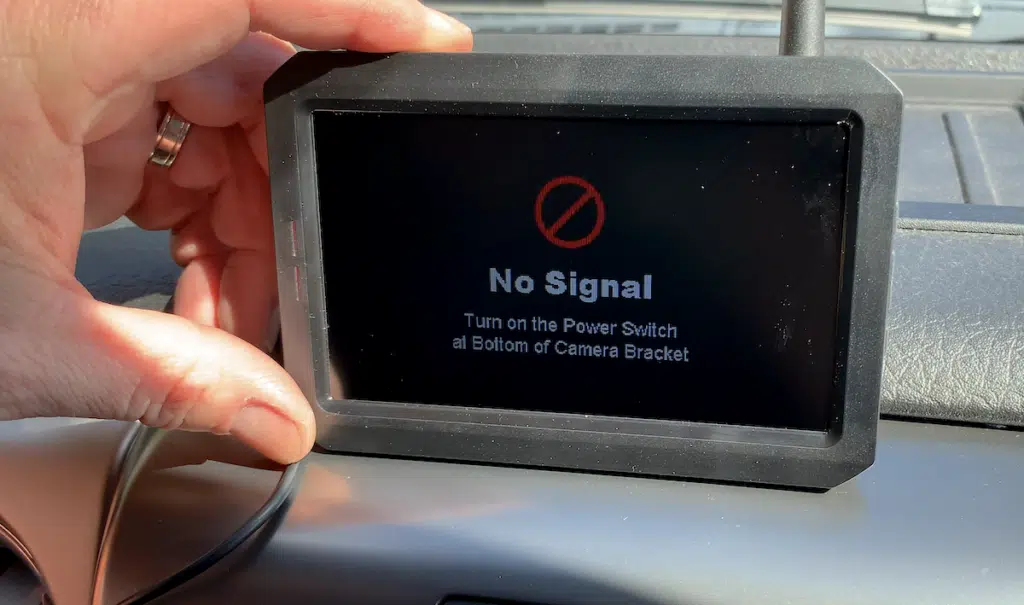
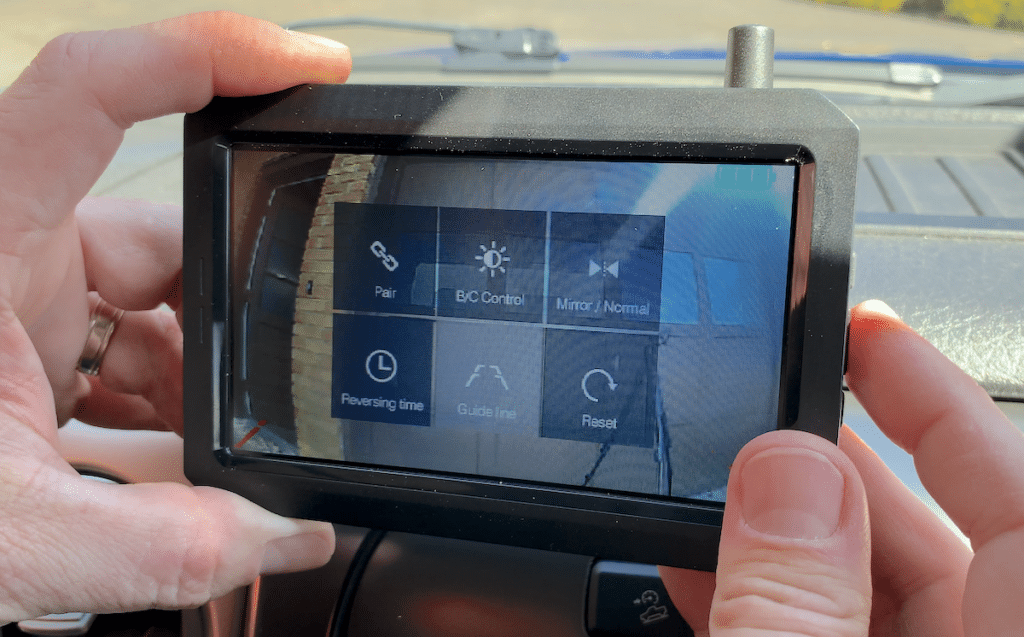
Turn on your backup camera monitor using the ‘On’ button located on the 12 volt power cord. To sync your backup camera with your monitor press the Reset/On-Off button on the backup camera’s battery pack, then using the menu button and toggle buttons on your monitor locate the ‘Pair’ menu option. Press the ‘Pair’ option on your monitor menu to pair the two devices. (Mine automatically paired the two devices when I powered up the backup monitor for the first time).
Step 4
Adjust the various settings in your backup camera monitor’s menu by using the ‘Menu’ button and ‘up’ and ‘down’ toggle buttons on the right side of the monitor.

Step 5
Adjust the view angle of your backup camera monitor inside your vehicle to best fit your setup.

Step 6
Adjust the view angle of your backup camera after you have installed your backup camera monitor in your vehicle. To adjust the backup camera view angle simply loosen the two screws on the side of the backup camera housing. The backup camera can be adjusted up or down slightly to modify the best rear-view angle that suits your vehicle or RV rig setup.

You might also like our detailed list of InTech Sol Horizon’s interior and exterior specs and dimensions.
Emily Pryor
Tuesday 14th of February 2023
May I install one camera on my truck and one on my intech and then use one monitare for both cameras? OR do I need to buy one for truck and one for trailer?
Couch Potato Camping
Wednesday 15th of February 2023
It depends on the camera systems you purchase and how many camera feeds a single monitor can handle. The one showcased in this blog post and video is not capable of that attribute. You would need to research a vehicle camera system that can handle multiple camera feeds.