If you make a purchase using links in this article, I could receive a commission. Please see my Privacy Policy for information.
Are you looking for a fun craft for kids when camping or to get them excited about camping? This cute DIY Camping Lantern is not only easy to make, it actually works as a light, too!
Our camping craft project uses dollar store supplies and recycled materials. It’s the perfect craft to make with kids, and it takes just 30 minutes or less to make!
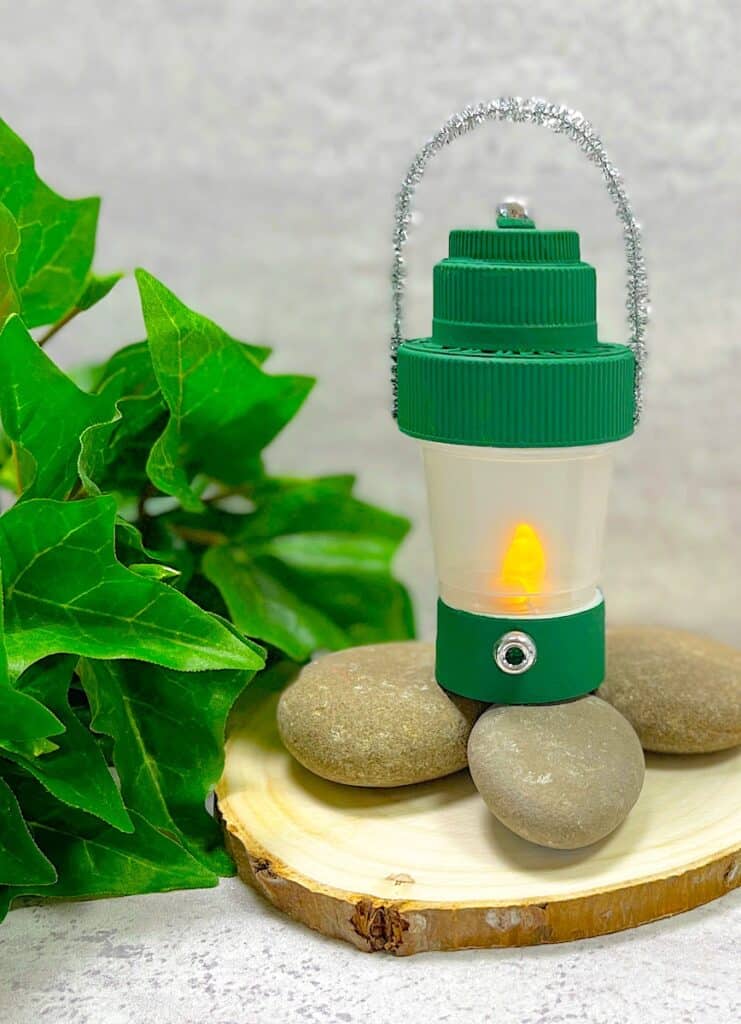
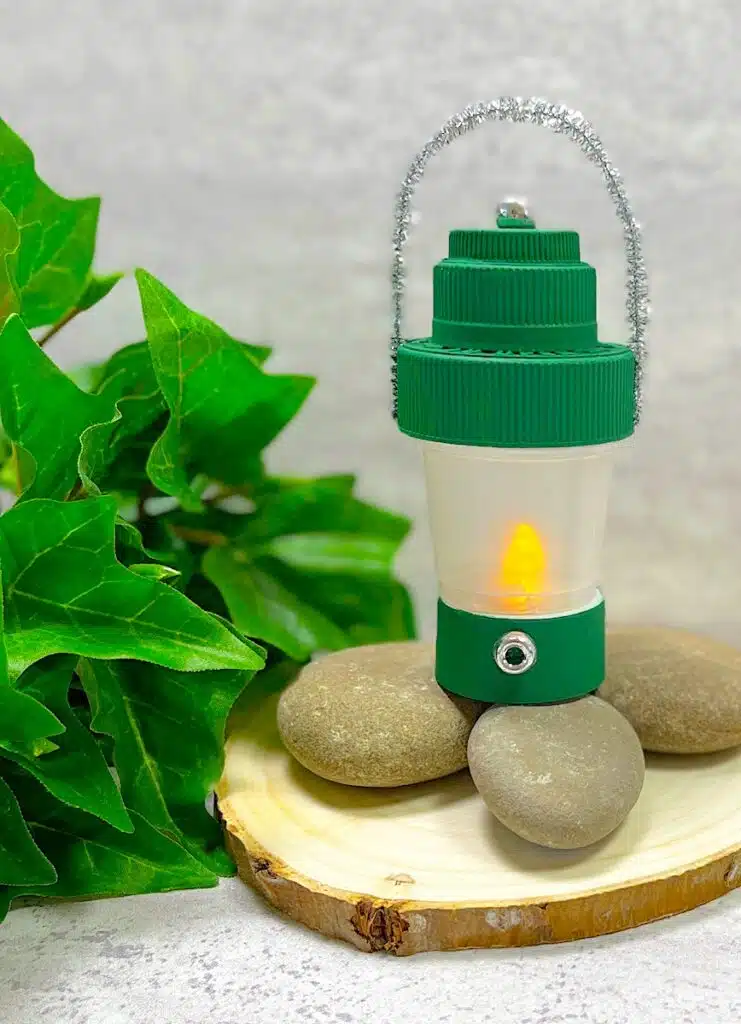
While we painted our lantern green, it would also look great painted red, just like a classic Coleman camping lantern.
You might also like our Camping Bucket Light craft, too!
Kids Camping Lantern Craft Project
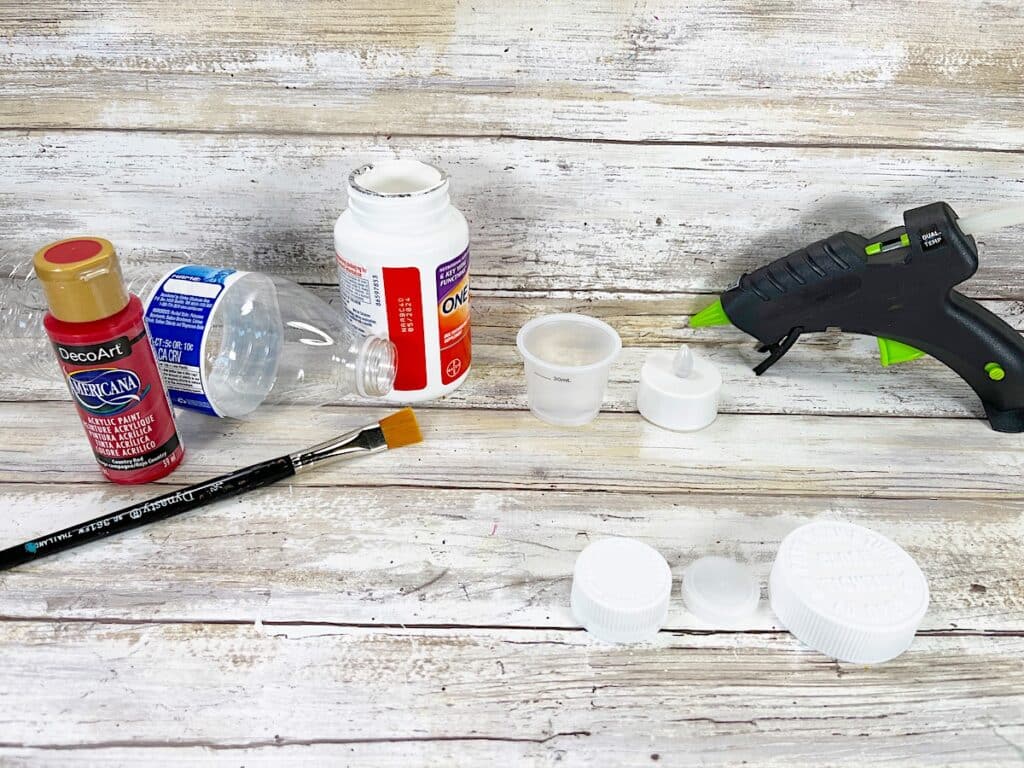
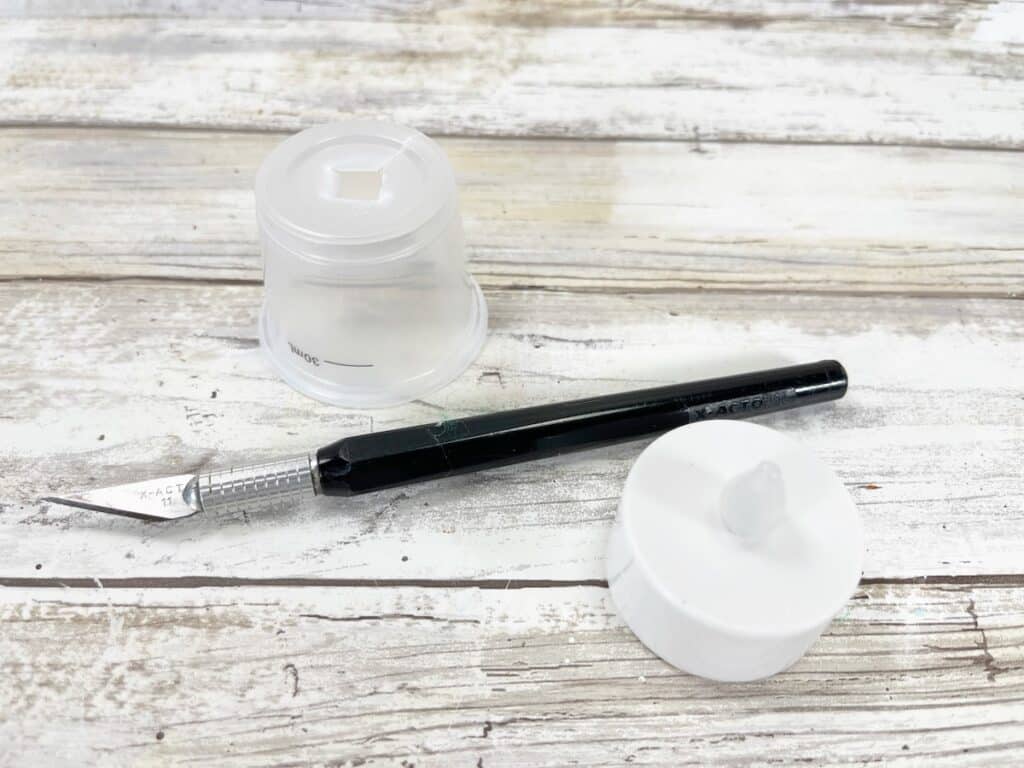
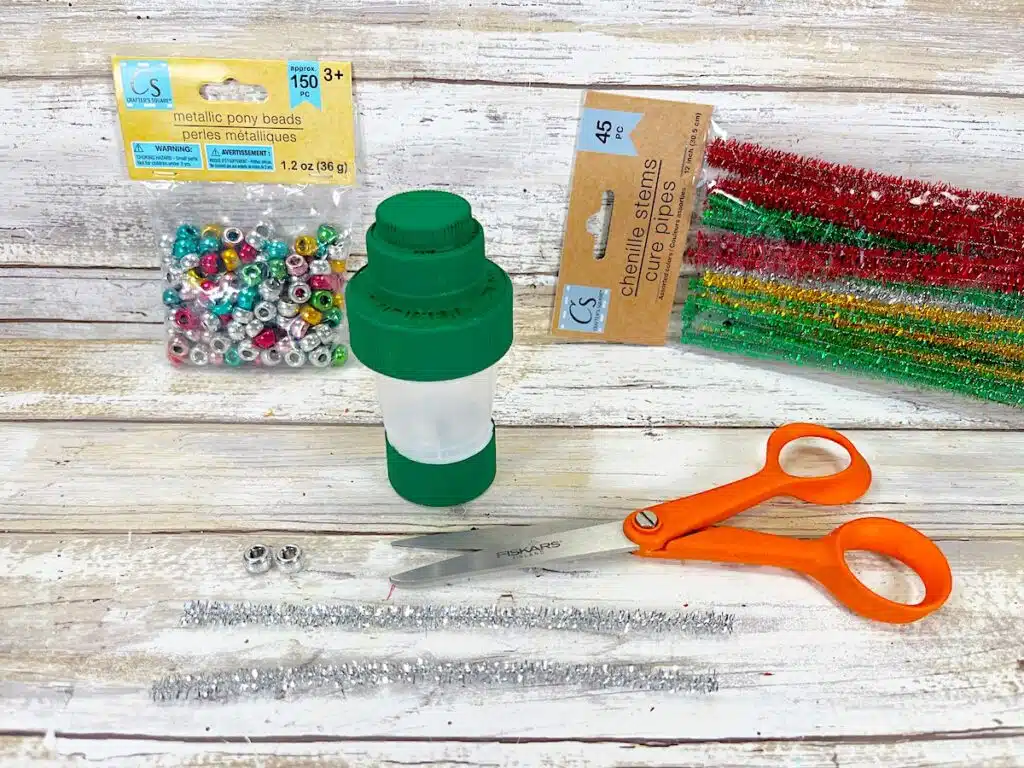
Materials
- Battery Operated Votive Candle
- Silver Tinsel Chenille Stem
- Silver Pony Beads
- Dark Green Acrylic Craft Paint (red would also look cute, too)
- Paintbrush
- Glue Gun and Glue Sticks
- Scissors
- Craft Knife
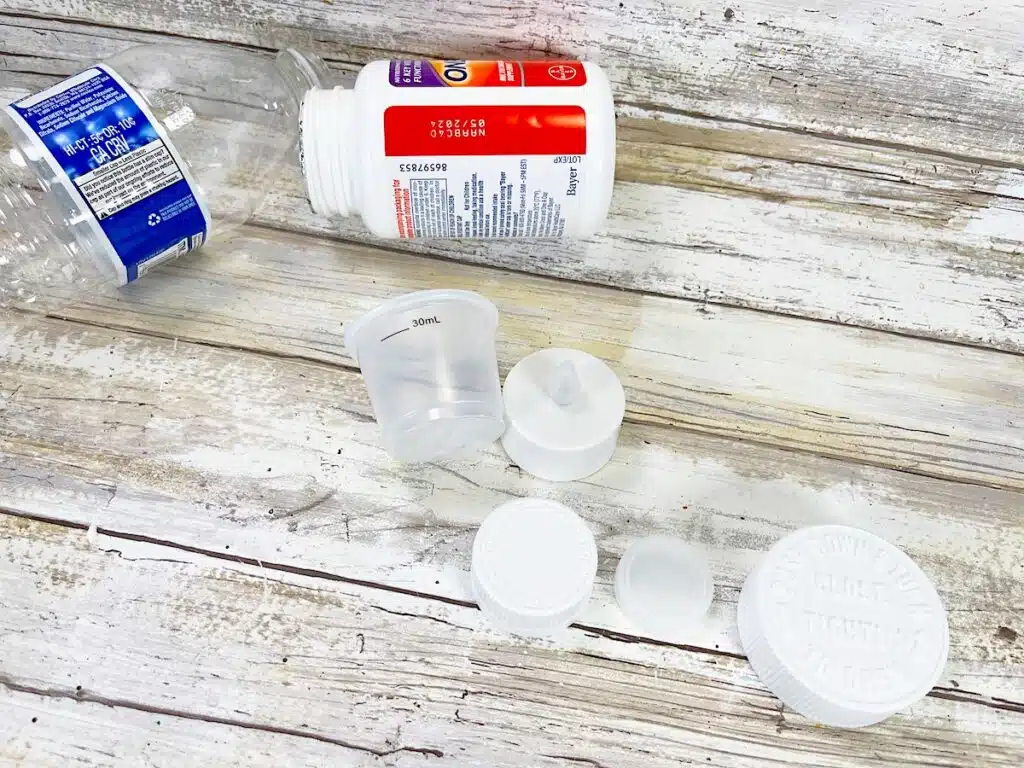
- Mini Medicine Cup (recycled from a liquid cold medicine bottle)
- Large Plastic Lid (recycled from a vitamin bottle or similar)
- Medium Plastic Lid (recycled from a liquid cold medicine bottle)
- Small Plastic Lid (recycled from a plastic water bottle)

Directions
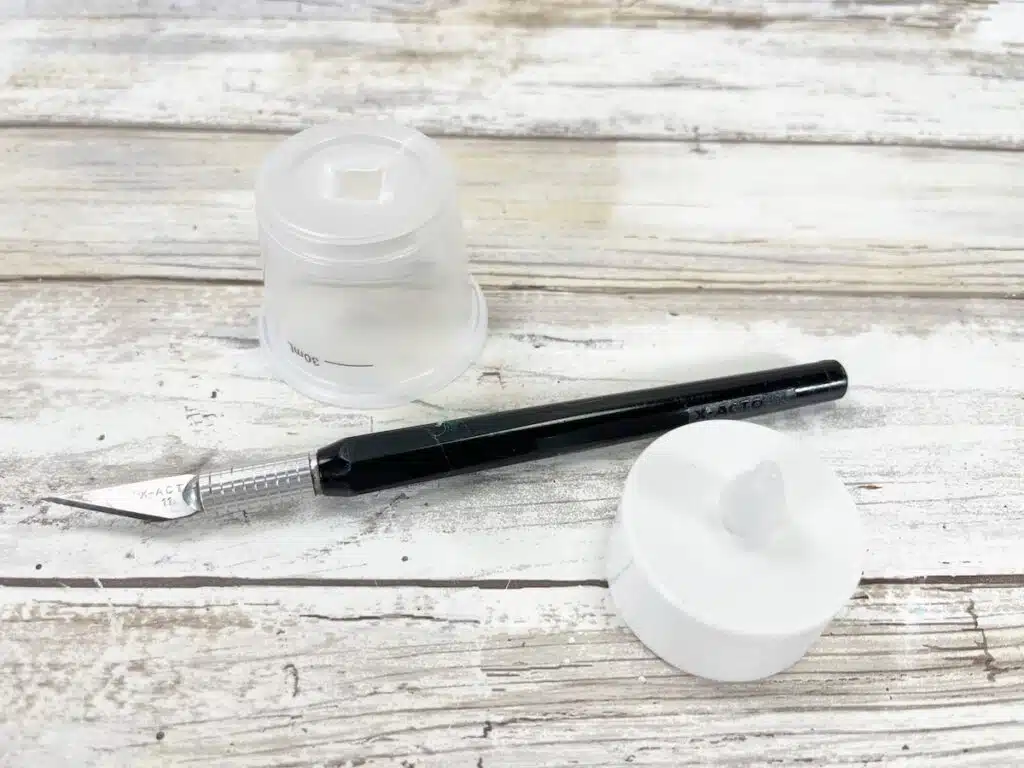
Step 1
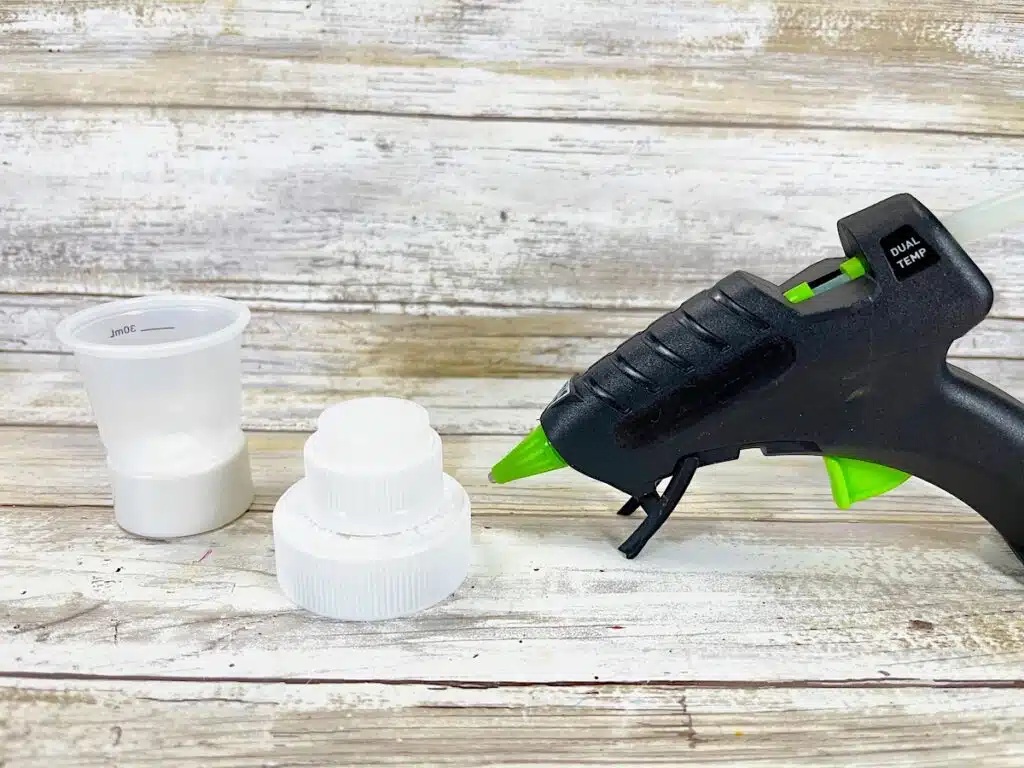
Using the plastic medicine cup from a liquid cold medicine, match a large recycled lid to the top of the cup. Our large lid is from a vitamin bottle, but you can use whatever you have.

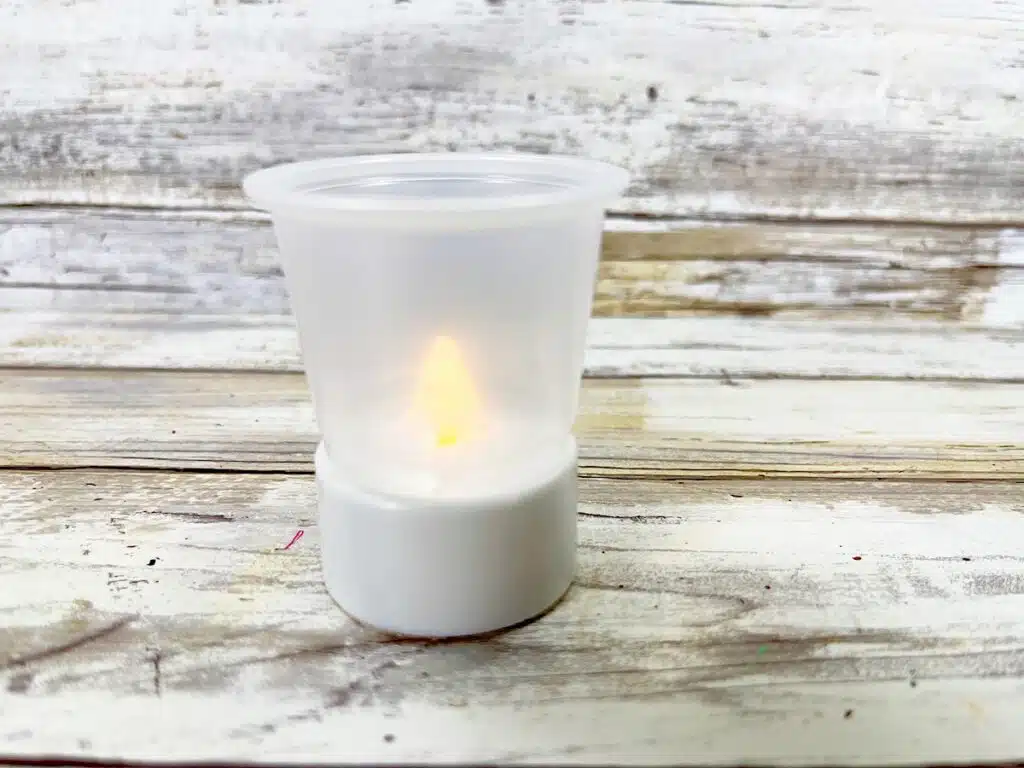
Step 2
Center the bottom of the plastic medicine cup onto the top of the battery-operated votive flame. Push down gently to create an indent in the bottom of the plastic cup with the tip of the flame.
Turn the plastic medicine cup upside down and carefully cut an “X” in the center with a craft knife.

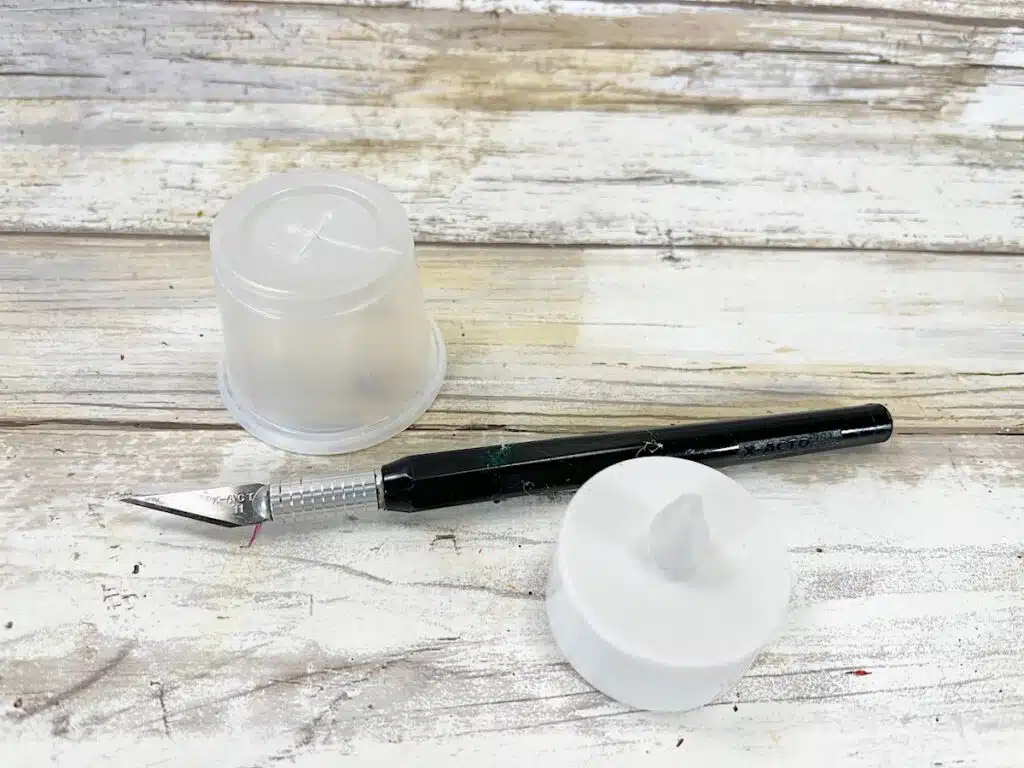
Cut the triangular flaps of the “X” away with the craft knife to make an open square in the bottom of the cup.
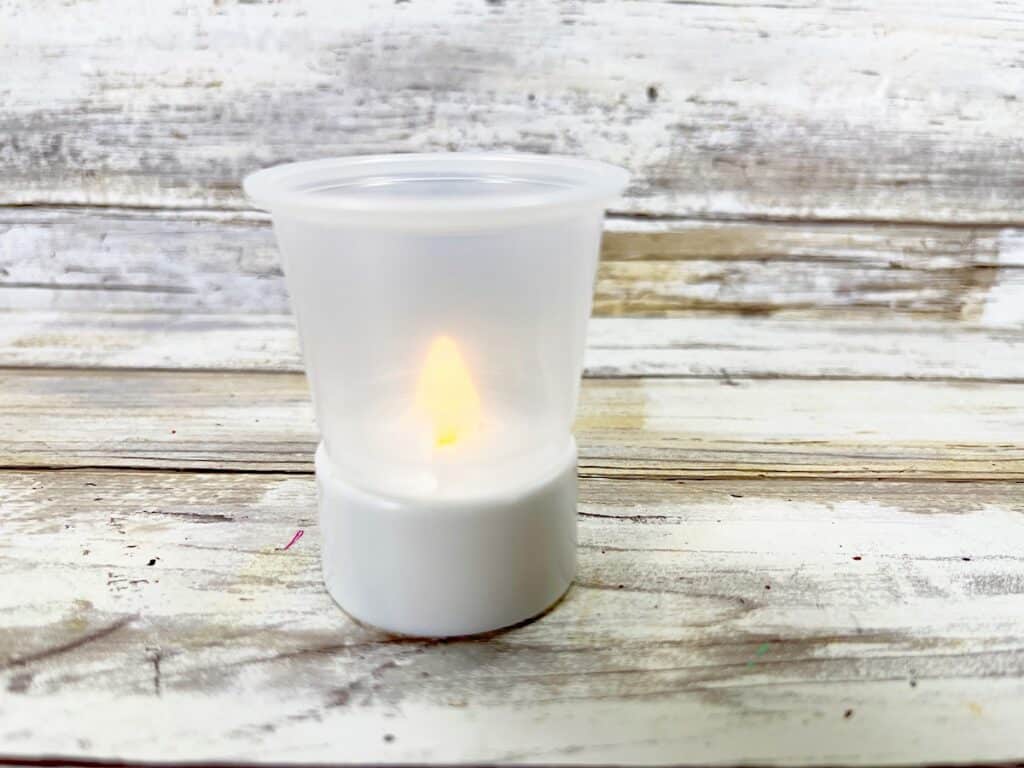
Carefully push the plastic flame of the votive candle through the hole. This is the base of the lantern.
Step 3
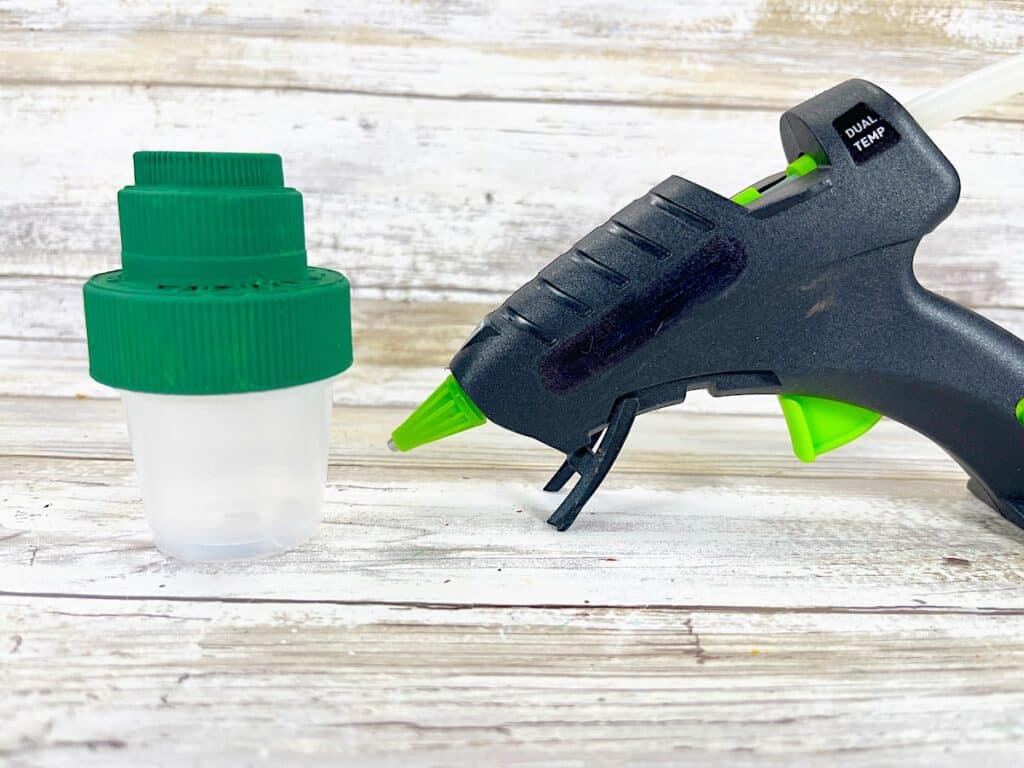
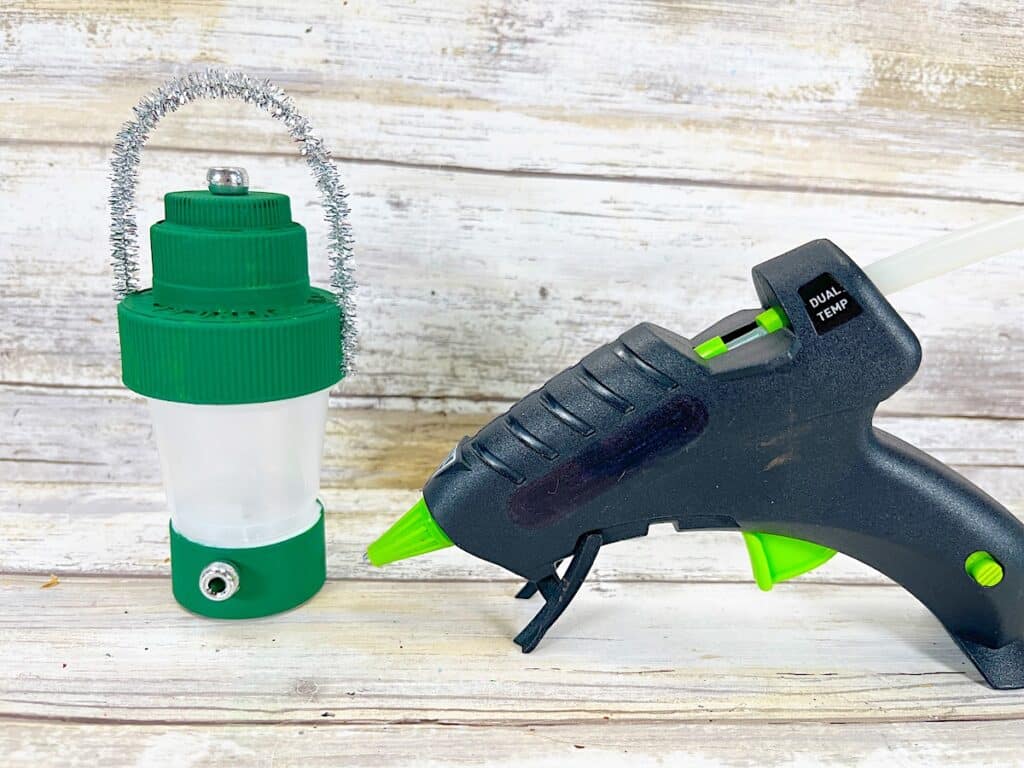
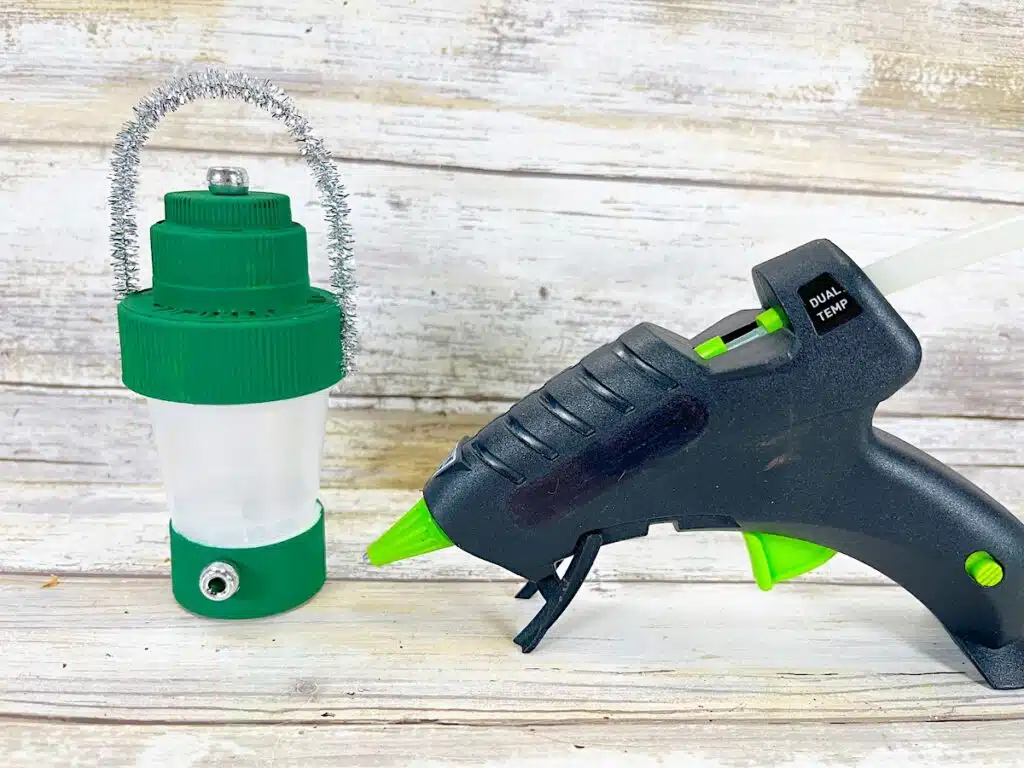
Stack the three recycled lids on top of each other, from the largest on the bottom to the smallest on the top. Glue the lids together.
This will become the top of the lantern.

Step 4
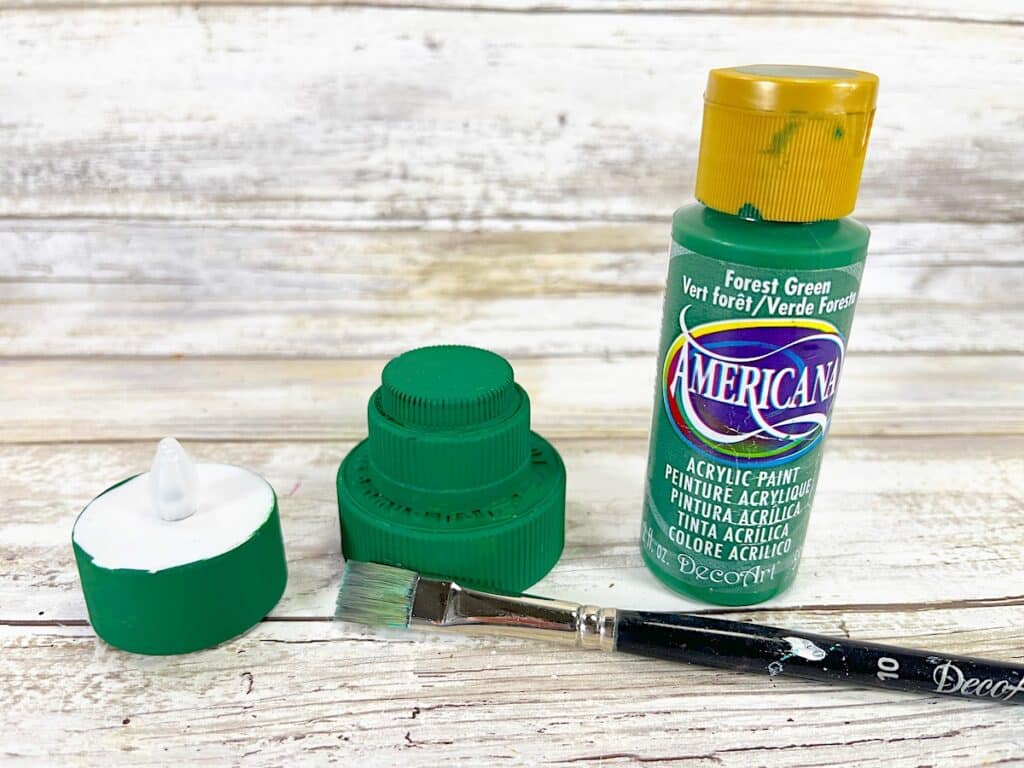
Paint the outside edge of the votive candle and the recycled lids tower with the dark green paint.

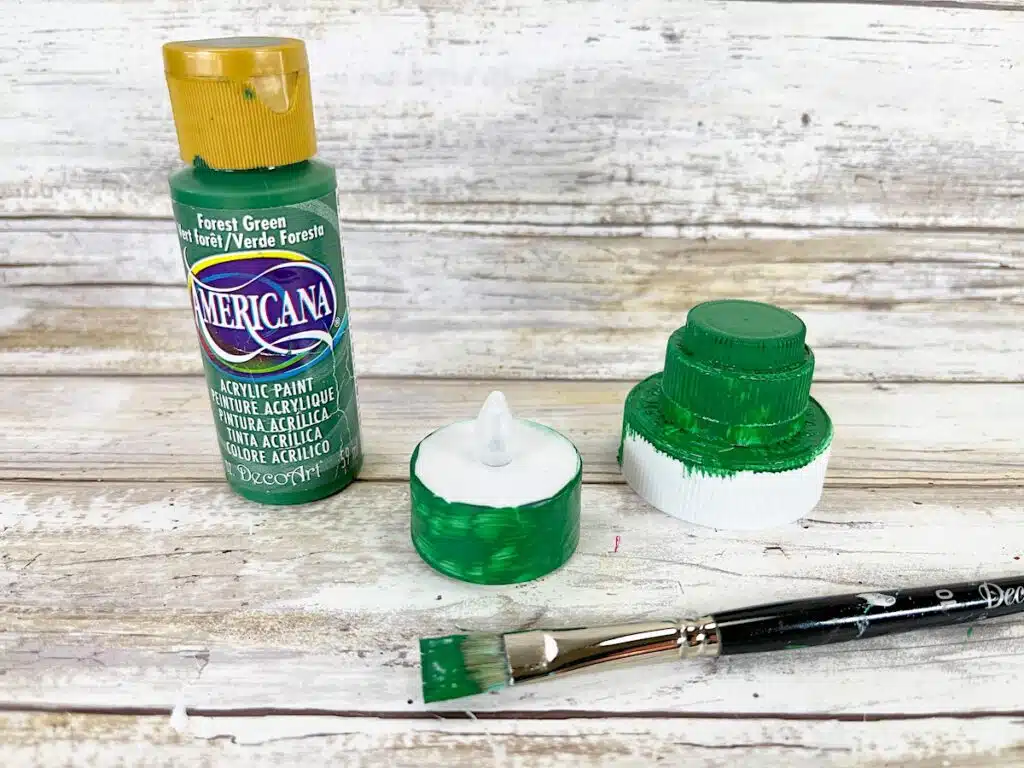
Let dry, and apply a second coat. We used three coats of paint, but you might need less.

Step 5
Glue the lantern top to the lantern base.

Step 6
Cut a silver tinsel chenille stem in half with scissors.

Remove two silver pony beads from the package.
Slightly bend a half chenille stem into a curve. Glue to the top right and left sides of the lantern.
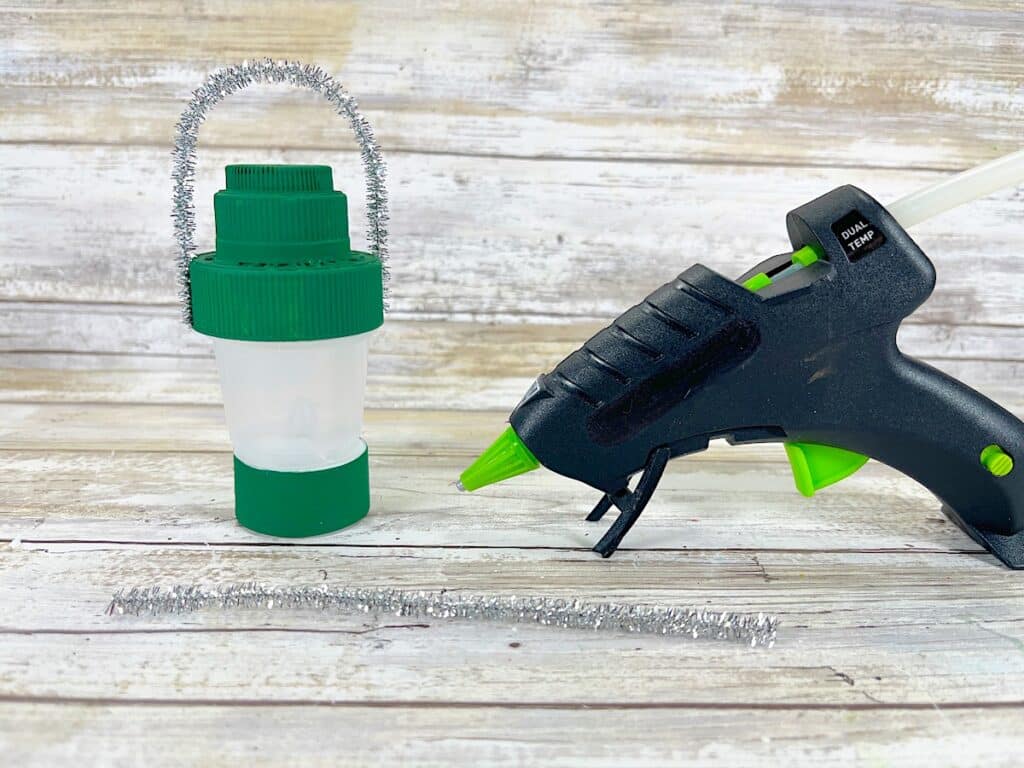
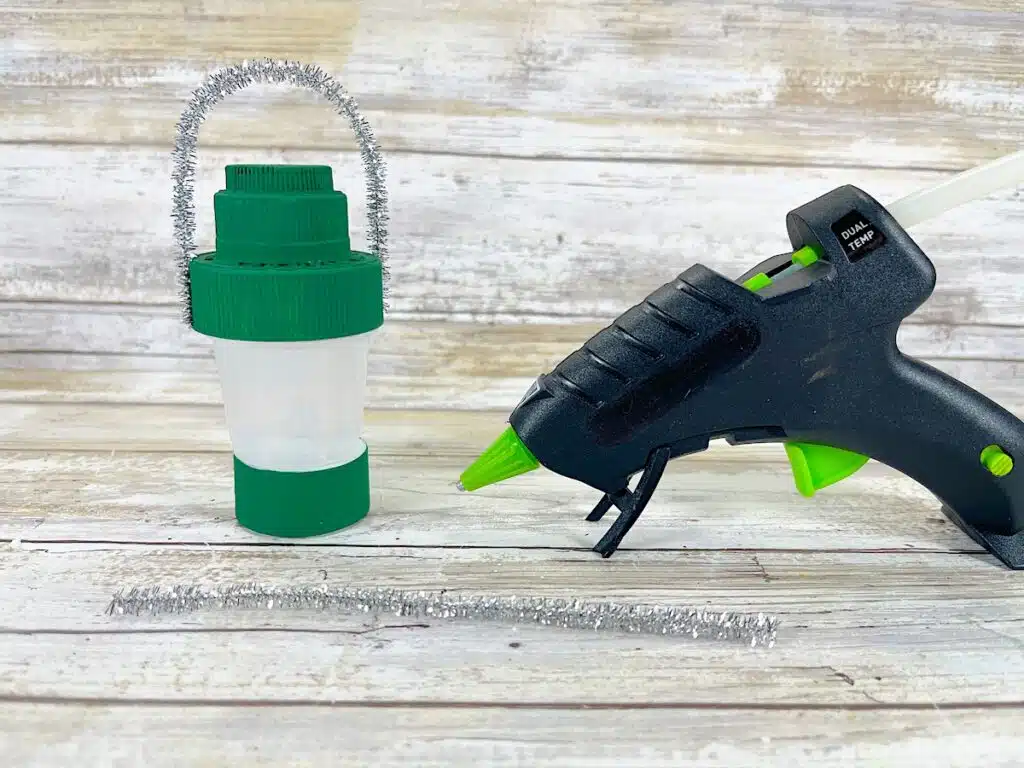
Glue one silver pony bead to the top of the lantern. Glue the other to the front center of the base of the lantern.
Want more fun camping crafts? Check out these ideas: