If you make a purchase using links in this article, I could receive a commission. Please see my Privacy Policy for information.
Camping bucket lights are easy to make and fun to use for either tent camping or RV camping. Make these multi-purpose buckets with an inexpensive 5 gallon bucket for personalized camping gear.
What Are Camping Buckets Used For?
Light up buckets are used as storage during the day, and a way to light up the entrance to your campsite at night. The buckets can also be turned into a stool to sit on with an additional accessory.
Five gallon buckets are easy to find in home improvement stores, and some restaurants, such as Firehouse Subs. Usually you can buy them for around $5 or less, making this an inexpensive camping DIY project. You can even buy plain white 5 gallon buckets on Amazon (and you don’t have to clean them!).
There is always something to store while camping, whether it’s food, binoculars, books, outdoor toys, shoes, or toilet paper. These items can be store in the camping bucket during the day when you don’t see inside.
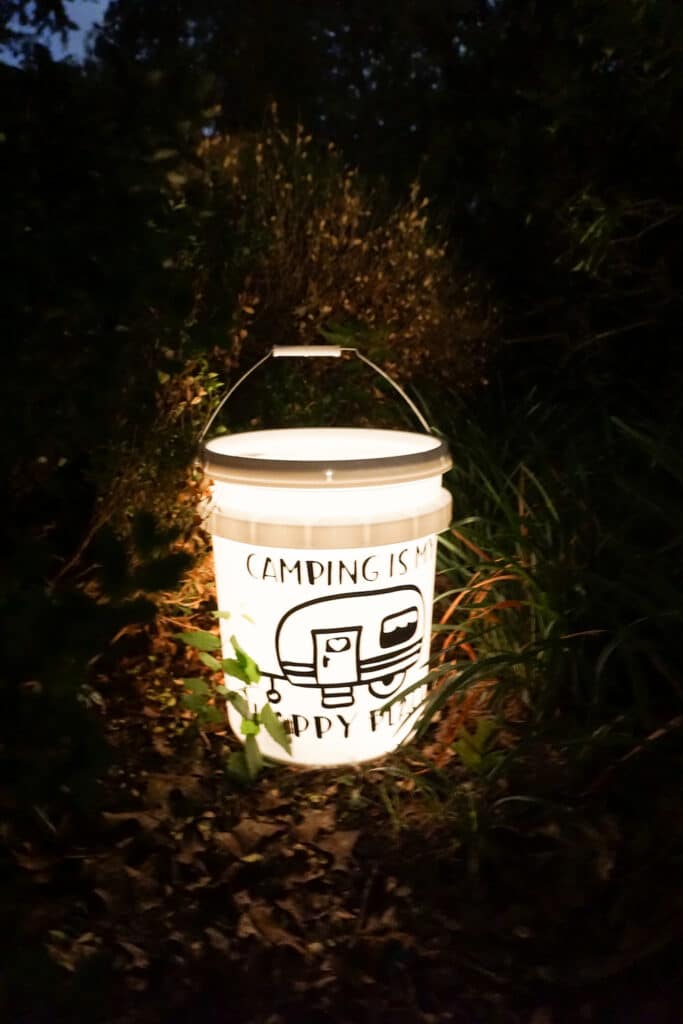
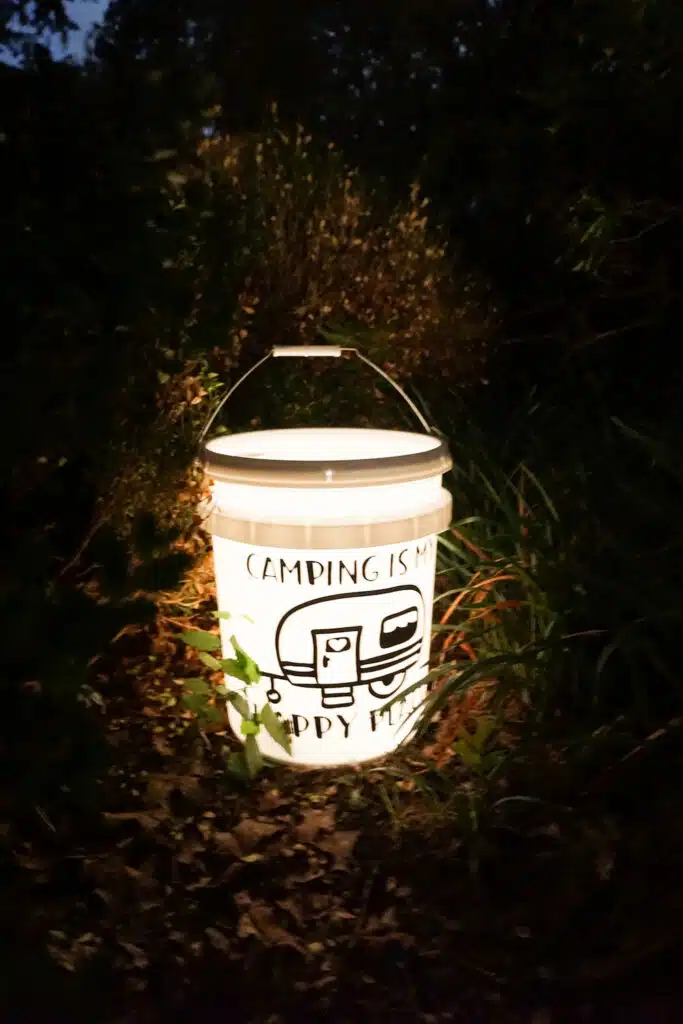
At night, the bucket turns into a very large lantern perfect for illuminating the entrance to your campsite. Or for casting a gentle glow near your campfire.
By adding a padded bucket lid seat, you can easily make this a stool for sitting on around the campfire. It’s perfect for roasting s’mores! The kids will fight over who gets to sit on the light up seat!

You might also enjoy this popcorn tin camping ottoman if you are looking for additional seats for camping that also double as storage.
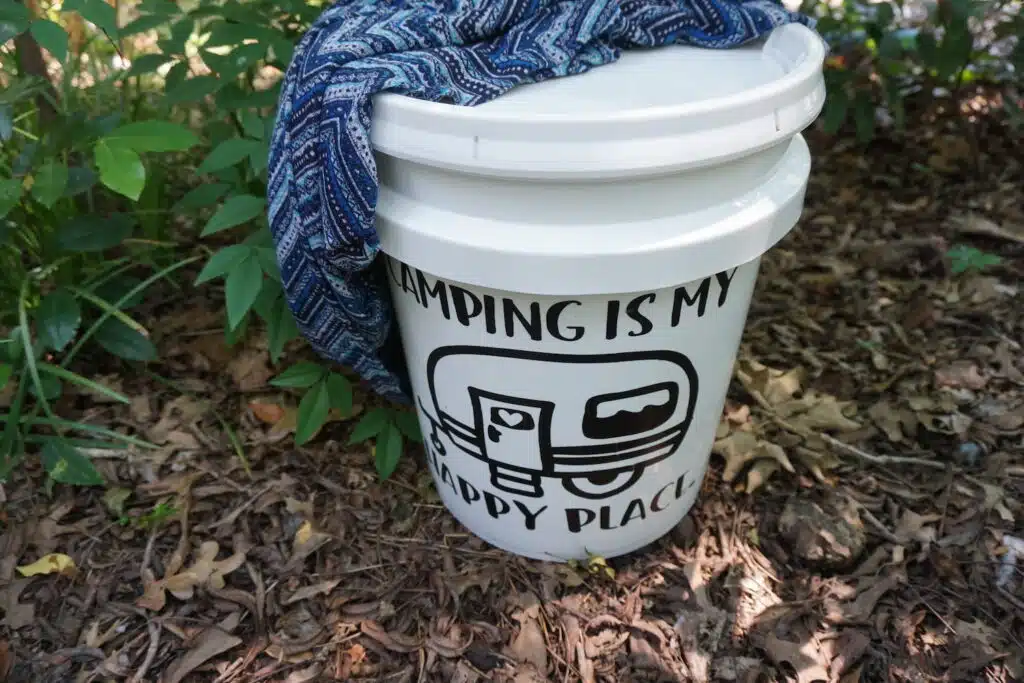
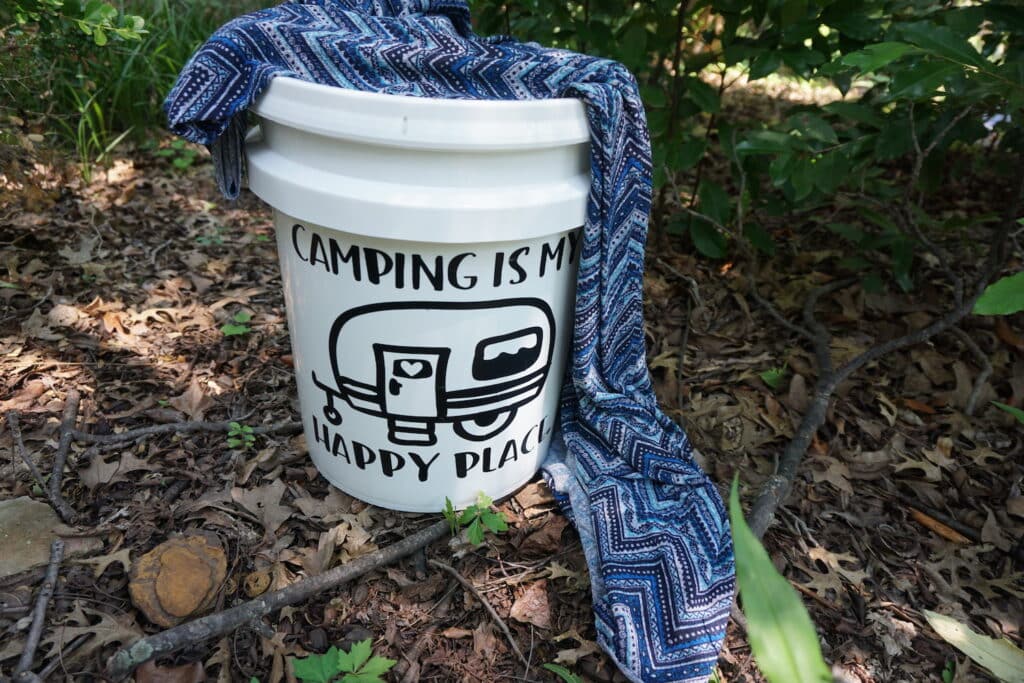
There are a variety of camping bucket sayings that you can use to personalize your bucket. Our free SVG file is for the saying “Camping is My Happy Place.”
If you’d like to have a different saying, or if would like to order a vinyl decal already made to apply to your own 5 gallon bucket (without needing a Cricut machine), check out these wonderful ideas on Etsy.

If you are an Intech Sol Horizon camper, you could also use these Sol SVGs that we have made for our Sol-Mates!
How to Make a 5 Gallon Bucket Light for Camping
Supplies
- White 5-gallon Bucket with Lid (cleaned and dry)
- Black Permanent Vinyl
- Flashlight or Puck Light
- Camping is My Happy Place SVG File
- Cricut Maker
- Light Grip Mat
- Transfer Paper (I used Press-n-Seal Plastic Wrap, instead)
- Weeding Tools
- Spatula Tool (optional)
Instructions
Step 1
Download the cut file and upload it to Cricut Design Space. Resize the design to fit the front of the bucket. (I measured my bucket front area to be about 9-inches wide).
Attach all of the design elements by highlighting all of them in the right tool bar and selecting the “attach” button in the lower right.
Step 2
Select the “make” button in the upper right corner and connect your computer to your cutting machine.
Select the material you are cutting (vinyl) and make sure you have the correct blade in the machine.
Step 3
Place the vinyl on a light grip mat and make sure it is face-up. Smooth it down so that the vinyl backing sheet is in contact with the mat.
Load the mat into the machine and tell Cricut Design Space to proceed with the cut.
Step 4
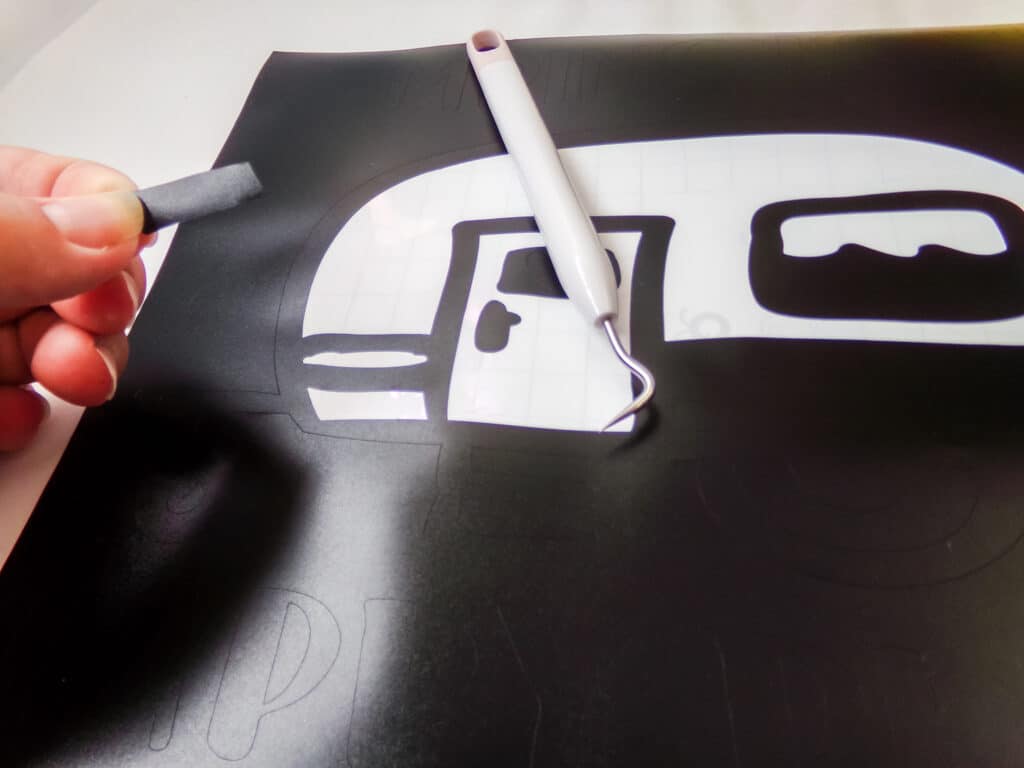
After cutting, remove the mat. Weed the unnecessary vinyl from the design (while it’s still attached to the mat) and discard.
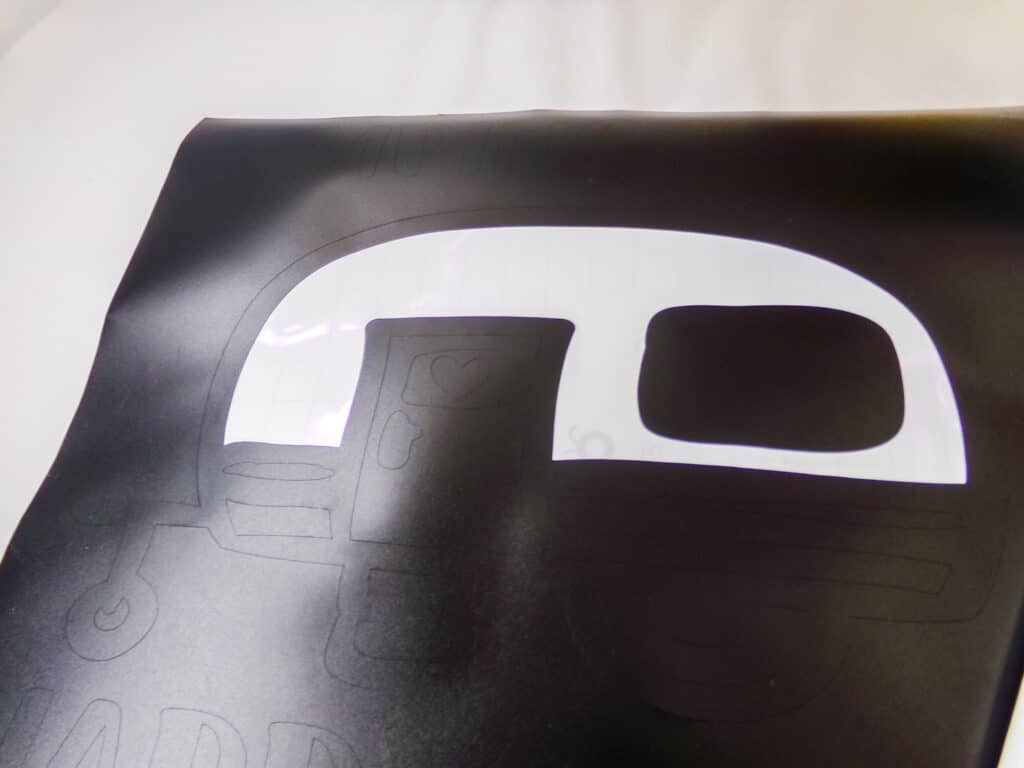
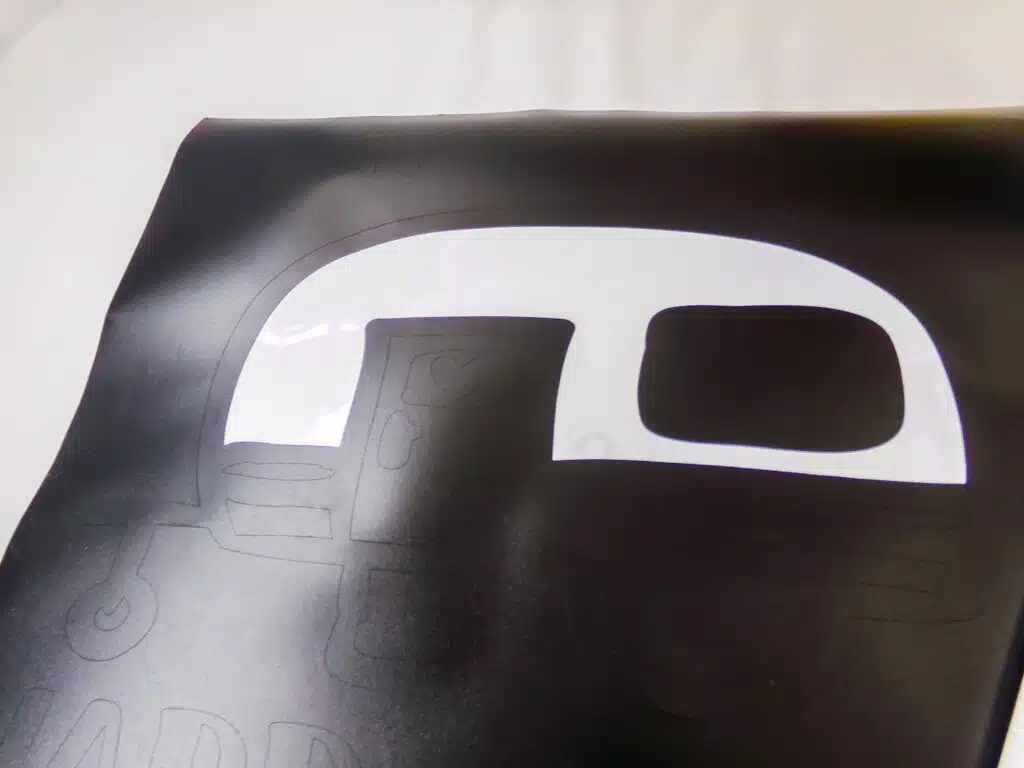


Step 5
Remove the design (still attached to the backing sheet) from the mat and place it vinyl-side-up on a hard surface.
Cover the design with a sheet of transfer paper with the “sticky side” down.
Rub vigorously over the design with a spatula tool or your fingernail to attach the transfer paper to the vinyl design.
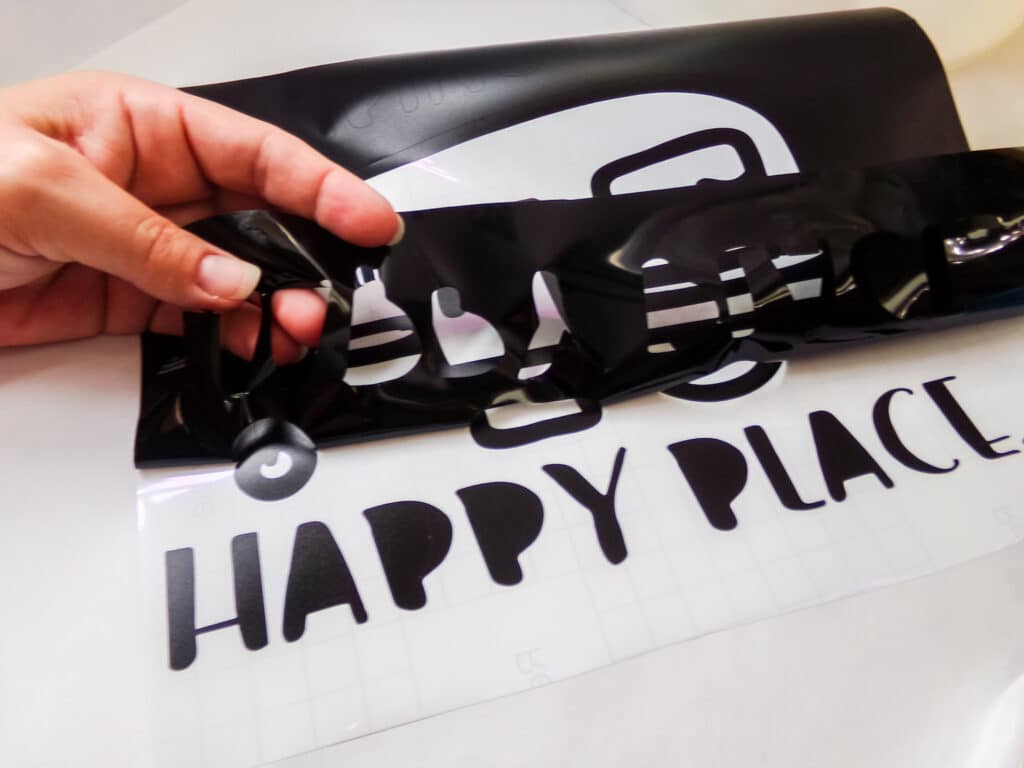
Step 6
Gently and carefully peel the transfer paper away, pulling the vinyl up and away from the backing sheet with the transfer paper. If any piece of the design doesn’t come off, just go back over it with the spatula tool.
Step 7
Decide the position of the design on the 5 gallon bucket but do not let the vinyl touch the bucket yet or it will affix permanently.
If you find it hard to keep the bucket steady, place the bucket on its side on the floor between your feet and hold it steady.
Step 8
When you have an idea of where you want the vinyl to be, press the cling wrap down evenly onto the bucket. Use the spatula tool (or your fingernail) to work out any small bubbles and smooth the design around the curve of the bucket.

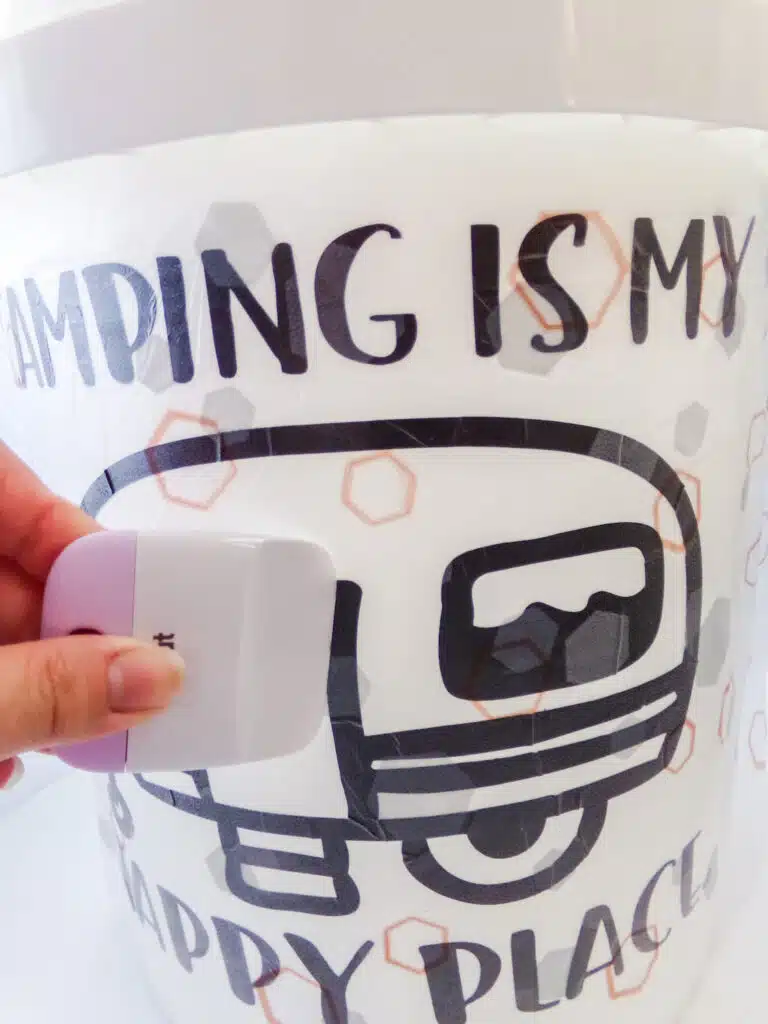
Peel away the transfer paper after the design has been applied.
How to Light Up the Bucket
When it’s dark outside, turn on a flashlight and place it inside the bucket and then put the lid back on.
Instead of a flash light, you could use puck lights instead. I actually really like these thin LED lights that change colors with a remote. It’s lots of fun at night to put on a light show!
Want more easy camping DIY crafts? We also have free SVG files to make this cute Trailer Trash Can and a Happy Camper Tote Bag.