If you make a purchase using links in this article, I could receive a commission. Please see my Privacy Policy for information.
You never know where to put the trash can in an RV, right?
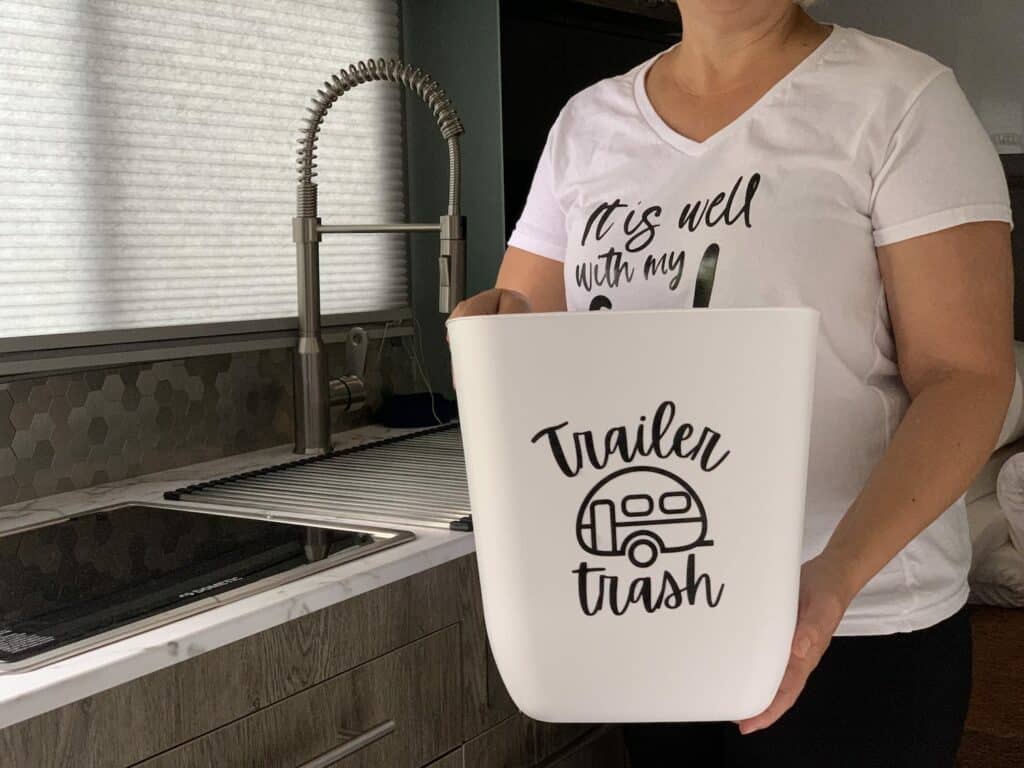
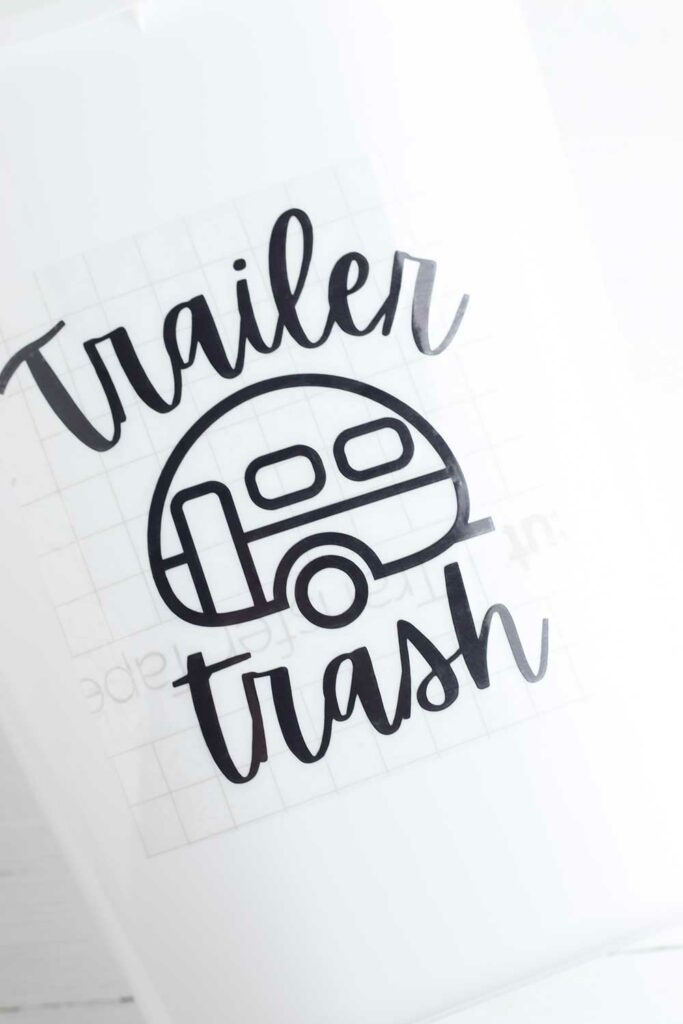
With our DIY Trailer Trash Can project, it doesn’t matter where the trash can has to go. It will look cute and make you laugh whenever you see it.
We’ve got a free SVG file for the Trailer Trash artwork. Just make it with a Cricut machine and attach to any can that fits in your camper.

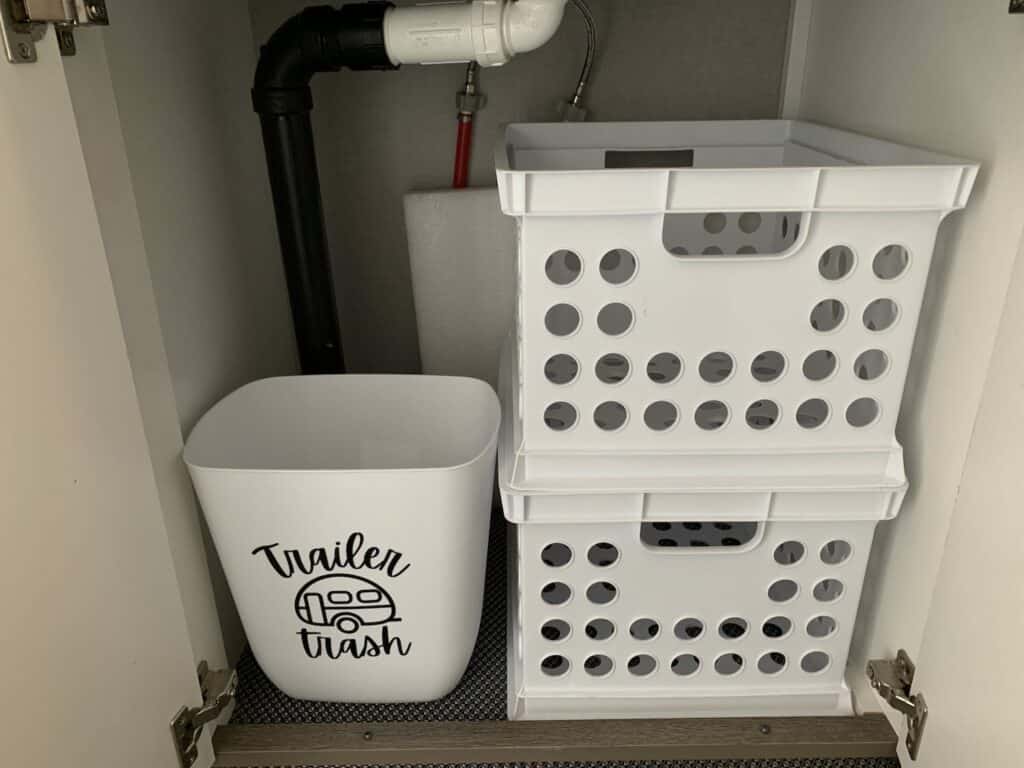
For our Intech Sol Horizon, we bought a $3 Target trash can and it fits perfectly under our kitchen sink! We used our list of Sol Horizon dimensions and specs while shopping to make sure that the size was correct.
You might also like our Happy Camper tote bag with a free SVG file. Or this easy popcorn tin storage ottoman which we use as a footstool in our camper.
Cute DIY Trailer Trash Can
Supplies
- Trailer Trash SVG file (download for free)
- Cricut Machine
- Black vinyl (or choose a color to match your decor)
- Transfer vinyl
- Trash can

Instructions
Step 1
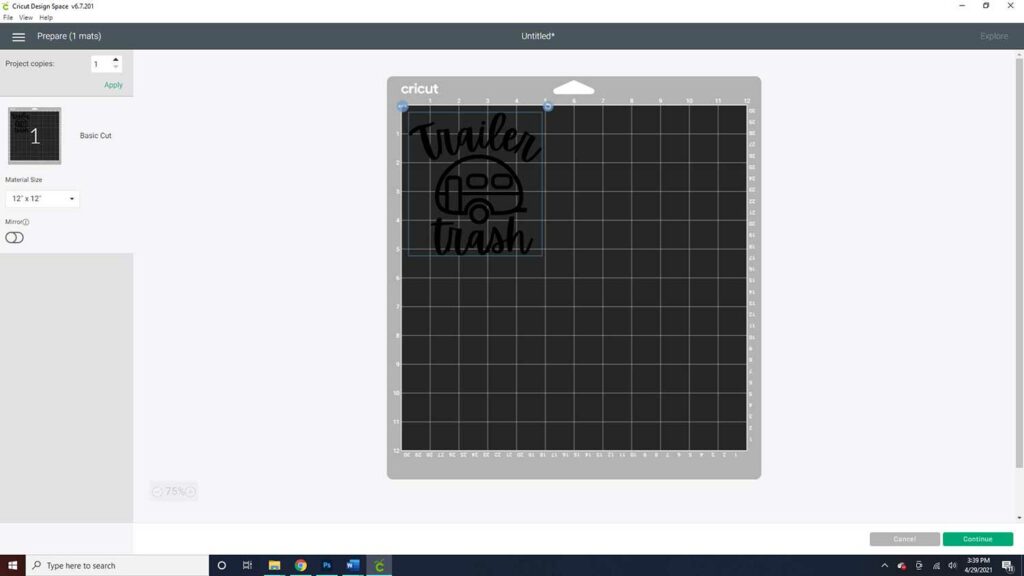
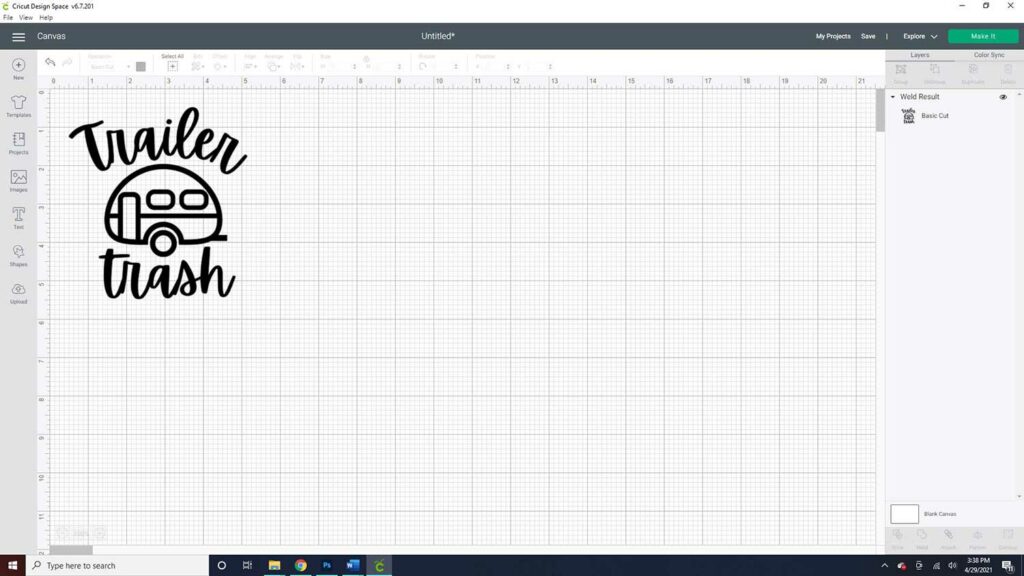
Upload the SVG into Design Space and select all the elements. Weld the letters together and resize the design to fit on your trash can.
Step 2
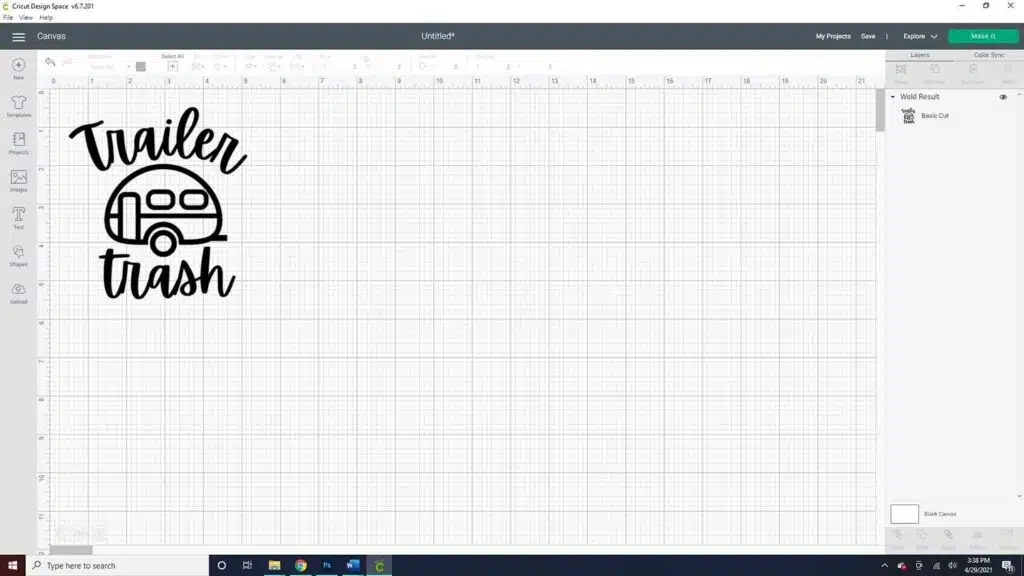
Hit the Make It button in the top corner and set the Cricut to vinyl. Load the vinyl on the cutting mat and cut the design.
Step 3
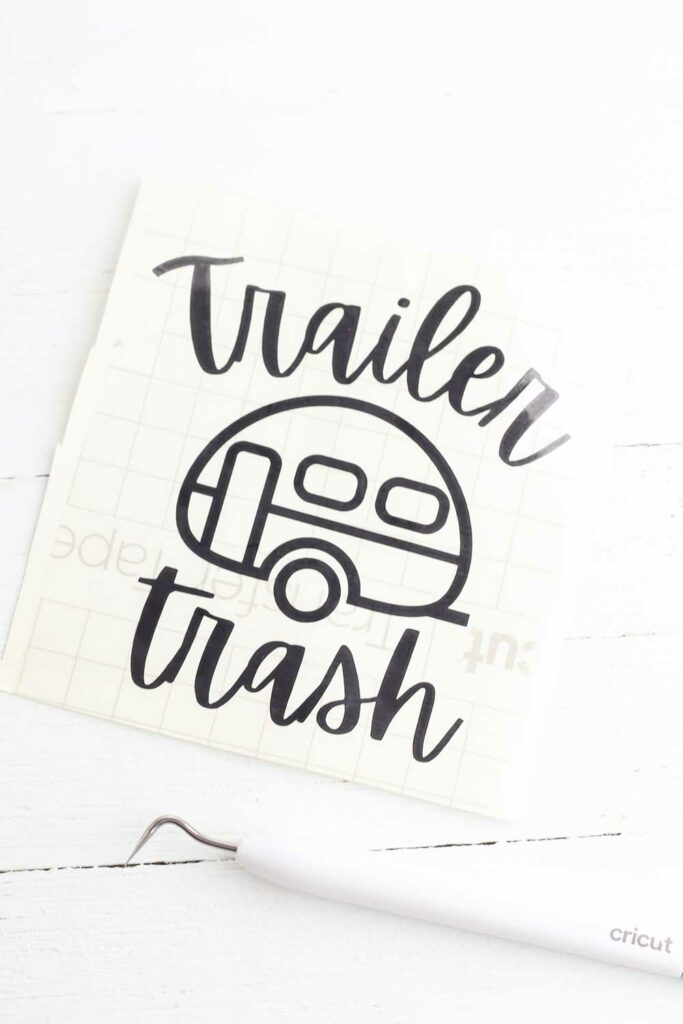
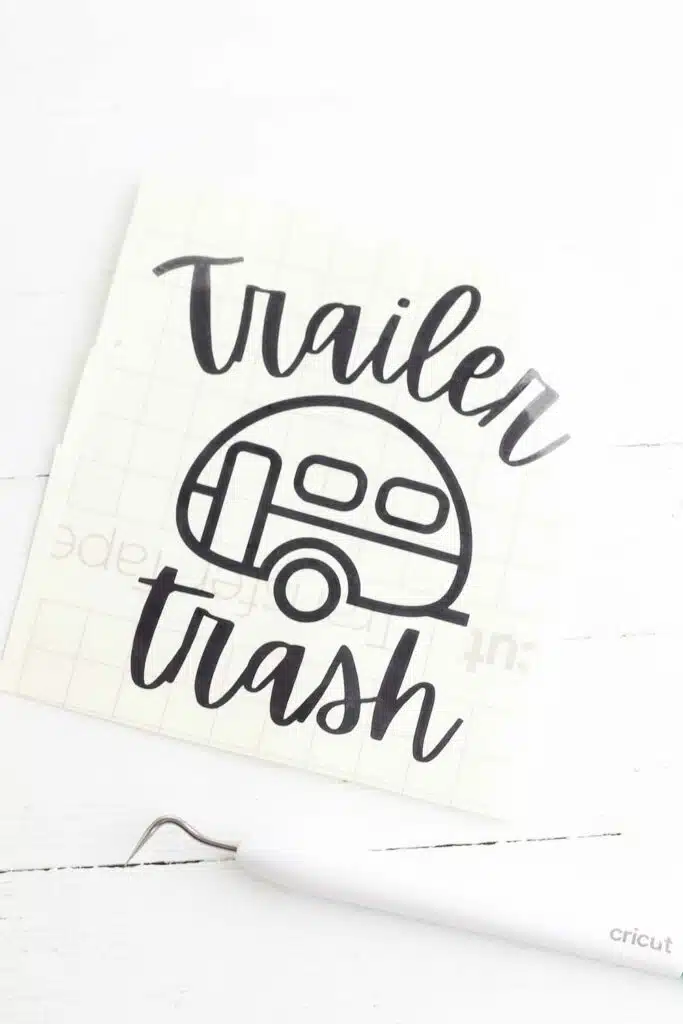
Remove the excess vinyl from around the design, then place a piece of transfer paper on top.
Transfer the design to the front of the trash can and remove the transfer paper. (We had to carefully rub the design onto the plastic trash can to get the transfer paper to come off. This might take a little time, but the results will be worth it!)
Your RV trash can is now ready to put in the kitchen or bathroom of your rig.
We suggest not washing the outside with a spray nozzle or hot soapy water to preserve the vinyl decal.
Want more camping DIYs? Be sure to see these easy crafts: