If you make a purchase using links in this article, I could receive a commission. Please see my Privacy Policy for information.
Want to get the kids excited about camping? Or looking for easy rainy day activities in the RV, camper van or tent?
Our Popsicle Stick Campfire Craft is so easy for kids to make!
It’s perfect for an outdoors craft or to talk about fire safety.
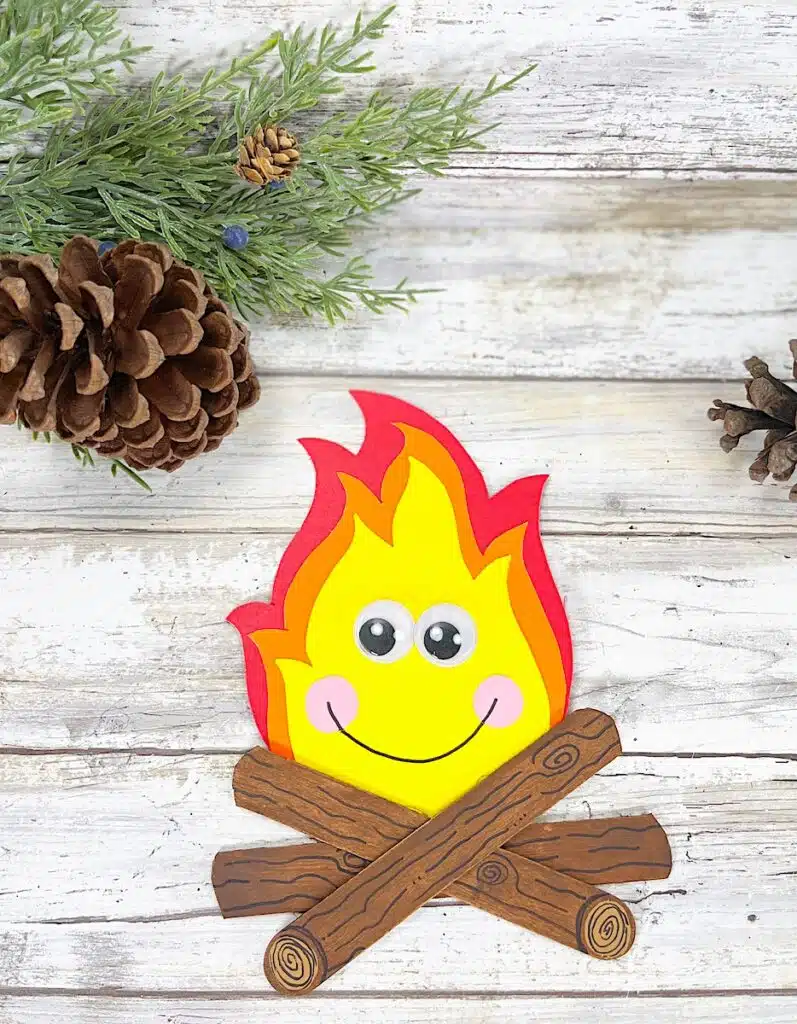
Almost all of the supplies we used came from the Dollar Tree.
To make this craft perfect for off-grid camping, substitute craft glue for a glue gun and use washable markers instead of craft paints.
This is a great craft to prep before going camping. Just print out the pattern and pack it with some craft paper and the other supplies for this material. Keep everything in a box that is easy to take out when boredom starts to make the kids cranky.
How to Make a Popsicle Stick Campfire
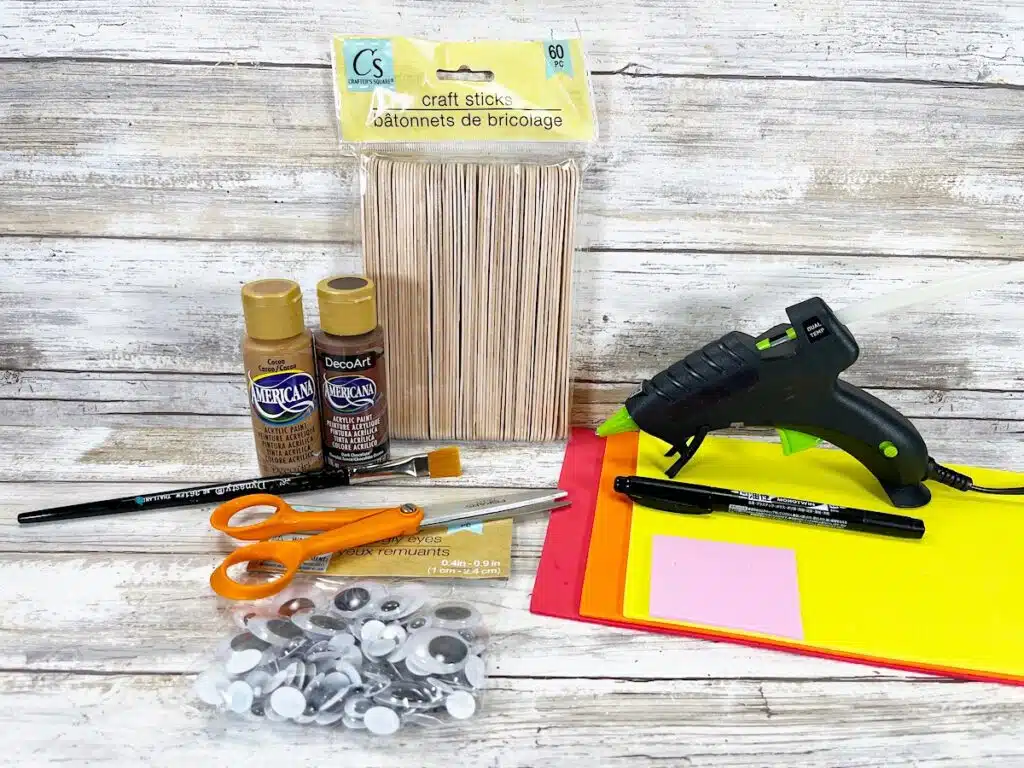
Materials
- Free Popsicle Stick Campfire Pattern
- Jumbo Craft Sticks (Dollar Tree)
- Cardstock: Red, Orange, Yellow, and Pink (Dollar Tree)
- Wiggle Eyes (Dollar Tree)
- Acrylic Craft Paint: Dark Brown and Tan
- Paintbrush
- Glue Gun and Glue Sticks or Craft Glue
- Scissors
- Pencil
- Black Marker
Directions
Step 1
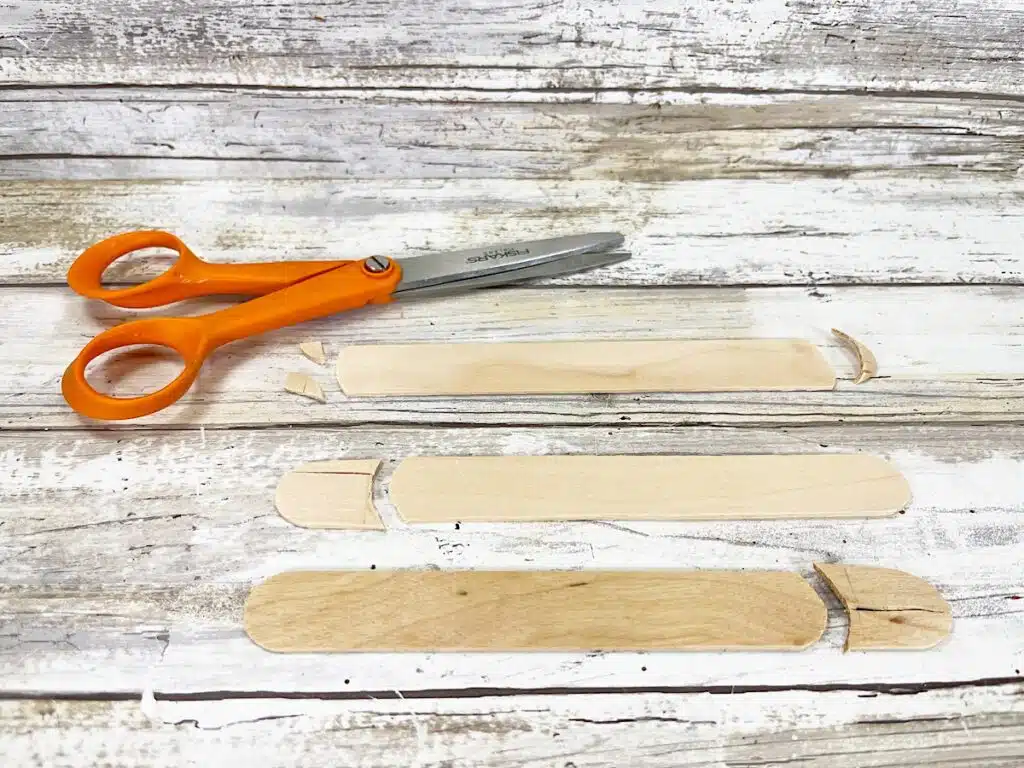
Cut off both rounded ends from one jumbo craft stick, making the cut just slightly curved but mostly straight.
Cut one rounded end from off of two jumbo craft sticks. Again, instead of a straight cut curve the edges slightly.
Step 2
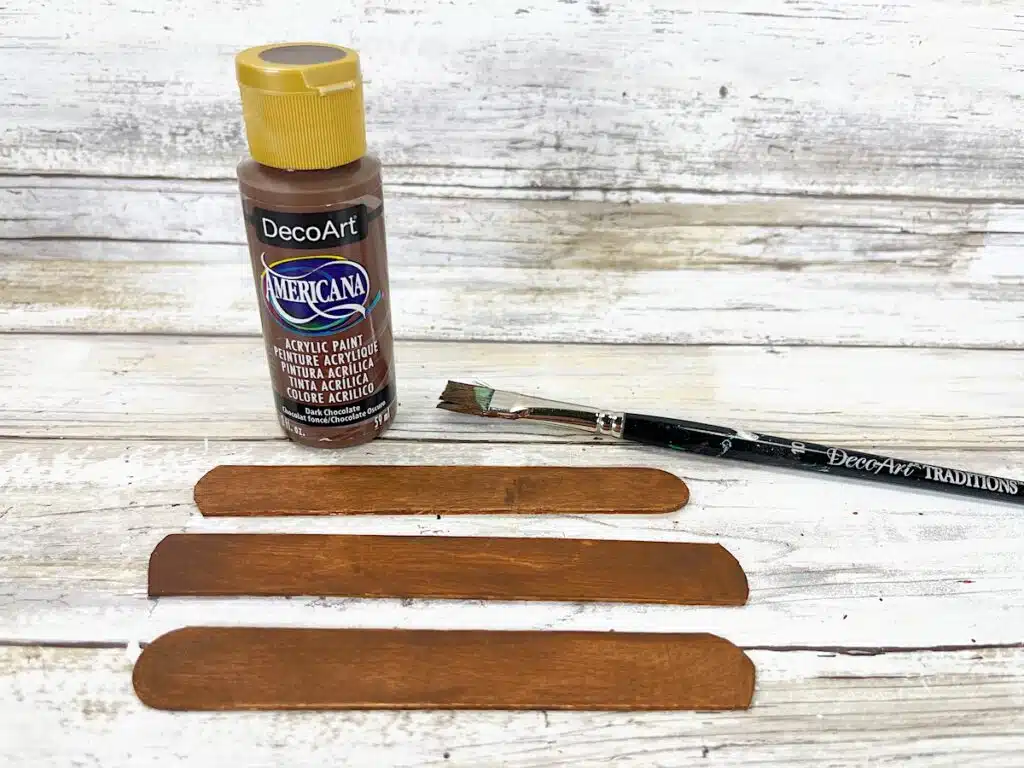
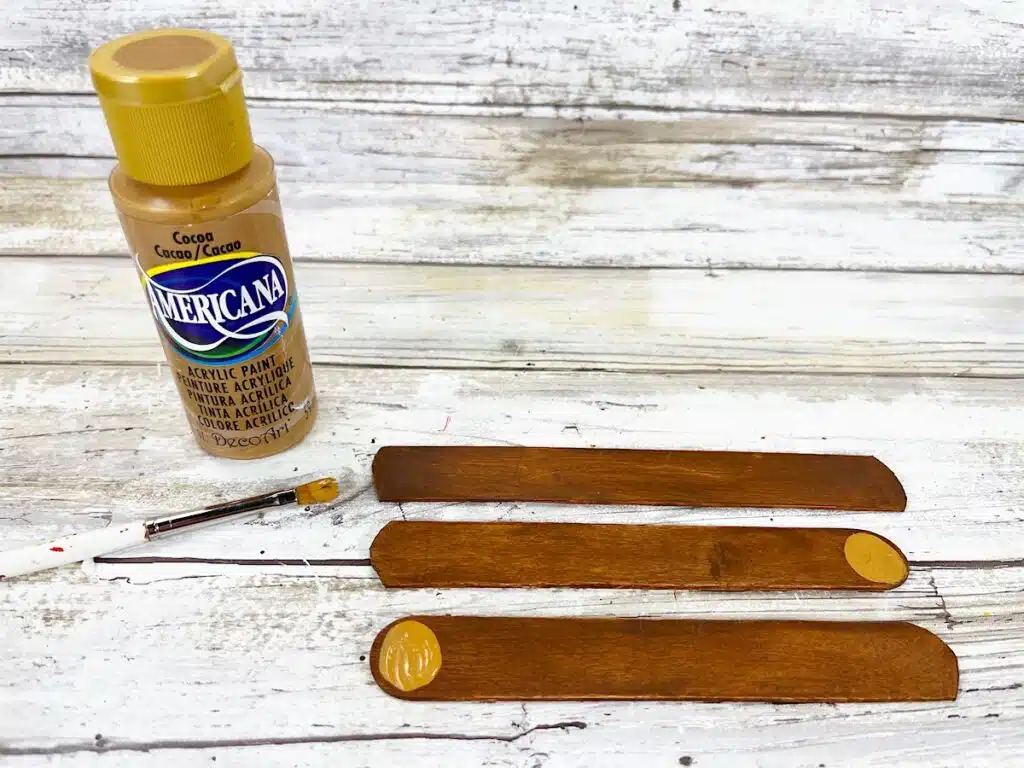
Paint the craft sticks with dark brown acrylic craft paint to become the campfire logs.
Let dry, and apply a second coat, if needed.
Paint circles with the tan acrylic craft paint on the ends of the two remaining rounded popsicle sticks. Let dry, and apply a second coat, if necessary.
If you don’t want to use paint, you could also use washable markers to color the popsicle sticks.
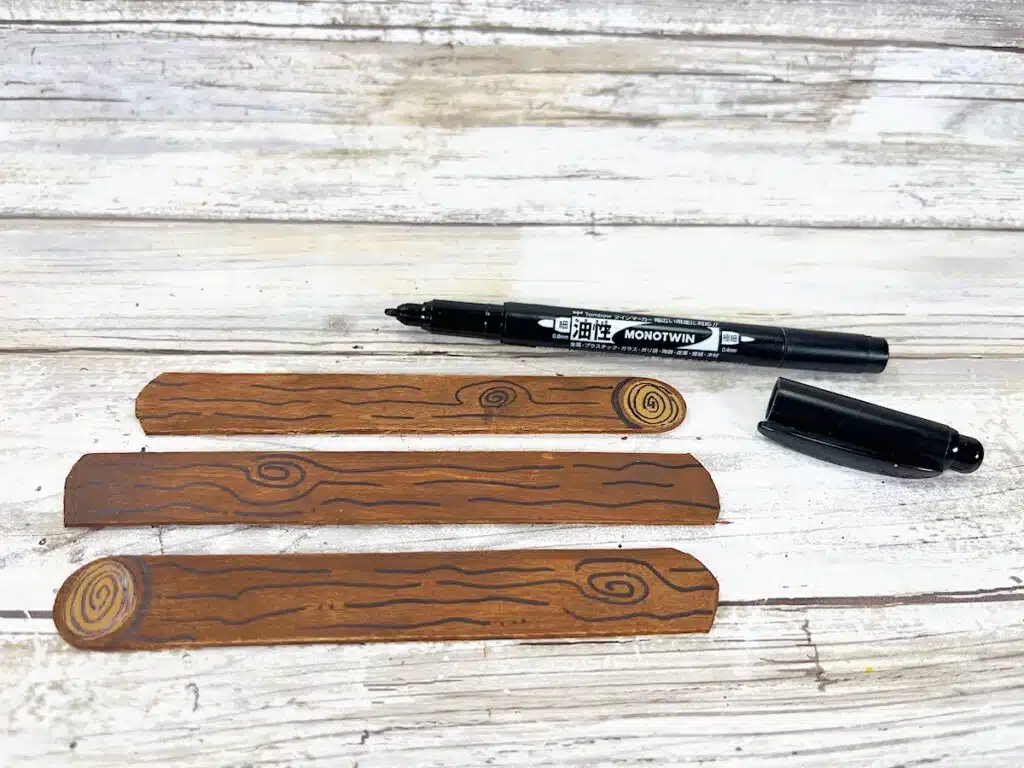
Using a black marker, draw lines on the logs to look like tree bark.
On the ends of the logs, draw a spiral circle on the tan paint to look like the tree rings.
Step 3
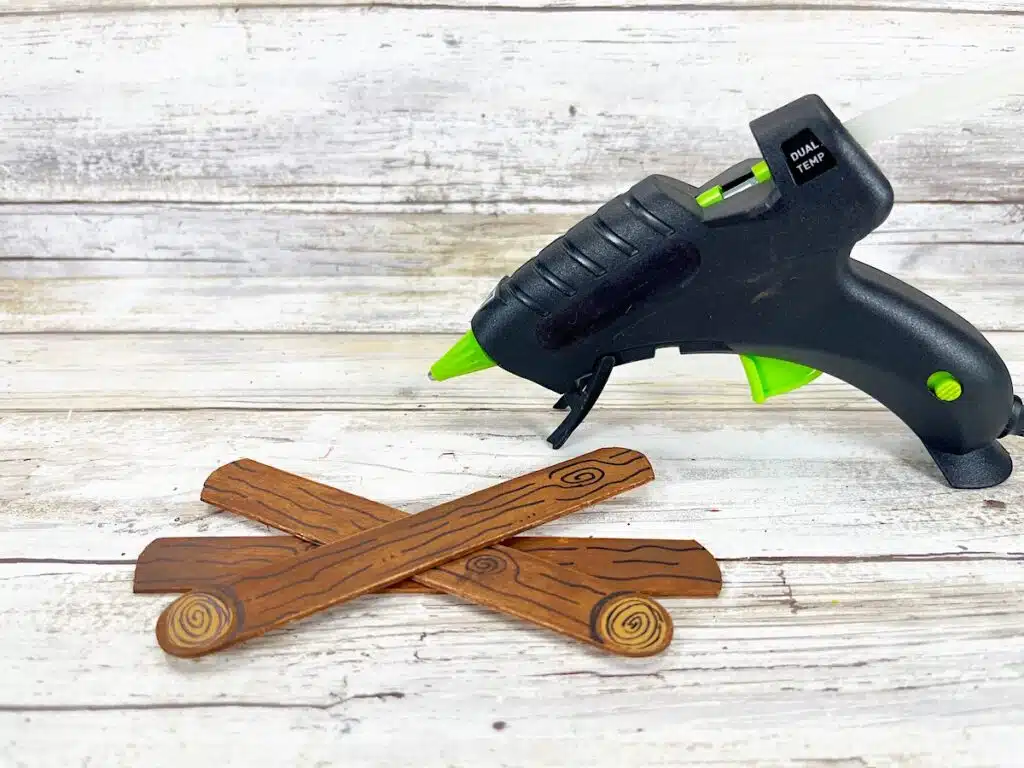
Stack the three popsicle stick logs on top of each other in a crisscross pattern. Glue together.
Step 4
Download, print and cut out the campfire flame patterns.
Trace the largest flame onto red cardstock. Trace the middle flame onto orange cardstock and trace the smallest flame onto yellow cardstock.
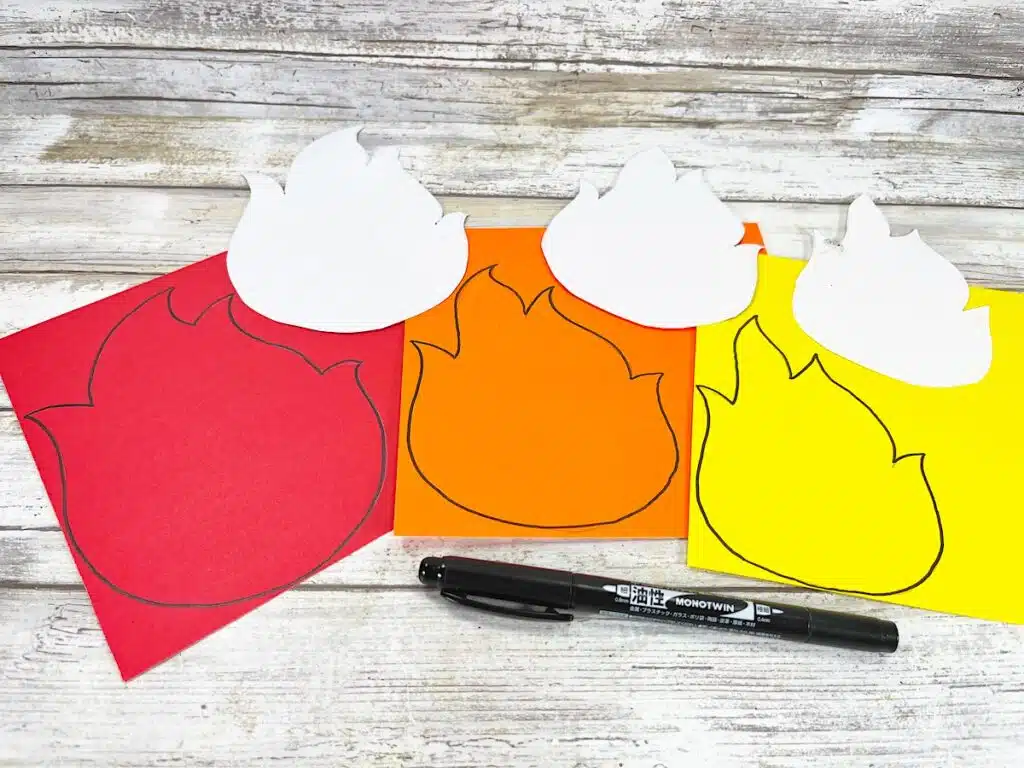
Cut out all three of the flame shapes with scissors.
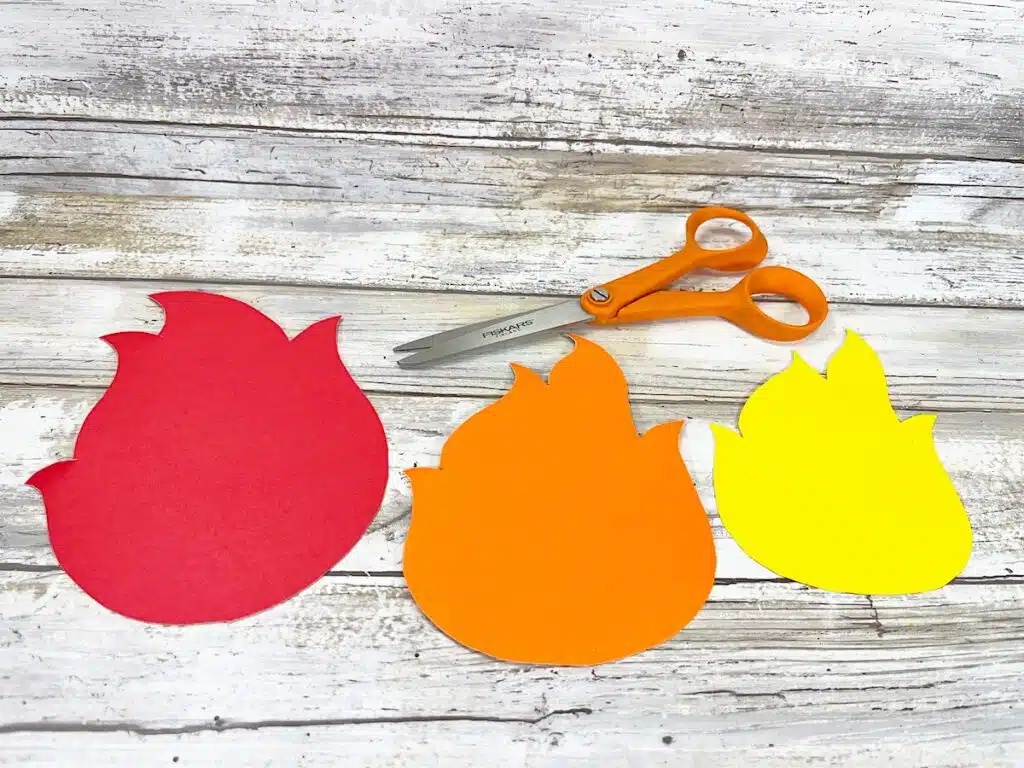
Step 5
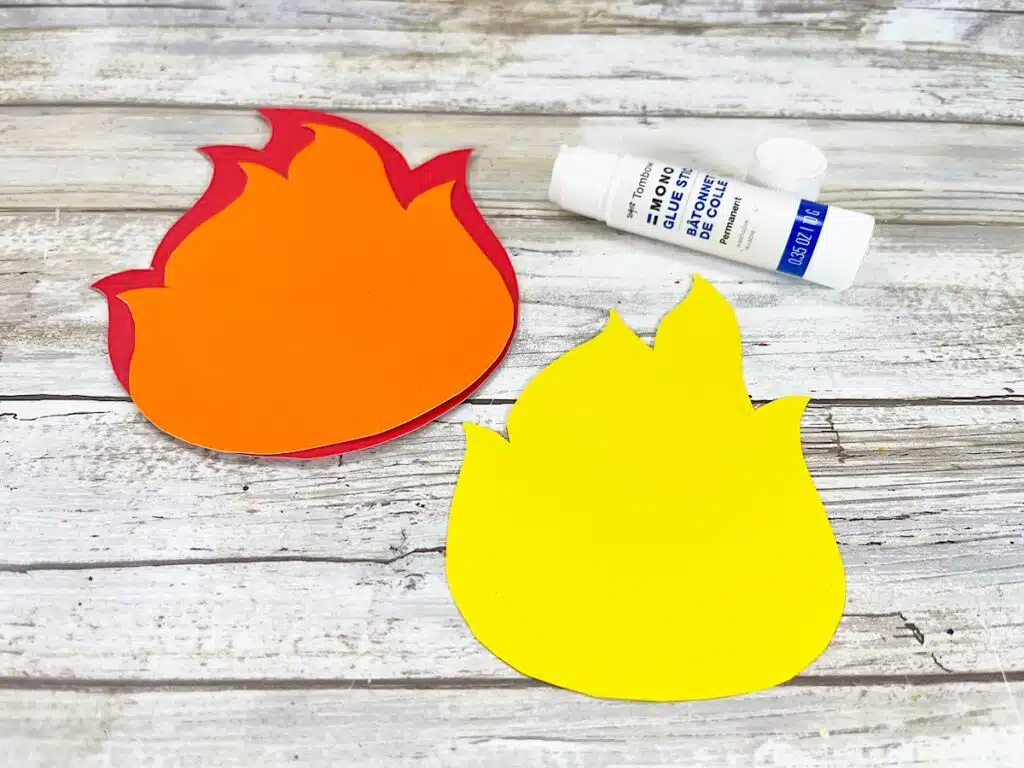
Layer the campfire flames on top of each other with red in the back, orange in the middle and yellow in the front. Glue each of the layers together.
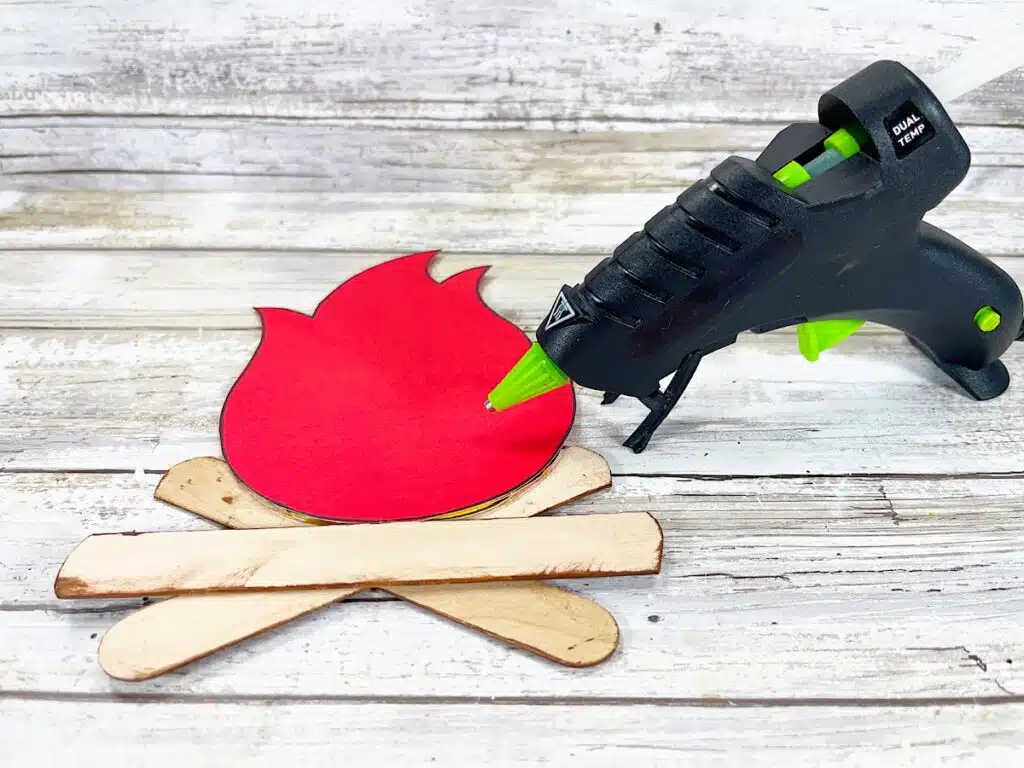
Turn the campfire logs over with the finished side down. Glue the flames to the top edge of the campfire logs, with the yellow side facing downward.
Step 6
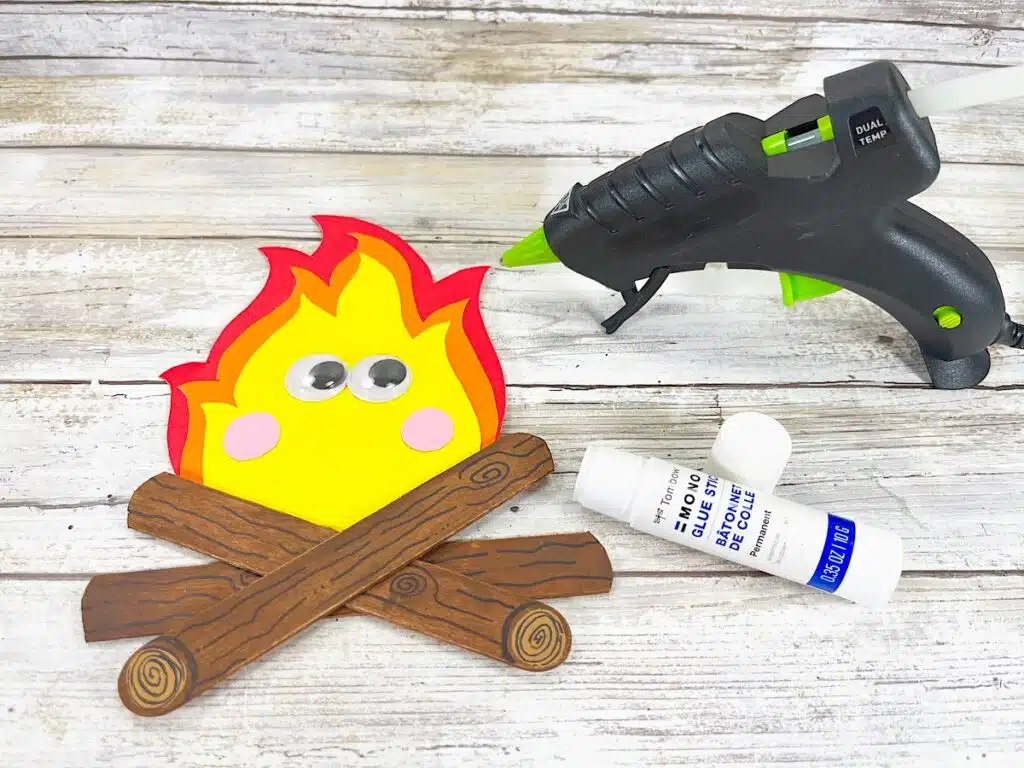
Trace the cheek patterns onto pink cardstock and cut out with scissors.
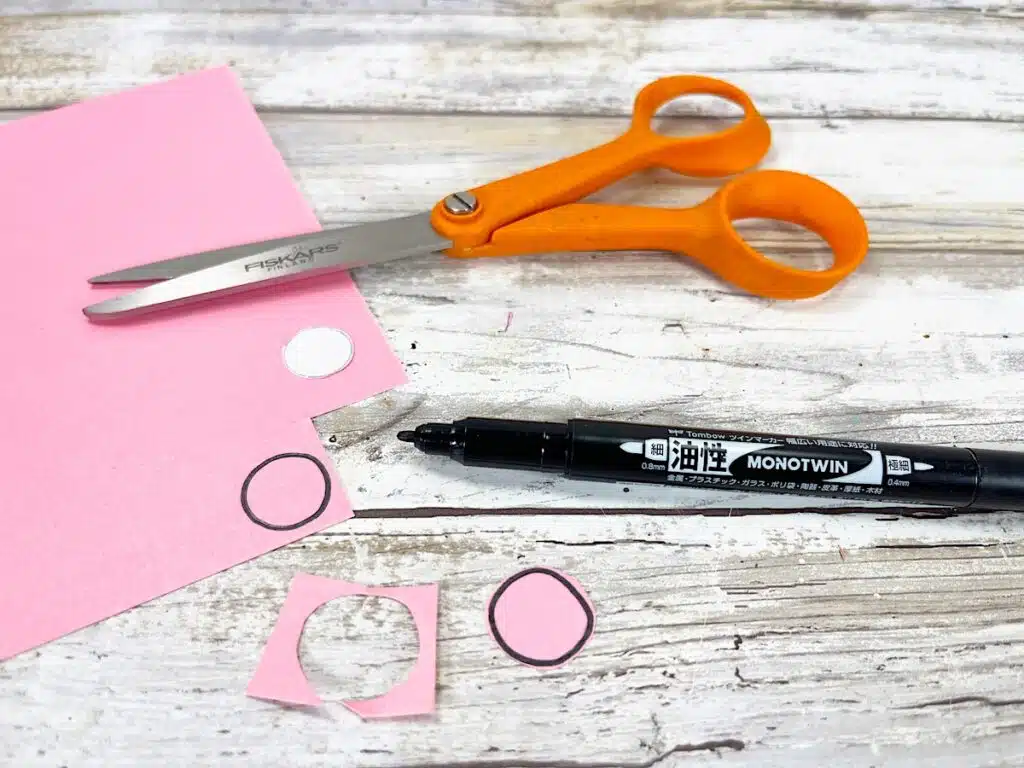
Glue the cheeks on either side of the flame.
Next, glue two large wiggle eyes to the campfire flame.
Step 7
Draw a smile on the campfire flame’s face from cheek to cheek with a black marker.
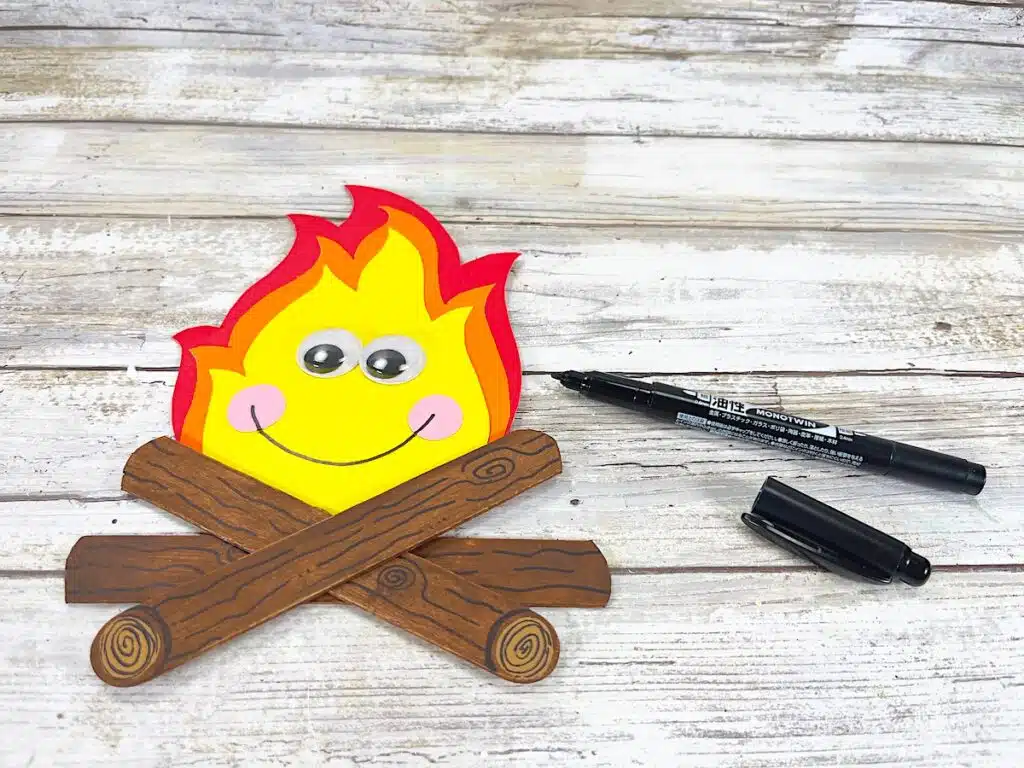
Create this quick and easy Dollar Store Craft Stick Campfire with the kiddos to not only promote learning skills, but also to spark conversations about camping, and fire safety.
Want more camping DIY projects? Be sure to see these easy ideas:
